Mineral Mizer Owner’s Manual (rev. 7)
DWS-SADI
Question or comments? Contact O-SO Pure at (800) OSO-PURE or
support@osopure.com
.
Copyright
©
2016 O-SO Pure. All rights reserved.
Page 8 of 16
*
FOR DWS-SADI-D
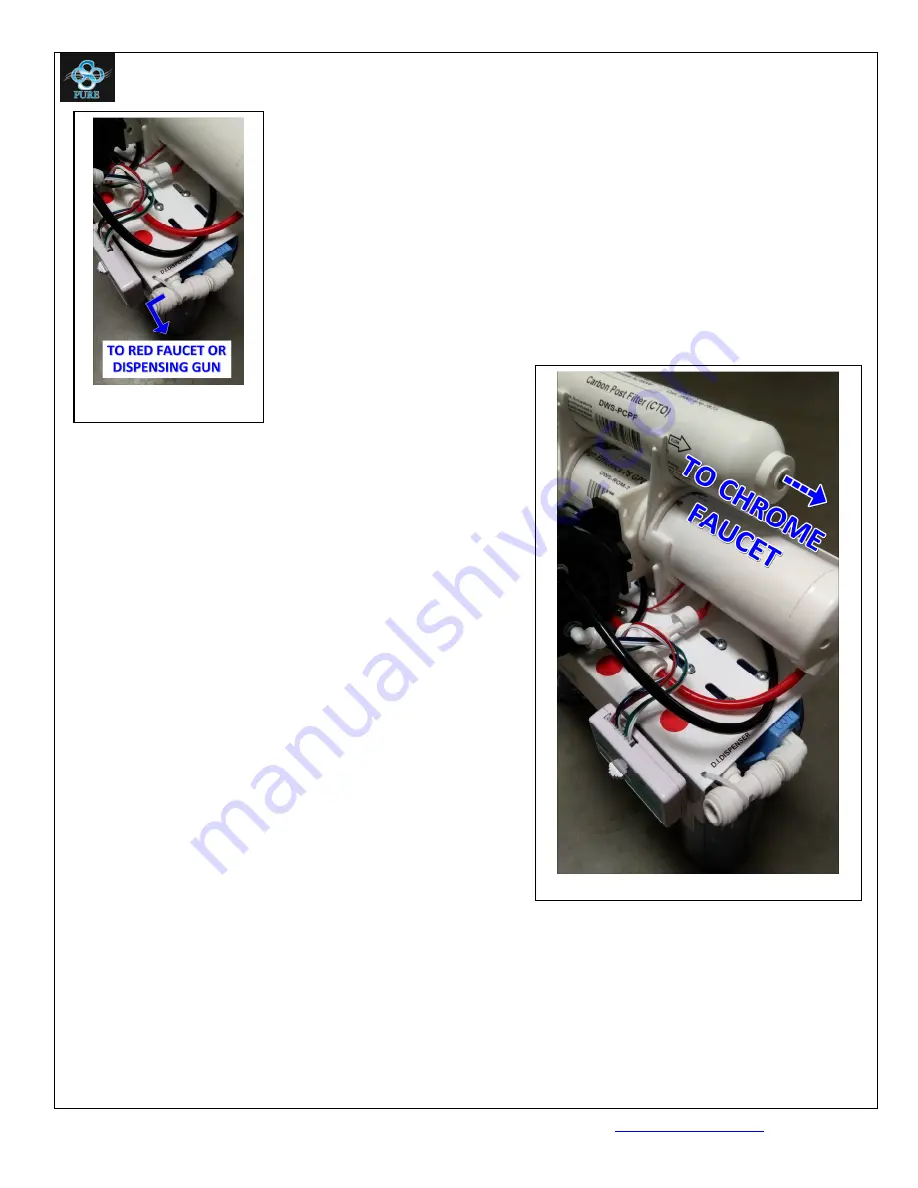
(DISPENSING CONNECTOR TO DISPENSING GUN):
Insert
The elbow end of the Dispensing Assembly into the fitting marked
Dispenser.
*FOR DWS-SADI-R
(DISPENSING CONNECTOR TO REMOTE DISPENSING GUN):
Insert one end of 3/8” BLUE Tube length into D.I. Dispensing Connector
and the other end into fitting on remote dispensing gun bracket
(See the
DWS-DIDG User’s Manual).
13.
Post-Polishing Filter Tube (blue)
–Connect a 3/8” BLUE tube to the
open port on the right side of the Post-Polishing Filter, and then
connect the other end to an already-installed chrome faucet.
Pressure Test Unit For Leaks
14.
Turn on the water supply by opening the Inline
Valve on the Feed Water Tube, while making sure
that the tank valve and both faucets are all
CLOSED. This will create enough water pressure
in the system to see if there are any possible
leaks coming from system. Tighten the Filter
Sumps with the Sump Wrench if necessary. Check
the tank for leaks at valve as well.
Production Startup
15.
Open the RO Tank valve.
16.
Turn ON the water supply by opening the Inline
Valve on the Feed Water Tube.
17.
Open Chrome Faucet.
18.
Allow the Mineral Mizer to produce water for 4
hours. (You will see black carbon fines for awhile
during the initial flushing of the final filter during startup. This is normal and will cease).
19.
Close Chrome Faucet, open Tank Valve and allow the tank to fill (should take approx. 3 hours).
20.
Once the tank is filled, open Red Faucet (SADI Classic) or the Dispensing Gun (SADI-D & SADI-R)
until all air is purged and the water flows smoothly. Close the Red Faucet, make sure that the
tank valve is open and allow tank to completely fill until the DWS-SADI stops making water
(tank
is full when the black permeate pump on mounting bracket stops making noise)
.
Post-Polishing Filter To Chrome Faucet
Dispensing Connector


