Page 15
Page 14
8. Temperature calibration
1-point temperature calibration
1. Connect ATC probe (or temperature connector of the “All-in-One”
electrode) to the phone jack. The ATC annunciator will appear at the right-
hand side of the LCD.
2. Press the MODE key to select
temperature mode (Temp).
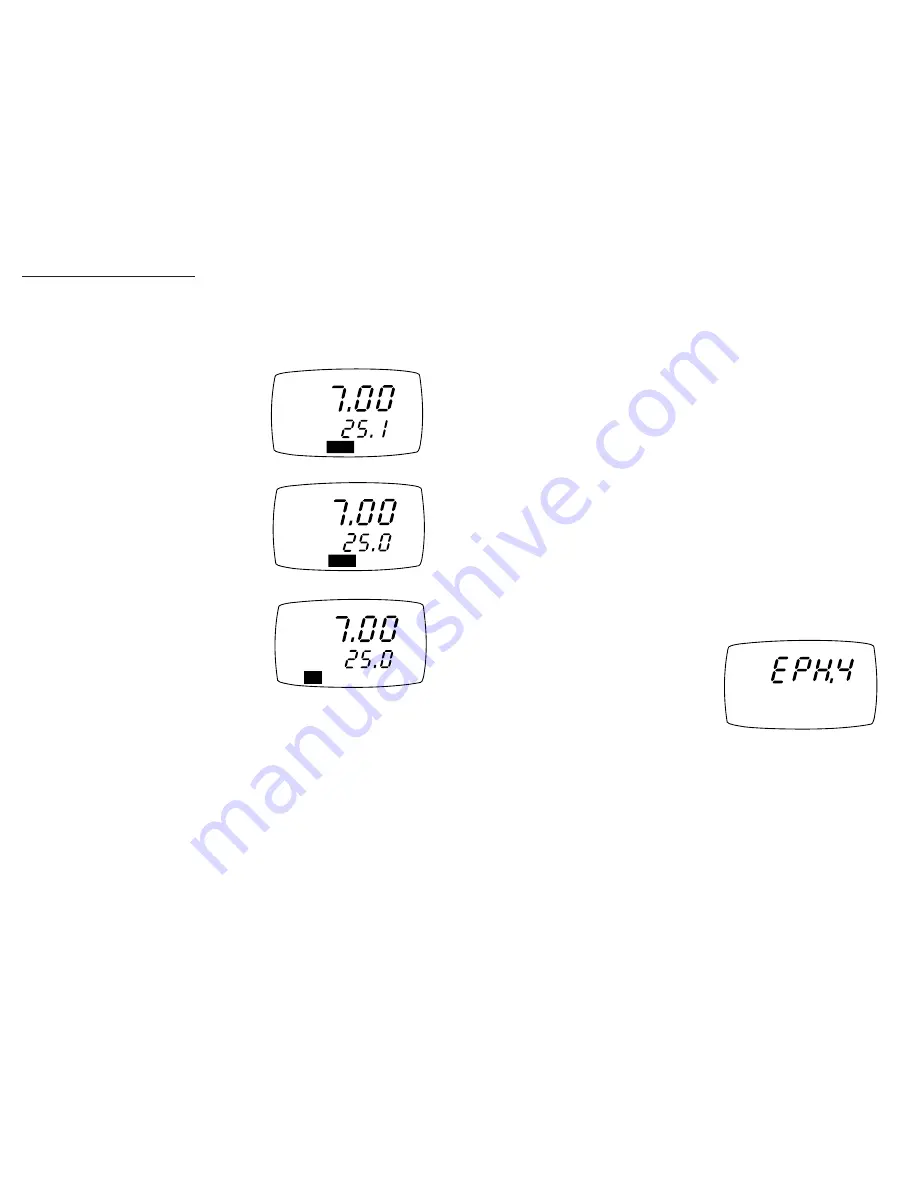
3. Press the CAL/MEAS key to enter
calibration mode. The primary display
shows the measured pH value and the
secondary display shows the
temperature. See Figure Q.
4. Dip the “All-in-One” electrode into a
solution of known temperature (i.e. a
temperature bath). Allow some time for
the temperature probe to stabilize.
5. Scroll up or down with the
▼
and
▲
keys to set the correct temperature value
(i.e. the temperature of the temperature
bath). You can adjust the reading in
increments of 0.1°C. Note that the
current input reading can only vary ±5°C
from the reading originally displayed on
the meter.
6. Once you have selected the correct
temperature, press the CON key. A
confirming indicator (CON) flashes on the
display for one second, then disappears.
See Figure R.
7. Press the CAL/MEAS key to return to
pH measurement mode.
See Figure S.
2-point temperature calibration
In most cases 1-point temperature calibration will give you accurate
temperature measurement and compensation. If you notice inaccurate
measurements at high or low temperatures after 1-point calibration, perform the
following procedure.
A. Preparing Temperature Baths
1. Prepare two temperature baths for temperature calibration.
2. Set the temperature of the baths. Using a good reference thermometer,
preferably certified, set one bath at 0°C ±3.0°C and the second bath at 77-
80°C .
NOTE: Make sure to set the baths within the pH electrode operating
temperature. For the epoxy-body All-in-One probe (included with meter),
do not set the high temperature bath above 80°C. If you are using a
glass-body All-in-One electrode or a separate electrode and metal ATC
probe, set bath to 90.0°C ±3.0°C.
B. Entering 2-point Calibration Mode
1. Attach the temperature probe or electrode to the meter.
2. Turn the meter off.
3. Press the CAL/MEAS key.
4. Without releasing the CAL/MEAS key, press the ON/OFF key.
5. When the LCD lights up, release the ON/OFF key.
6. Wait for 2 seconds, then release the
CAL/MEAS key. The upper display
will show "EPH.3" or "EPH.4"
(depending on the software version
number). The meter is now in 2-point
Calibration Mode. See Figure T.
7. Press the CON key three times to
enter temperature low point calibration.
°C
Temp
pH
ATC
CAL
°C
Temp
pH
ATC
CON
CAL
°C
pH
ATC
READY
MEAS
pH
Q
R
S
Temp
T
Summary of Contents for pH 10 Series
Page 13: ...DISTRIBUTED BY ...


