54
55
7.
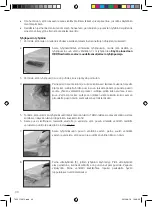
Press the on/off switch and the vacuum sealing will start.
8. Keep the on/off switch pressed for 1 minute to complete the vacuum sealing.
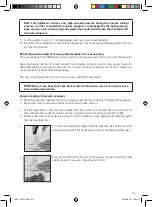
9. Remove the appliance from the lid. Make sure that the lock of the lid points at ”SEAL”, when you
pull out the sealing mouthpiece from the lid.
10. To test the vacuum sealing, try to lift the lid.
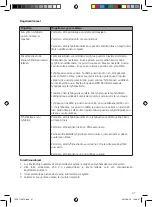
11.
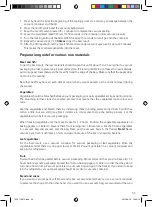
Turn the lock of the lid from ”SEAL” to ”OPEN” in order to open the lid of
the vacuum container. You can now remove the lid.
12. Let the appliance rest for 1 minute between each use in order to avoid overheating.
13. The vacuum can be cleaned and washed in the dishwasher (not the lid) after use. Read more under
“Cleaning and maintenance”.
14
. Note!
The vacuum container and the lid must not be used in a microwave oven.
How to marinate under vacuum pressure
The marinating process speeds up if done under vacuum pressure, as the vacuum pressure opens the
pores of the meat/fish and thereby absorbs the marinade faster. This means that the marinating only
takes a few minutes instead of hours.
Marinating in a vacuum bag
Keep the marinade in a vacuum bag together with the fish/meat and vacuum pack according to the
above description. Be careful to add sufficient marinade in order that all ingredients are covered. To
get the best result, marinate for at least 30 minutes in the vacuum bag before you cut open the bag.
Pickling in vacuum containers
For an even more efficient marinating process, marinate fish/meat in a vacuum container according
to the following description:
1. Make sure that the appliance is charged according to the instructions of “Charging the appliance”.
2. Make sure that the vacuum container and its lid are clean and dry.
3. Pour the marinade with the fish/meat into the vacuum container and take care not to exceed the
maximum level. Put on the lid on the vacuum container.
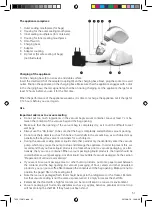
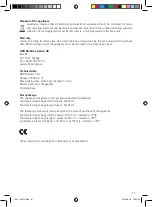
4. Remove the outer housing (2) by turning it in such way that the marking on the appliance is point-
ing towards the open padlock icon.
5. Press the inner sealing mouthpiece (3) towards the valve of the container and make sure that it fits
tight between the mouthpiece and the valve.
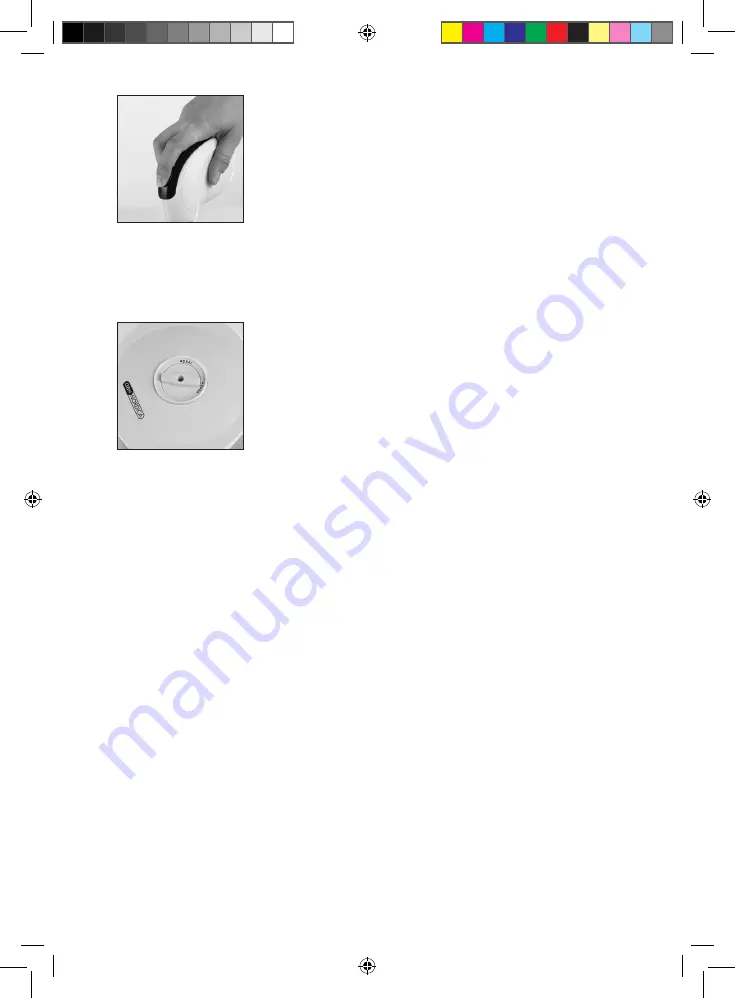
6. Make sure that the lock of the lid is in position “SEAL”.
7952_110612.indd 54
2012-06-18 10:49:19

