50
2.
The number designating hours flashes on the display. The time setting is changed by pressing
the
button. Every push increases the number by one and when the desired
number appears on the display it is confirmed by pressing the SET button
. The number
designating minutes now flashes on the display.
3.
The settings for minutes and date are set in the same way as described in 2.
4.
When the device is ready for measurement, ‘0’ will appear on the display.
Fitting the cuff
1.
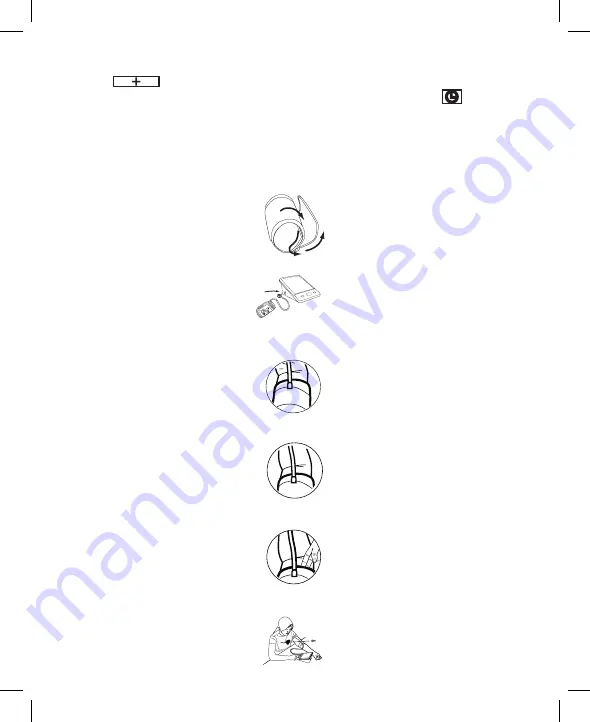
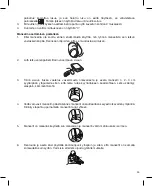
If the cuff is not assembled at first use, put the end of the cuff which is furthest away from the
tube through the D-ring to form a noose.
2.
Apply the tube to the left side of the device.
2~
3 c
m
(0.8
”~
1.2
”)
Pos
itio
n cu
ff e
dge
0.8
–1.2
inch
es (2
–3cm
)
abo
ve e
lbo
w.
Fit c
uff
Allo
w
to fi
and
Cen
mi
3.
Remove tight-fitting clothing from your left upper arm and position the cuff at approximately 2-3
cm above the elbow so that the tube is centered at the middle of the arm. The tube must face
downward towards the hand.
4.
Pull gently at the end of the cuff so that it tightens easily and smoothly around the arm. The
cuff is secured by pulling the velcro fastener towards the cuff.
5.
You should be able to fit two fingers between the cuff and your arm. The cuff should not be
fitted any tighter than this.
6.
Relax your body and rest your arm on a table with your palm up so that the cuff is positioned
at the same height as the heart. Make sure that the tube does not bend.


