Using Objet Studio
5–10
DOC-00260 Rev. A1
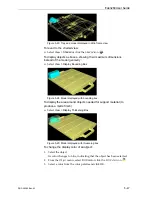
Avoid Support-Material Rule
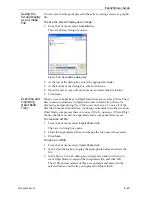
This
rule
considers
models
that
have
large
holes
or
hollows,
open
on
at
least
one
side
(like
a
pipe
or
a
deep
shell).
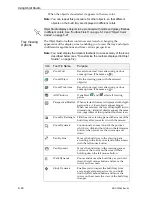
¾
It
may
be
advantageous
to
a
model
standing
up
,
so
support
material
does
not
fill
the
hollow,
even
though
printing
the
model
lying
down
would
be
much
faster.
Selecting and Manipulating Objects on the Build Tray
Selecting
Objects
You
select
an
object
by
clicking
it,
either
on
the
tray
or
in
the
tray
hierarchy
pane.
Its
image
on
the
build
tray
changes
color
(to
light
blue,
by
default)
and
its
name
is
highlighted
in
the
tray
hierarchy
pane.
You
can
select
multiple
objects
by
pressing
the
Ctrl
or
Shift
keys
while
clicking
additional
objects
(either
on
the
tray
or
in
the
tray
hierarchy
pane).
Object Position
on the Z-Axis
When
you
use
automatic
positioning
to
arrange
objects
on
the
build
tray
(see
7),
the
objects
are
positioned
directly
on
the
tray.
If
you
do
not
insert
objects
with
automatic
positioning,
they
often
appear
either
above
or
below
the
tray.
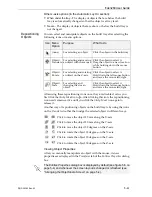
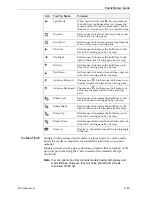
To position objects directly on the tray:
1. Select
the
object.
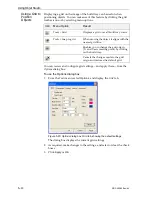
2. Click
the
Lay
On
icon
.
or—
From
the
Object
menu,
select
Lay On
.
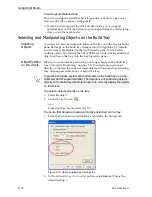
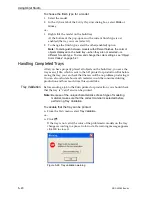
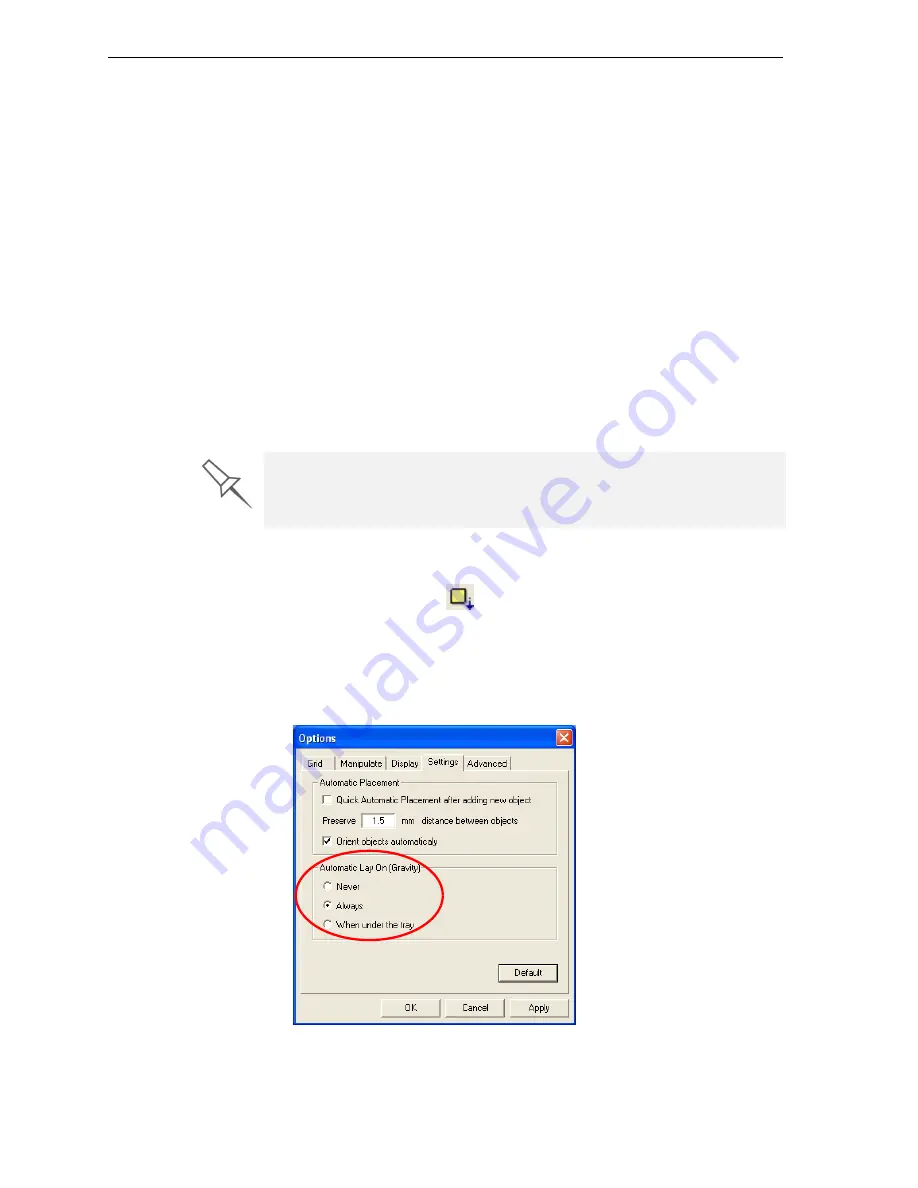
To ensure that objects are always directly positioned on the tray:
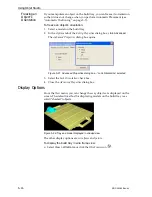
1. From
the
Tools
menu,
select
Options
,
and
display
the
Settings
tab.
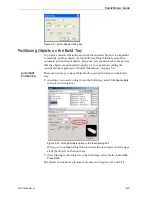
Figure 5-15:
Options
dialog box,
Settings
tab
2. In
the
Automatic
Lay
On
(Gravity)
section,
select
Always
.
(This
is
the
default
setting.)
In practice, the Eden system prints all models on the build tray on a one-
millimeter bed of support material. The importance of positioning objects
directly on the build tray with Objet Studio is to correctly display the objects
on the screen.

