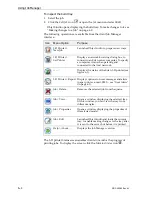
Using Objet Studio
5–22
DOC-00260 Rev. A1
To save the tray file:
¾
From
the
File
menu,
select
Save Tray
or
Save Tray As
.
or—
¾
Click
.
Printing the
Tray File
When
a
tray
is
ready
to
be
printed,
its
otf
file
is
sent
to
Job
Manager,
where
it
is
placed
in
the
production
queue.
Job
Manager
pre
‐
processes
this
file
to
create
slices,
and
feeds
them
to
the
3
‐
D
printer
for
production.
To send the tray to the production queue:
¾
From
the
File
menu,
select
Build Tray
.
or—
¾
Click
.
The
tray
file
is
sent
to
Job
Manager.
Objet
Studio
closes
and
Job
Manager
opens,
so
you
can
monitor
the
progress
of
your
trays.
Note:
To return to Objet Studio, click the
New Job
icon
.
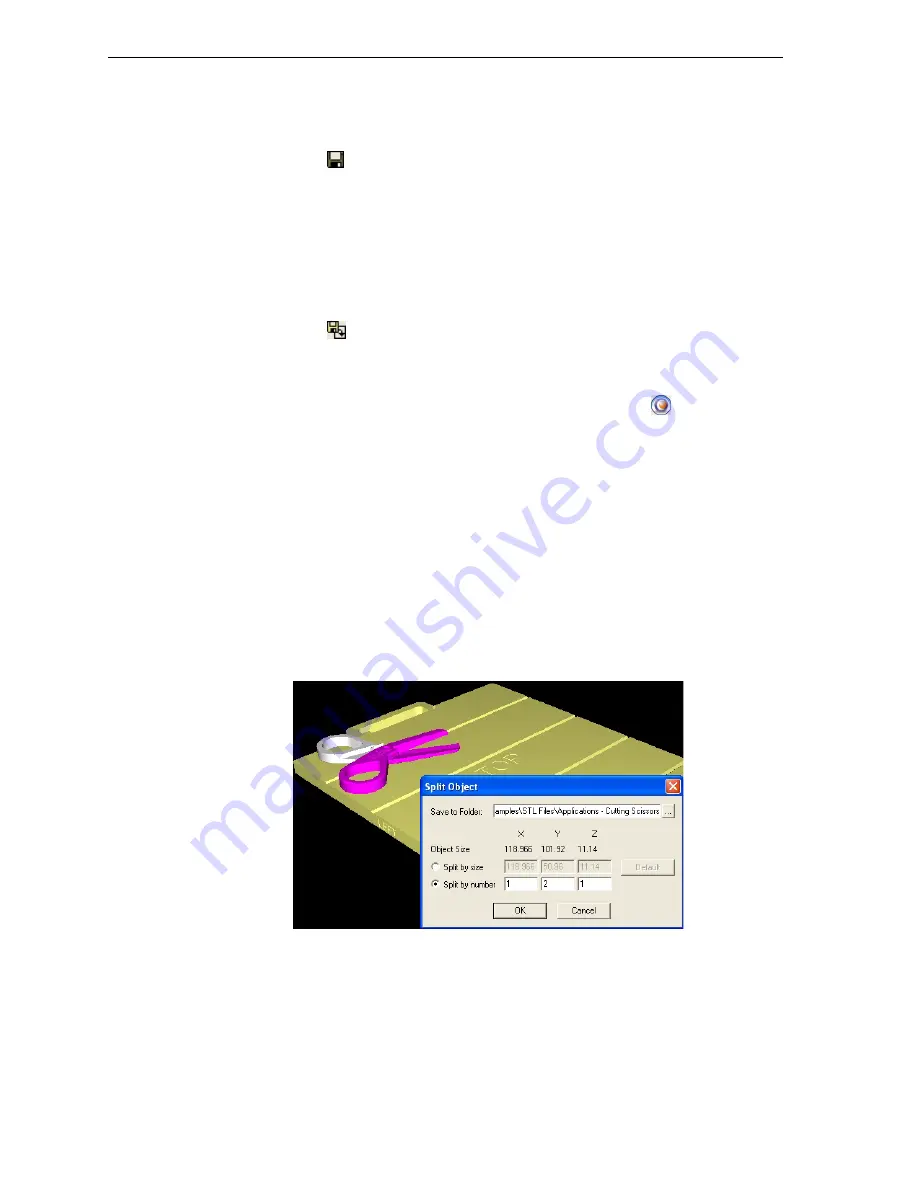
Additional Objet Studio Features
Dividing
Objects
You
can
use
the
Split
Object
feature
to
produce
objects
larger
than
the
build
tray
by
dividing
the
model
into
separate
parts.
You
can
also
use
this
feature
to
produce
only
a
specific
section
of
a
model.
To split an object:
1. Select
the
object.
2. From
the
Object
menu,
select
Split
.
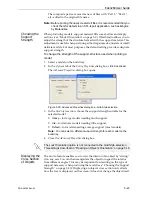
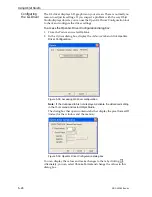
3. In
the
Split
Object
dialog
box,
enter
the
values
to
determine
how
Objet
Studio
will
divide
the
object.
You
can
divide
an
object
along
any
of
its
axes,
by
entering
either
exact
measurements
or
the
number
of
parts.
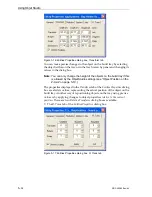
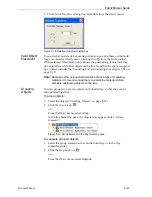
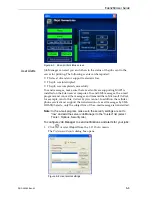
Figure 5-29:
Split Object
dialog box
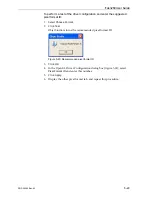
4. In
Save
to
Folder
,
enter
the
folder
name.
5. Click
OK
.

