DOC-00260 Rev. A1
7–19
Eden260 User Guide
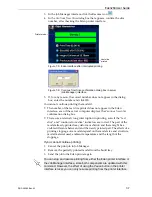
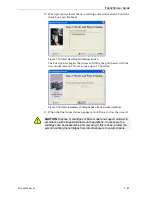
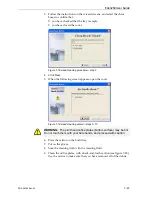
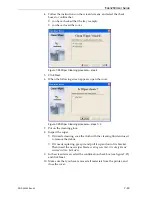
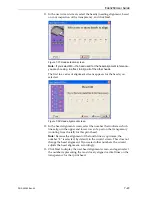
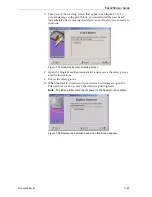
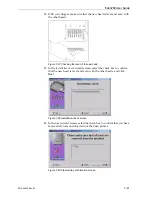
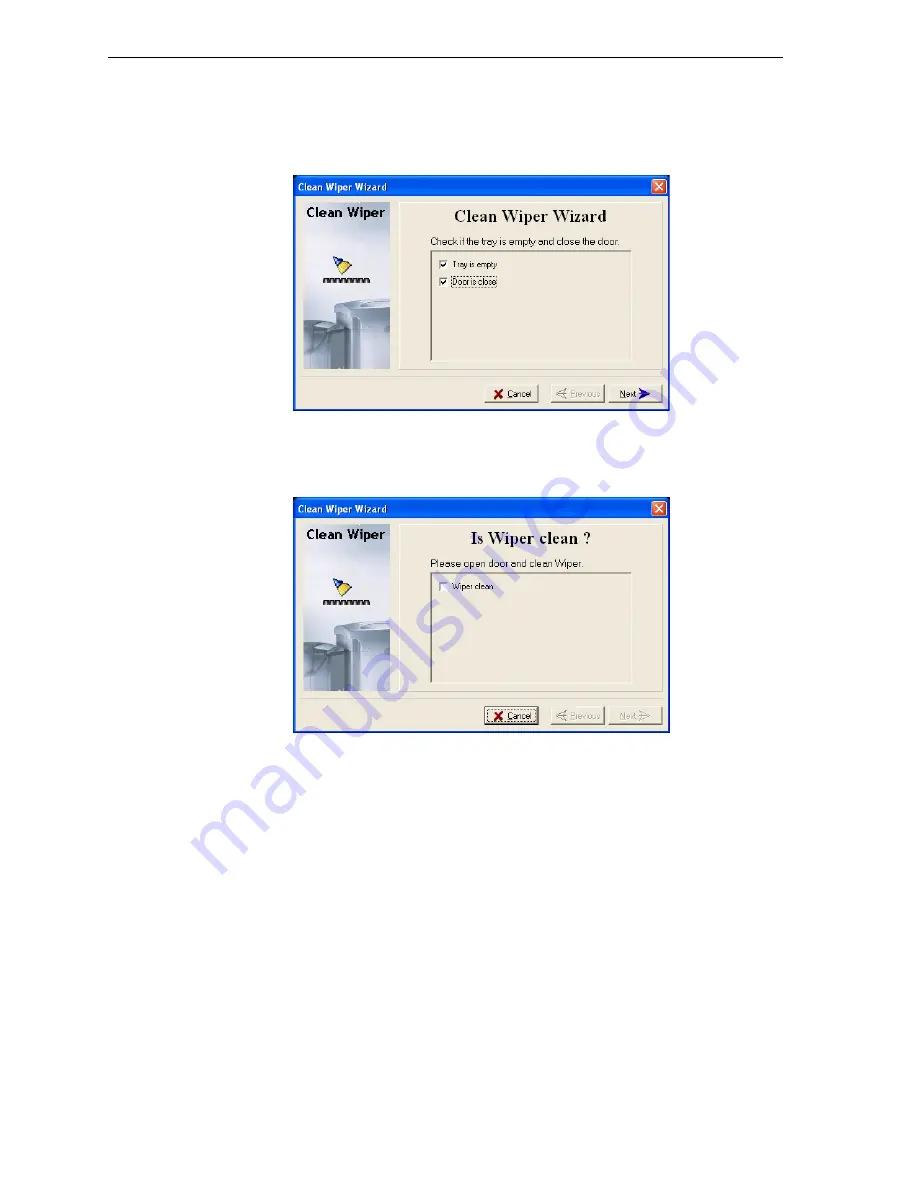
4. Follow
the
instructions
on
the
wizard
screens,
and
select
the
check
boxes
to
confirm
that:
•
you
have
checked
that
the
tray
is
empty.
•
you
have
closed
the
cover.
Figure 7-24:Wiper Cleaning procedure—step 4
5. Click
Next
.
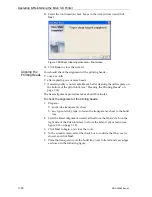
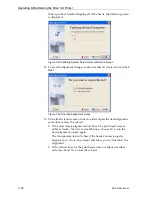
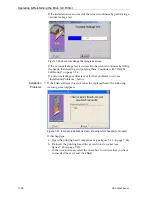
6. When
the
following
screen
appears,
open
the
cover.
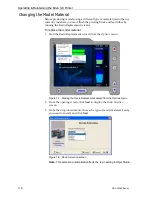
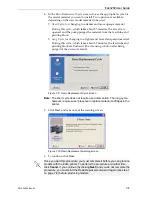
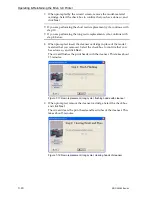
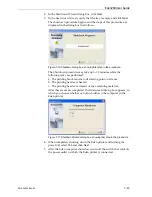
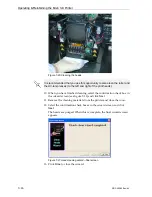
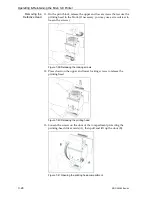
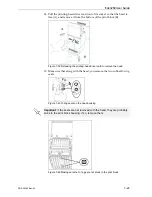
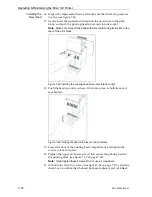
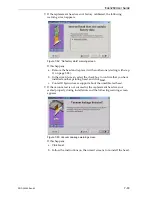
Figure 7-25:Wiper Cleaning procedure—steps 7–9
7. Put
on
the
cleaning
glove.
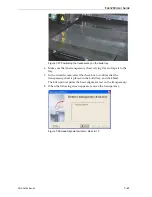
8. Inspect
the
wiper.
•
If
it
needs
cleaning,
soak
the
cloth
with
the
cleaning
fluid
and
use
it
to
remove
the
debris.
•
If
it
needs
replacing,
grasp
it
and
pull
it
up
and
out
of
its
bracket.
Then
insert
the
new
wiper
blade,
making
sure
that
it
is
straight
and
secured
well
on
both
sides
.
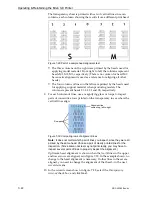
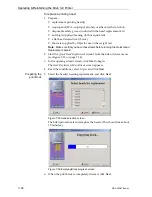
9. In
the
wizard
screen,
select
the
confirmation
check
box
(see
and
click
Next
.
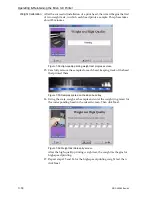
10. Make
sure
that
you
have
removed
all
materials
from
the
printer,
and
close
the
cover.


