OBO Bettermann
42 | EN
Installing the isCon® system
5 3
Fastening the air-termination rod in the air-termination
rod stand
5 3 1
Mounting the concrete plinth
1
2
3
4
5
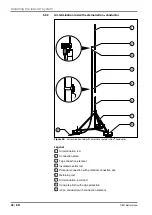
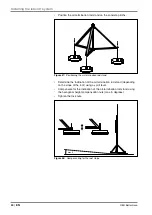
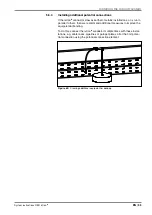
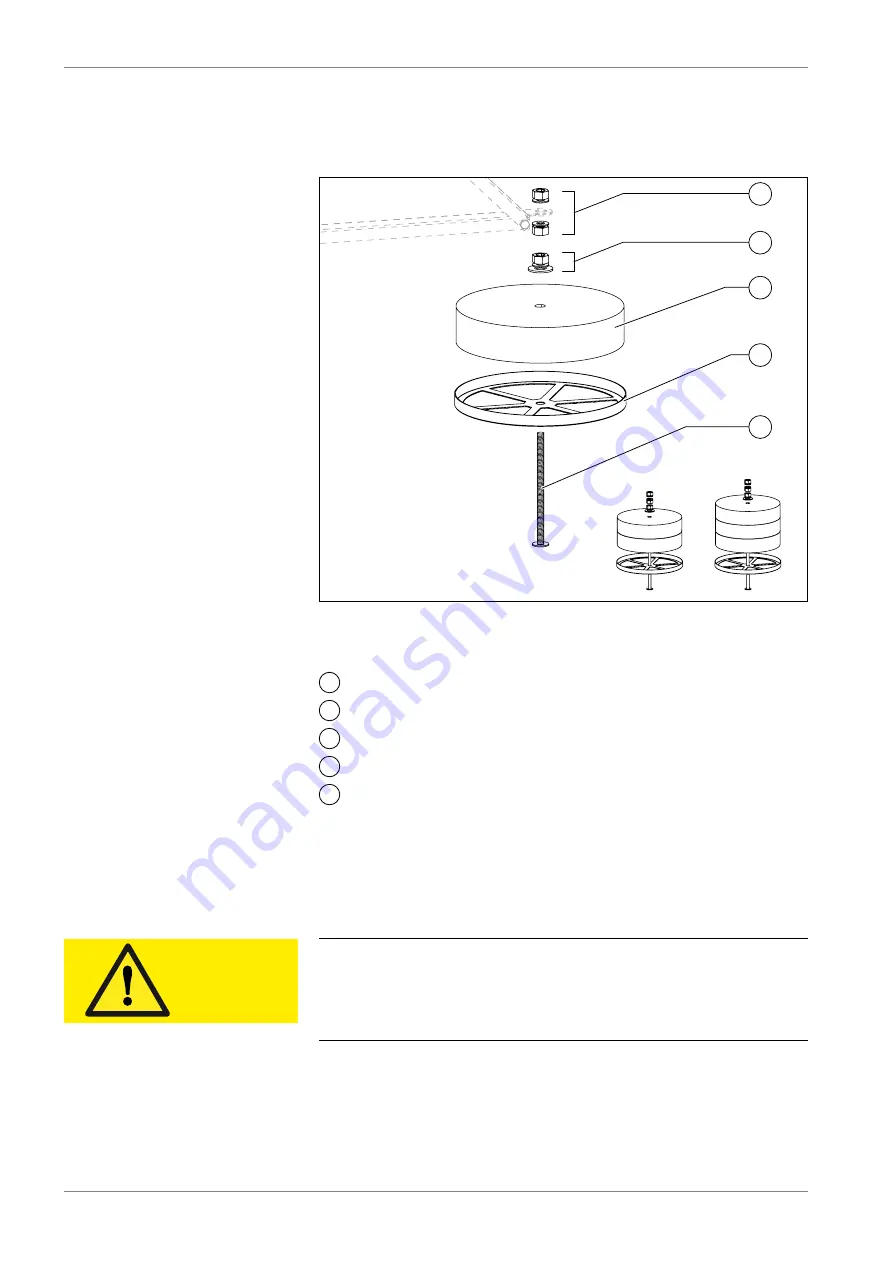
Figure 44:
Concrete plinth with fastenings
Legend:
1
Hexagonal nuts (with washers) for height compensation
2
Lock nut (with washer and plate)
3
Concrete plinth
4
Edge protection
5
Threaded rod
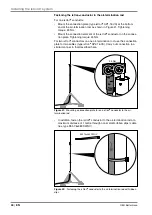
• From below, push the threaded rod through the opening of the edge
protection and the concrete plinth and fix it with the lock nut.
5 3 2
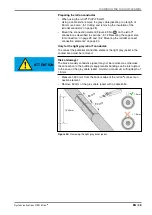
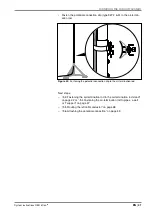
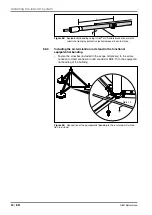
Erecting the air-termination rod stand
See also “„3.3 Insulated air-termination rods“ on page 12
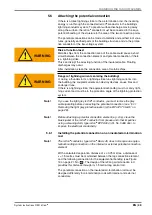
CAUTION
Risk of crushing when erecting the air-termination rod stand!
When erecting the air-termination rod stand, hands and other limbs may
be crushed by moving parts.
When erecting the air-termination rod stand, do not reach between mov-
ing parts!
Note!
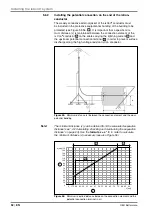
To determine how many concrete plinths must be used in the isFang air-
termination rod system, we recommend asking a planning office to carry
out the static calculations.
You can find further information on wind speed
zones in the OBO TBS lightning protection guide and national directives.


