11
308–030
OPERATION
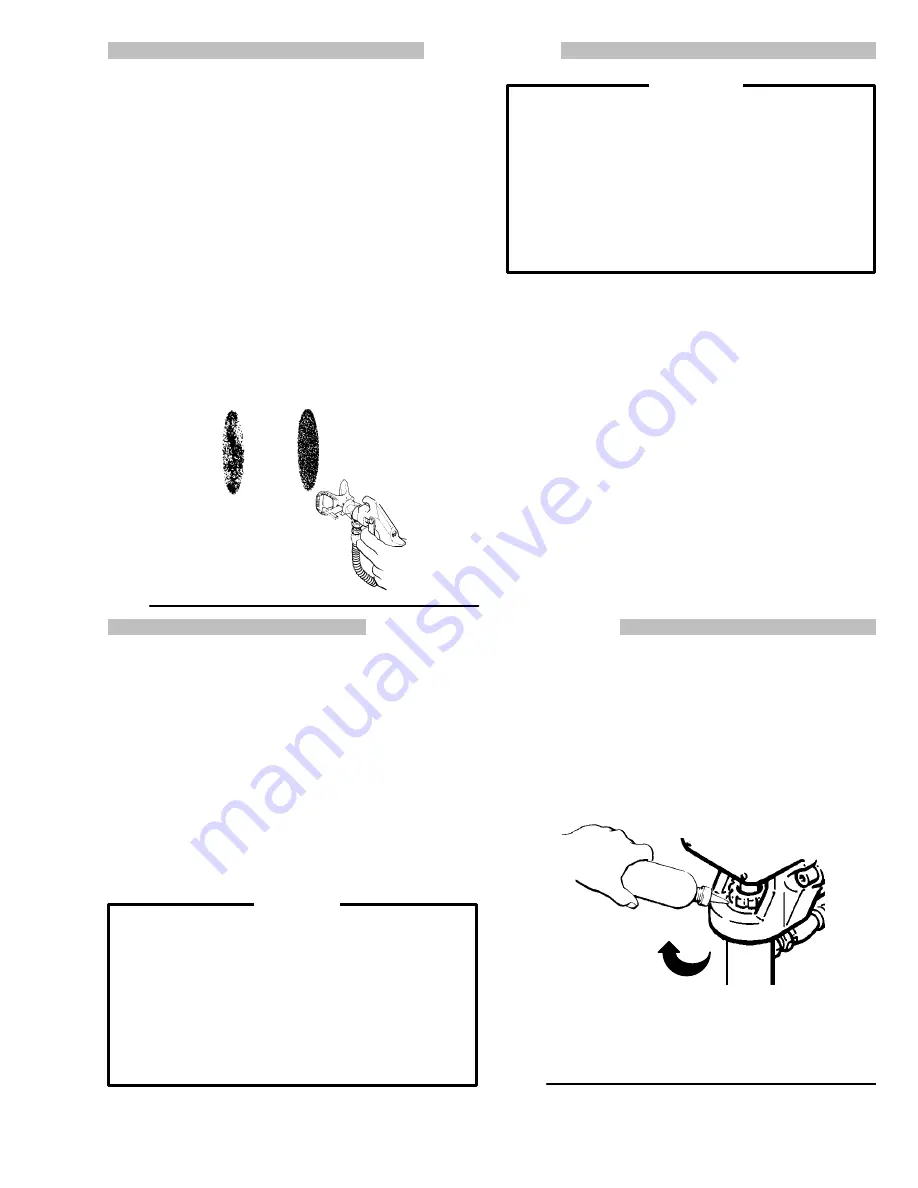
3. Adjusting the spray pattern (See Fig 4.)
a. Increase the pressure just until spray from
the gun is completely atomized. To avoid
excessive overspray and fogging, to
decrease tip wear and to extend the life of
the sprayer, use the lowest pressure
needed for good atomization.
b. If more coverage is needed, use a larger
tip rather than increasing the pressure.
c. To adjust the spray pattern direction, en-
gage the gun safety latch. Loosen the re-
taining nut. Position the tip guard horizon-
tally for a horizontal pattern or vertically for
a vertical pattern. Tighten the retaining
nut.
Fig 4
SPOTTY
PATTERN
–
INCREASE
PRESSURE
GOOD
FULL
PATTERN
To reduce the risk of serious bodily injury
from injection, use extreme caution when
cleaning or changing spray tips. If the spray
tip clogs while spraying, engage the gun
safety latch immediately, then follow Step 4.
NEVER wipe off buildup around the spray tip
until pressure is fully relieved and the gun
safety latch is engaged.
WARNING
4. Cleaning a Clogged Tip
a. Clean the front of the tip frequently dur-
ing operation.
Follow the Pressure Relief
Procedure Warning on page 9. Use a sol-
vent–soaked brush to clean the tip.
b. If the spray tip clogs, engage the gun
safety latch, shutoff and unplug the spray-
er, and open the pressure drain valve to
relieve pressure. Loosen the tip guard re-
taining nut
slowly to relieve any additional
pressure, and then remove the spray tip to
clean it. See the instructions supplied with
your spray tip for cleaning clogs.
SHUTDOWN AND CARE
1. Check the packing nut/wet–cup daily.
Relieve pressure. Keep the wet–cup 1/3 full of
Throat Seal Liquid to help prevent fluid build-
up on the piston rod and premature wear of
packings. Tighten the packing just enough to
stop leakage. Overtightening may cause bind-
ing and excessive packing wear. See Fig 5.
2. Flush the sprayer at the end of each work
day and fill it with mineral spirits to help pre-
vent pump corrosion and freezing. See
FLUSHING GUIDELINES on page 12.
Never leave water or any paint in the sprayer
overnight to prevent pump corrosion and to
prevent the fluid from freezing in the pump
and pressure control which can cause loss of
pressure, stalling or serious sprayer damage.
Always use mineral spirits for the final flush,
relieve pressure, and leave the mineral spirits
in the sprayer.
CAUTION
3. For very short shutoff periods, leave the
suction tube in the paint, relieve pressure, un-
plug the sprayer, and clean the spray tip.
4. Coil the hose around the top of the shroud
and rest it on top of the hose rack when stor-
ing it, even for overnight, to help protect the
hose from kinking or damage.
Fig 5
PACKING NUT/WETCUP
Keep filled with TSL during
operation. Tighten nut by
turning clockwise.
Summary of Contents for PRO 301
Page 29: ...29 308 030 NOTES...
Page 30: ...30 308 030 NOTES...


