Specifying settings from the control panel
4
CS230 (Phase3)
4-107
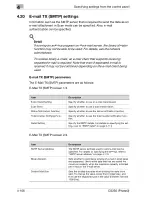
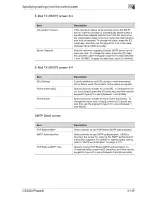
E-Mail TX (SMTP) screen 3/4
E-Mail TX (SMTP) screen 4/4
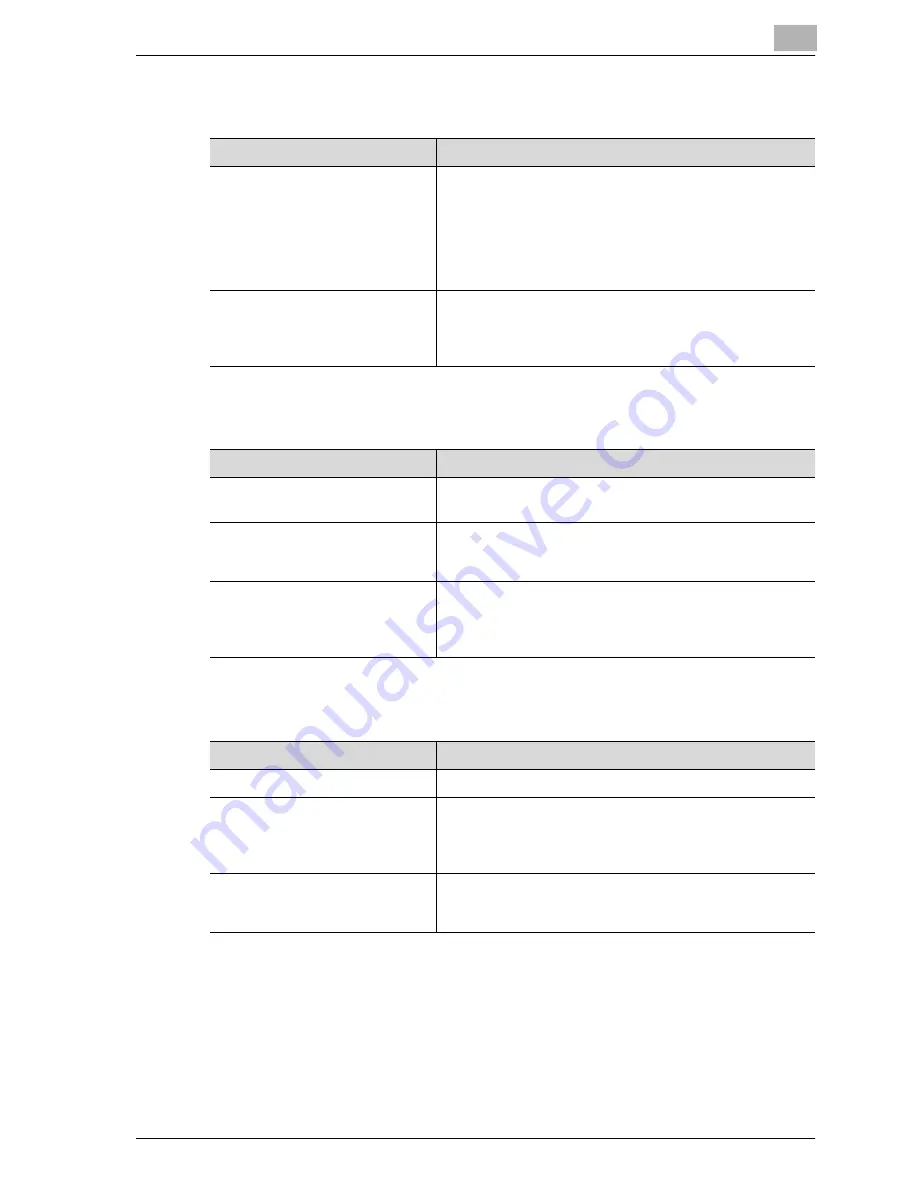
SMTP Detail screen
Item
Description
Connection Timeout
If the operation delays while sending mail to the SMTP
server, mail transmission is automatically aborted after a
specified time elapses. Set the time from the point when
the transmission stops to the point when the mail transmis-
sion is to be aborted. To change the value, press the [C]
(clear) key, and then use the keypad to type in the value
(between 30 and 300 seconds).
Server Capacity
Sets the maximum capacity that the SMTP server can re-
ceive per mail. To change the value, press the [C] (clear)
key, and then use the keypad to type in the value (between
1 and 100 MB). To apply no restriction, touch [Unlimited].
Item
Description
SSL Settings
Specify whether to use SSL during e-mail transmission.
When SSL is used, the content that is sent is encrypted.
Port Number (SSL)
Specify the port number for using SSL. To change the val-
ue, touch [Input], press the [C] (clear) key, and then use the
keypad to type in the value (between 1 and 65535).
Port Number
Specify the port number for the e-mail transmission. To
change the value, touch [Input], press the [C] (clear) key,
and then use the keypad to type in the value (between 1
and 65535).
Item
Description
POP Before SMTP
Select whether to use POP Before SMTP authentication.
SMTP Authentication
Select whether to use SMTP authentication. If [ON] is
touched, the screen for entering the SMTP authentication
information appears. For details on specifying the setting,
refer to "SMTP authentication" on page 4-113.
POP Before SMTP Time
Specify if using POP Before SMTP authentication. To
change the value, press the [C] (clear) key, and then use the
keypad to type in the value (between 0 and 60 seconds).
Summary of Contents for CS230
Page 1: ...Oc CS230 Phase 3 User s Guide Network Scanner...
Page 13: ...1 Introduction...
Page 14: ......
Page 26: ...1 Introduction 1 14 CS230 Phase3...
Page 27: ...2 Before using the scan functions...
Page 28: ......
Page 42: ...2 Before using the scan functions 2 16 CS230 Phase3...
Page 43: ...3 Scanning documents...
Page 44: ......
Page 125: ...Scanning documents 3 CS230 Phase3 3 83 4 Touch Yes to delete the job 5 Touch Close...
Page 131: ...4 Specifying settings from the control panel...
Page 132: ......
Page 303: ...5 Specifying settings Using Web Connection...
Page 304: ......
Page 392: ...5 Specifying settings Using Web Connection 5 90 CS230 Phase3 TCP IP Specify TCP IP settings...
Page 402: ...5 Specifying settings Using Web Connection 5 100 CS230 Phase3 5 24 SNMP Specify SNMP settings...
Page 412: ...5 Specifying settings Using Web Connection 5 110 CS230 Phase3 4 Specify the desired settings...
Page 441: ...6 Scan function troubleshooting...
Page 442: ......
Page 444: ...6 Scan function troubleshooting 6 4 CS230 Phase3...
Page 445: ...7 Appendix...
Page 446: ......


