Specifying settings from the control panel
4
CS230 (Phase3)
4-109
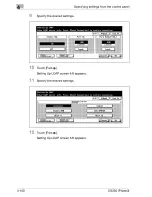
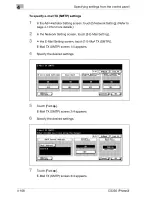
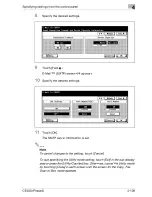
8
Specify the desired settings.
9
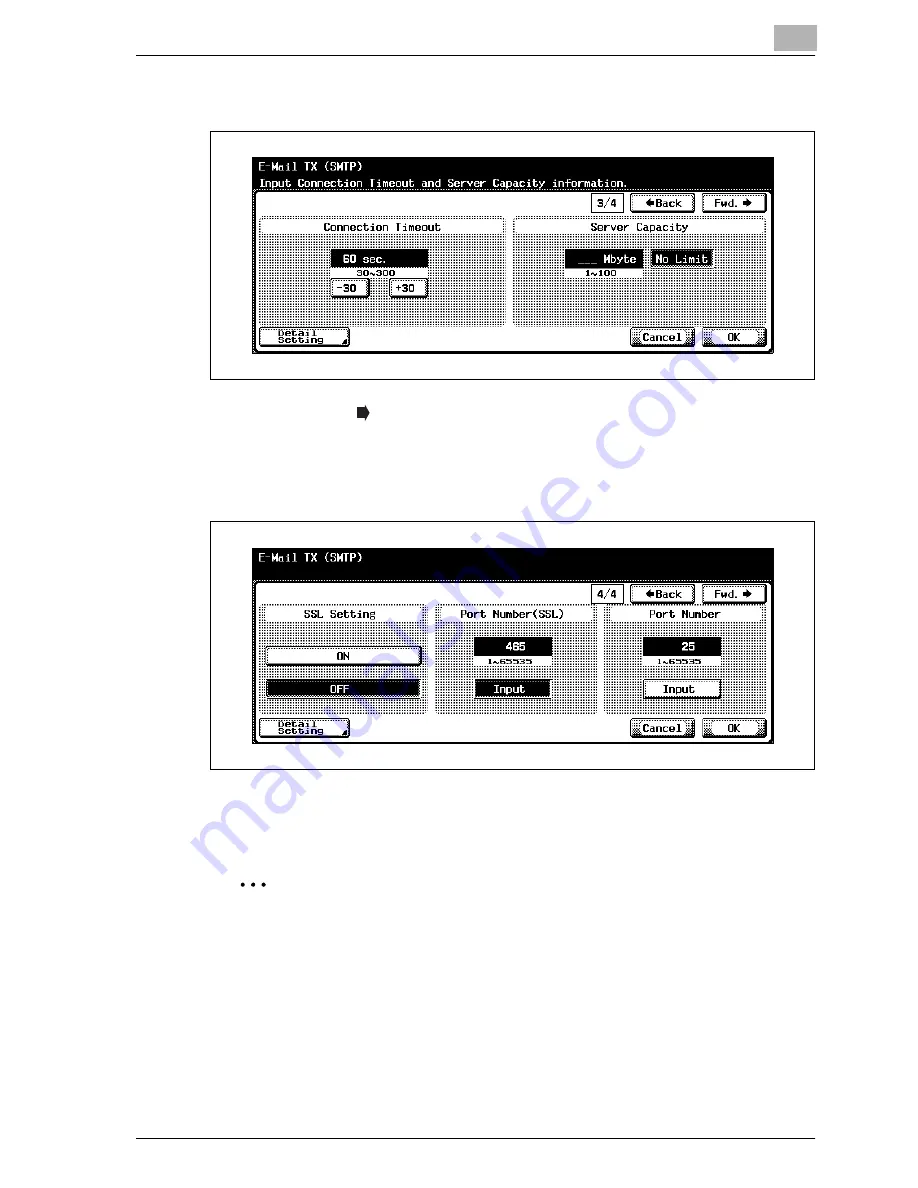
Touch [Fwd.
].
E-Mail TX (SMTP) screen 4/4 appears.
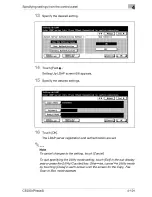
10
Specify the desired settings.
11
Touch [OK].
The SMTP server information is set.
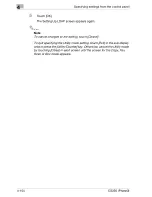
2
Note
To cancel changes to the setting, touch [Cancel].
To quit specifying the Utility mode setting, touch [Exit] in the sub display
area or press the [Utility/Counter] key. Otherwise, cancel the Utility mode
by touching [Close] in each screen until the screen for the Copy, Fax,
Scan or Box mode appears.
Summary of Contents for CS230
Page 1: ...Oc CS230 Phase 3 User s Guide Network Scanner...
Page 13: ...1 Introduction...
Page 14: ......
Page 26: ...1 Introduction 1 14 CS230 Phase3...
Page 27: ...2 Before using the scan functions...
Page 28: ......
Page 42: ...2 Before using the scan functions 2 16 CS230 Phase3...
Page 43: ...3 Scanning documents...
Page 44: ......
Page 125: ...Scanning documents 3 CS230 Phase3 3 83 4 Touch Yes to delete the job 5 Touch Close...
Page 131: ...4 Specifying settings from the control panel...
Page 132: ......
Page 303: ...5 Specifying settings Using Web Connection...
Page 304: ......
Page 392: ...5 Specifying settings Using Web Connection 5 90 CS230 Phase3 TCP IP Specify TCP IP settings...
Page 402: ...5 Specifying settings Using Web Connection 5 100 CS230 Phase3 5 24 SNMP Specify SNMP settings...
Page 412: ...5 Specifying settings Using Web Connection 5 110 CS230 Phase3 4 Specify the desired settings...
Page 441: ...6 Scan function troubleshooting...
Page 442: ......
Page 444: ...6 Scan function troubleshooting 6 4 CS230 Phase3...
Page 445: ...7 Appendix...
Page 446: ......


