05
Safety precautions
Read through the mounting/
use instructions carefully before
installing the luminaire. Follow
the safety precautions in these
instructions closely and keep the
instructions in a safe place.
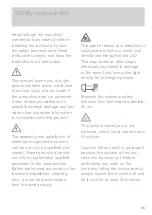
This symbol warns you of a dan-
gerous situation which could lead
to serious injury or even death if
the instructions are not observed.
It also draws your attention to
possible material damage and pro-
vides other important information
in connection with this product.
The assembly and installation of
electrical components must be
carried out only by qualified per-
sonnel. Repairs must be carried
out only by authorised, qualified
personnel or the manufacturer.
Before performing any work on the
luminaire (installation, cleaning,
etc.), it must be disconnected
from the mains supply.
This symbol draws your attention to
situations in which you could look
directly into the light of the LED.
This may cause an after-image
effect and may result in damage
to the eyes if you look at the light
directly for prolonged periods.
0.2 m
Maintain the minimum safety
distance from flammable materials:
20 cm.
This symbol warns you of hot
surfaces, which could cause burns
if touched.
Caution: When used for prolonged
periods, the surface of the lumi-
naire can become hot. Before
performing any work on the
luminaire (fitting the luminaire etc.),
always switch the luminaire off and
let it cool for at least 30 minutes.
Summary of Contents for Mito alto side up
Page 1: ...Mito alto up Mito alto side up DALI Montageanleitung Mounting instructions...
Page 2: ......
Page 8: ......
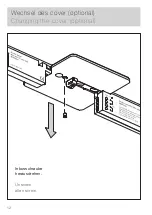
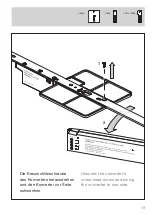
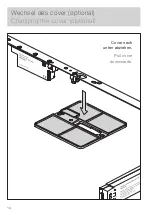
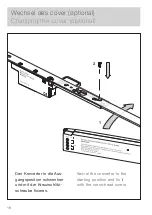
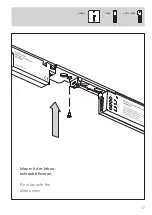
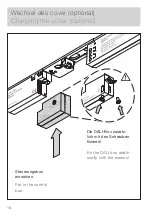
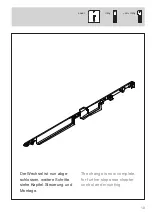
Page 9: ...09 Wechsel des cover optional Changing the cover optional...
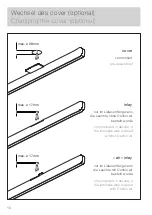
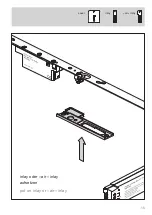
Page 15: ...15 air inlay inlay cover inlay oder air inlay aufsetzen put on inlay or air inlay...
Page 17: ...17 air inlay inlay cover Inlay mit der Inbus schraube fixieren Fix inlay with the allen screw...
Page 20: ......
Page 22: ......
Page 23: ...23 Mito set box standard...
Page 26: ......
Page 27: ...27 Mito air box optional...
Page 30: ......
Page 31: ...31 Mito DALI box optional...
Page 35: ...35...
Page 36: ......
Page 37: ...37 Montage Mounting...
Page 38: ...38 Montage Mounting...
Page 42: ...42 Montage Mounting...
Page 46: ...46 1 2 Montage Mounting Leuchte wie abgebildet einhaken Hook in the luminaire as shown...
Page 47: ...47 3 und das andere Ende nach oben einklipsen and clip the other end up Click...
Page 49: ...49 Die Leuchte ist nun fertig montiert The luminaire is now fully mounted...
Page 50: ......
Page 51: ...51 Steuerung mit der Occhio air App optional Control using the Occhio air app optional...
Page 58: ......
Page 62: ......
Page 63: ...63 Anhang Appendix...


