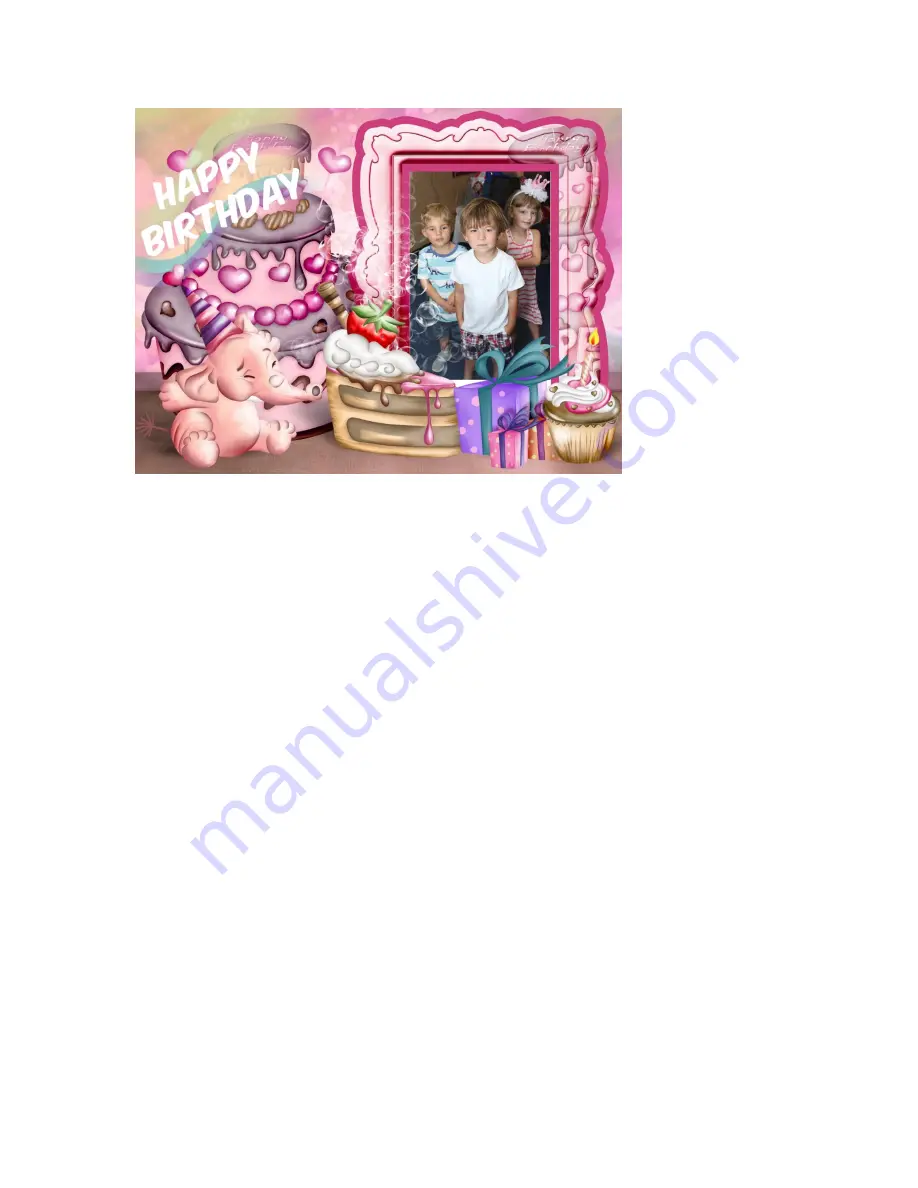
Figure 33 Resulting picture after template is applied
NOTE! Since OCCO Print Terminal downloads photos to be printed from the online album, any branding
and logos you apply to picture files will end up being printed as well (whether or not you use a
template). If you want to avoid seeing the watermark on printed photos, disable it from your event
management console (watermarks for live screen and uploaded photos can be set independently)
Care and maintenance
With proper care and maintenance your OCCO will last for years. There are a few simple rules to follow.
1.
(Model C/IC) the external body of OCCO is made out of PolyCarbonate (PC). PC is a great
material. It will not crack, shatter or change color. However, it is a relatively soft material and
not very resistant to chemicals.
Never
use hard abrasive material to wipe the screen – it will get
scratched, use soft lint-free material and
avoid aggressive chemicals
designed for glass (Windex,
etc). Damp cloth, and soft touches. Keep in mind, minor scratches and dirt will not be visible
once the screen is turned off, so do not risk scratching the screen for the pristine looks.
2.
(Model C/IC) Store OCCO in vertical position with protective clothing on it. If OCCO should be
stored in the transportation case – do not leave it lying down for extended periods of time (e.g.
days or weeks). Stand the case up and leave in vertical orientation. This is done to prevent
extended pressure on the PC shell that may result in deformation, especially in high-
temperature climates.
3.
If OCCO is to be stored for extended periods of time (weeks or months), make sure to plug it in
for a few hours or overnight before an event to charge its internal batteries.
4.
Shut down OCCO’s PC and unplug OCCO when not in use.
NEVER
leave OCCO plugged in with
OCCO’s protective clothing on it – this will result in permanent damage to the device and can
present a fire hazard due to insufficient ventilation and over-heating.
Summary of Contents for S
Page 39: ......
Page 46: ......
Page 56: ...Lid removal steps 1 this picture push in and up 2 next page lift up 3 next page remove...
Page 57: ......
Page 59: ......


