Setting up the Océ 3000 Microfilm Scanner
75
9
Click OK.
You return to the Printer Setup window.
10
Click Setup.
The Setup window appears.
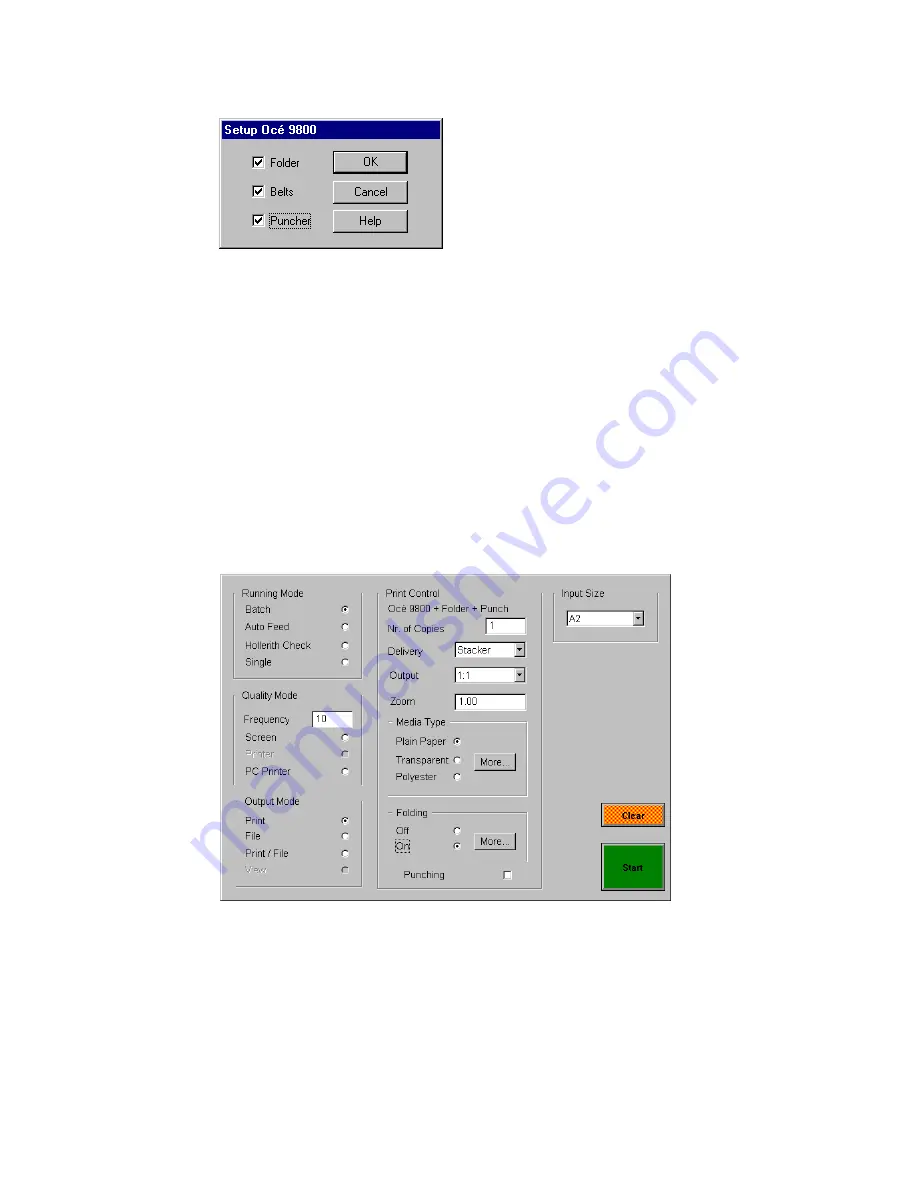
[54] Océ 9800 setup
11
Click the appropriate boxes for Folder, Belts and Puncher.
Note:
You only can select Belts when Folder is already selected. You only
can select Puncher when Folder and Belts are already selected.
12
Click OK.
You return to the Printer Setup window.
13
Click OK.
14
From Utilities choose Configuration. In the appearing Configuration window
click save as new defaults and then click Update. The chosen printer is now set
as default.
You return to the Control screen.
[55] Delivery, Output size and Zoom settings for the Océ 9800
If your Océ 9700/9800 is equipped with an folder and high capacity output
unit, you can adjust the delivery of the copies.
2107.tif
2108.tif
Summary of Contents for 3000
Page 1: ...Oc 3000 User Manual...
Page 6: ...6 Oc 3000 User Manual...
Page 38: ...38 Oc 3000 User Manual...
Page 39: ...39 Oc 3000 User Manual Chapter 4 The Viewing mode...
Page 87: ...87 Oc 3000 User Manual Chapter 6 File handling and administration...
Page 99: ...99 Oc 3000 User Manual Appendix A Technical specifications...
Page 105: ...105 Oc 3000 User Manual Appendix B Safety information...
Page 110: ...110 Oc 3000 User Manual...
Page 117: ...117 Oc 3000 User Manual Appendix D Miscellaneous...


