52
Chapter 3
‐
How to Navigate the User Interface
Océ Arizona 6100 Series
Print Job Control Module
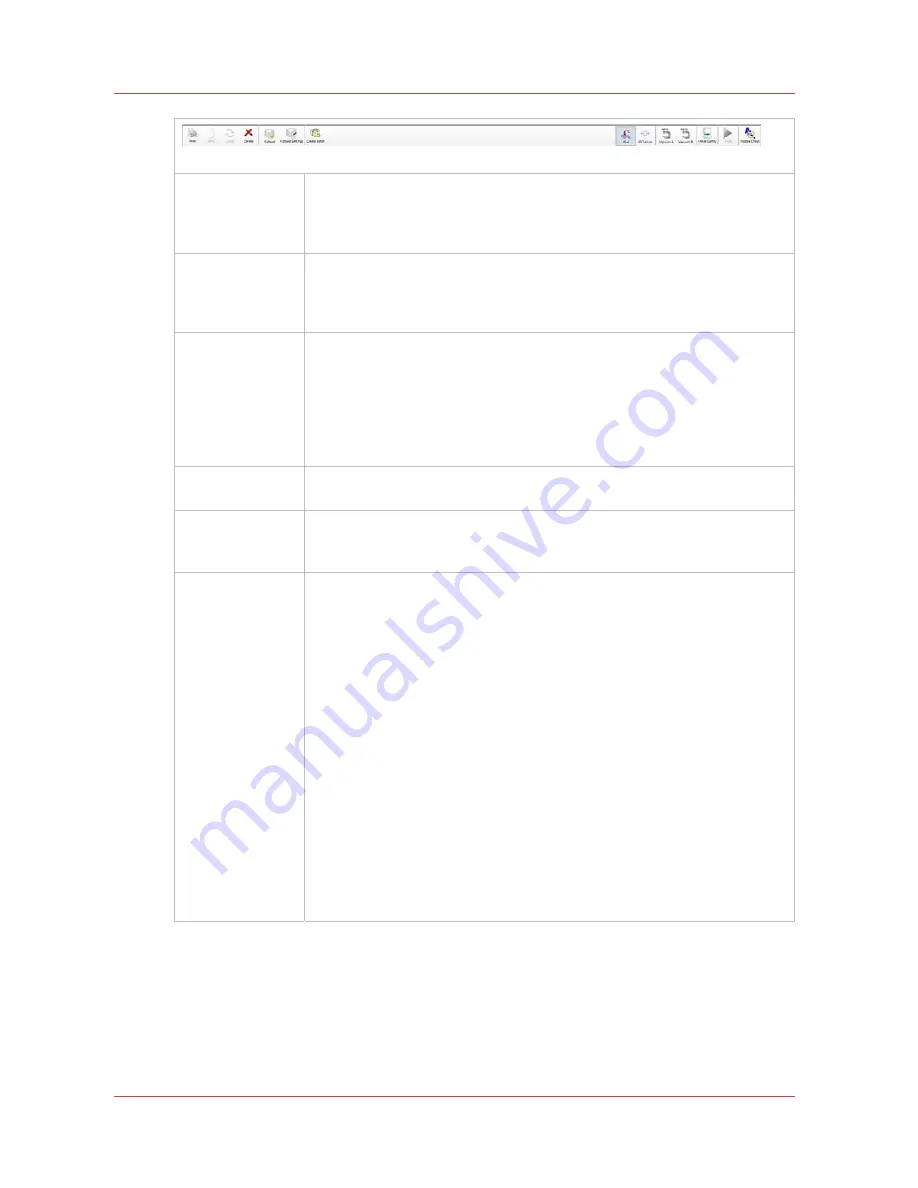
Command Toolbar Icons Explained
Print job
This command can do the following actions depending on context:
• Activates a selected inactive job by moving it to the active list.
• Un-holds a held job.
• Un-holds an job that had an error currently.
Hold job
The command can do following actions depending on context:
• Puts an active job on hold.
• Waits until the printer finishes a currently printing copy and puts the job
on hold.
Cancel job
The command can do following actions depending on context:
• Deactivates a selected active job by moving it to the inactive list. Note
that Special Prints will not move to the inactive list.
• Cancels a currently printing job and moves it to the inactive list. Note
that the first click cancels the print, but the carriage will continue to ap-
ply curing passes so that the ink cures properly. A second click termi-
nates the print job immediately.
Delete job
Deletes a job from the printer. However, you cannot delete a job that is cur-
rently printing.
Flatbed icon
Process flatbed jobs toggle command - Allows printer to process flatbed
jobs. This must be selected to enable flatbed printing when the printer is
booted or after re-setting the printer due to an error.
Flatbed Settings
A dialog window automatically appears when confirmation is required. If it
is closed before you select Confirm, it can be reopened by clicking on this
button.
Media Parameters
Enter or confirm the thickness of the media. The printer will automatically
adjust the carriage height to media thickness and also the print gap. Media
thickness confirmation is required only for the first copy of a print job, un-
less it is changed during printing. If the media thickness value is changed
while printing, confirmation is requested before printing the next copy.
Lamp Power Control
Allows the operator to control the power output of each UV lamp inde-
pendently. To extend lamp life, use the lowest setting that provides ade-
quate curing for a particular media.
Leading and Trailing Edge are relative to the direction of carriage travel. To
enable or disable this setting, see the User Interface section of the Settings
page "Tie lamp controls together". When enabled, this feature automatical-
ly matches the power of the trailing UV lamp, when power of the leading
UV lamp changes. It is still possible to adjust the power of the trailing UV
lamp individually, when this setting is not enabled.
4
Summary of Contents for Arizona 6160 XTS
Page 6: ...Contents 6 Oc Arizona 6100 Series...
Page 7: ...Chapter 1 Introduction...
Page 15: ...Chapter 2 Safety Information...
Page 44: ...44 Chapter 2 Safety Information Oc Arizona 6100 Series Safety Awareness...
Page 45: ...Chapter 3 How to Navigate the User Interface...
Page 67: ...Chapter 4 How to Operate Your Oc Arizona Printer...
Page 79: ...Chapter 5 How to Operate the Vacuum System...
Page 85: ...Chapter 6 How to Print in Batch and Dual Origin Modes...
Page 91: ...Chapter 7 How to Manage a White Ink Workflow...
Page 125: ...Chapter 8 Ink System Management...
Page 135: ...Chapter 9 Error Handling and Troubleshooting...
Page 139: ...Chapter 10 Printer Maintenance...
Page 174: ...174 Chapter 10 Printer Maintenance Oc Arizona 6100 Series How to Bleed an Ink Filter...
Page 175: ...Appendix A Application Information...


