7-32
Advanced
Mode
Coloring
Color Creation
5
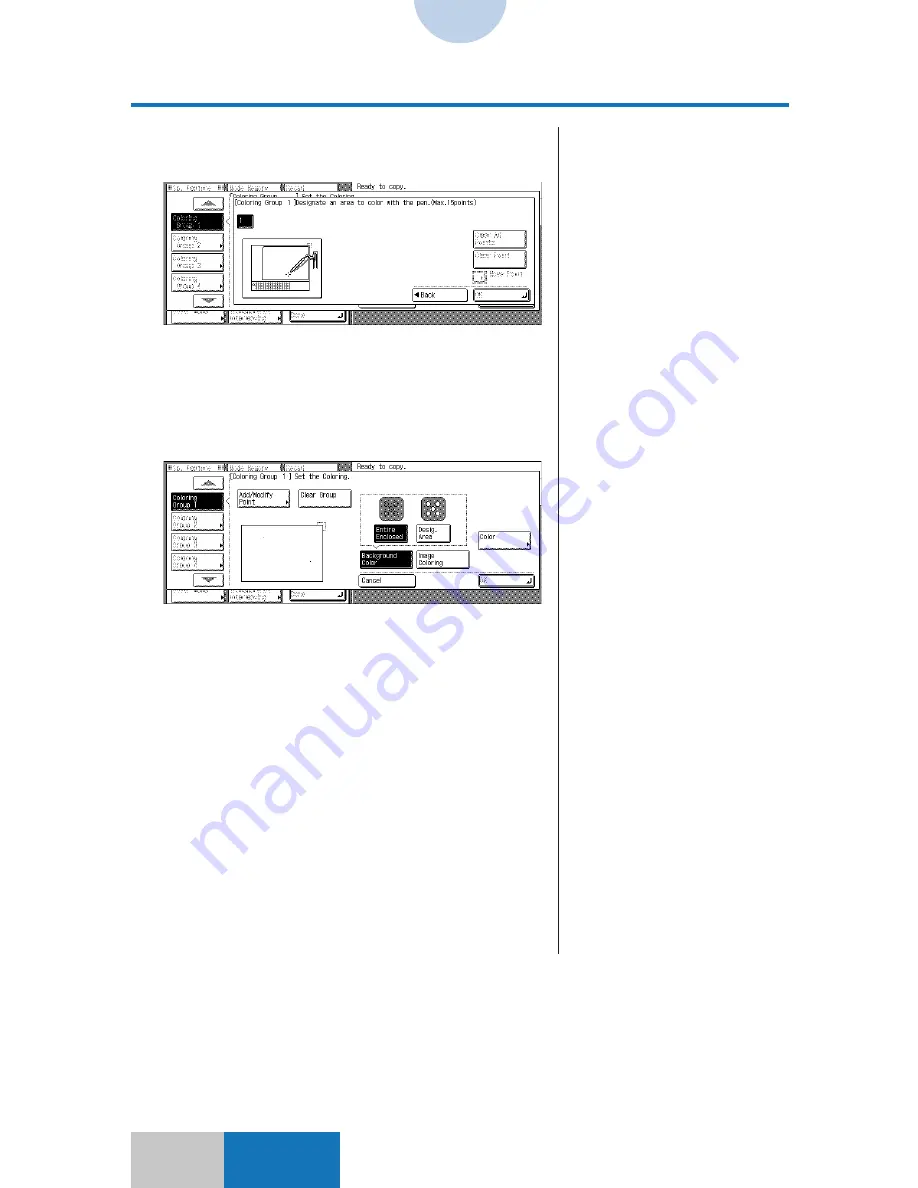
Designate the coloring area with
the edit pen.
Up to 15 points can be designated for each area (a group
of points).
6
Press the [OK] key.
7
Select a target area to be colored.
Select the coloring target from the following two types:
●
Background Coloring
Adds color to the background, excluding parts of the
image that are inside the designated area. For details,
see "To add color to the background," on p. 7-33.
●
Image Coloring
Adds color to parts of the image that are inside the
designated area. For details, see "To add color to the
image," on p. 7-34.
8
Press the [Color] key, and then
select the color to be added to the
designated area.
❚
To clear an individual point, press
the key for the point to be cleared,
and then press the [Clear Point] key.
To clear all the designated points of
an area, press the [Clear All Points]
key.
❚
To change the position of the
designated point, press the [Move
Point] key. For details, see "To
change the position of the
designated point," on p. 7-35.
❚
If the [Back] key is pressed after the
area to be colored is designated,
the confirmation screen for clearing
the designated area is displayed.
❚
There are four methods for
selecting a color:
●
Color Palette Selection
(see p. 7-2)
●
Color Circle Selection
(see p. 7-7)
●
Registered Color Selection
(see p. 7-9)
●
Designated Color Selection
(see p. 7-11)
❚
The target to be colored must be
enclosed by a line of at least 1 mm.
❚
To add a point, press the [Add/
Modify Point] key, and then repeat
from Step 5.


