9-26
Advanced
Mode
Designating Areas with the Markers
■
How to Designate Areas with the Markers
There are two methods for designating areas with the markers: One-point Designation and
Encircled Designation.
How to Designate Areas
❚
Even if the borders of original
images are not broken, the
image in the enclosed area may
not be correctly processed when
the entire images are not
contained completely within the
copy paper resulting in broken
borders during enlarged copying.
❚
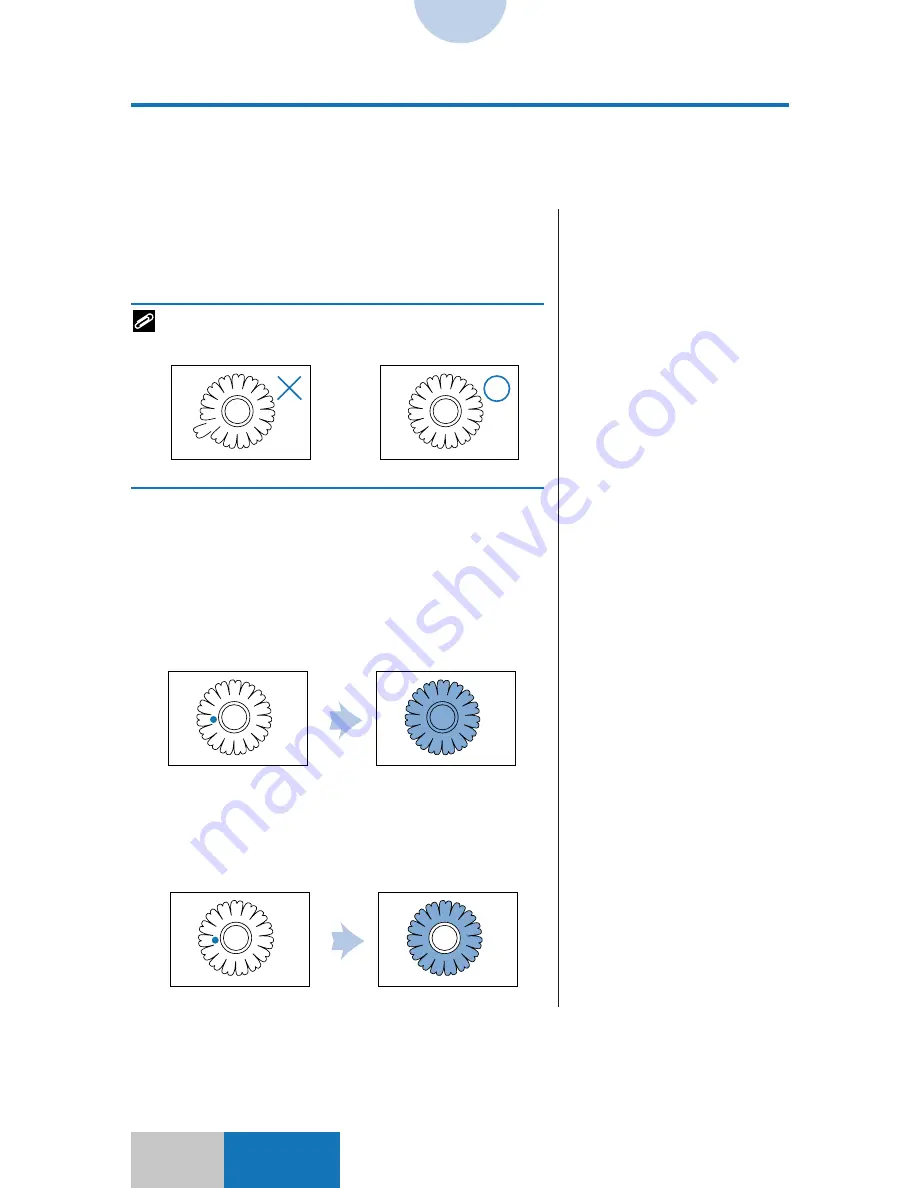
Do not designate a point on any
line composing the image.
❍
To make a one-point designation
When an image for Marker Editing has a solid border, mark
one point inside the border with a marker. The region
inside the border is recognized as an area.
The designation cannot be made if a portion of the border
in the image is open.
A maximum of 4,000 items can be specified in one original.
The diameter of the mark must be from 1.5 mm to 7 mm.
There are two methods for One-point Designation marking;
Entire Enclosed and Designated Area.
• Entire Enclosed
The entire region within the border is recognized as an
area.
• Designated Area
If another border exists inside the border, the entire area
except for the region inside the inner border is recognized
as an area.
❚
Only the Base Color function can
be set.
❚
If there is a smudged line inside
the area, the smudge may
sometimes be incorrectly
recognized as an area.
❚
This method cannot be selected
if the border exceeds the copy
paper as a result of enlargement.


