Changing the Color of the Original (Color Creation)
3-49
2
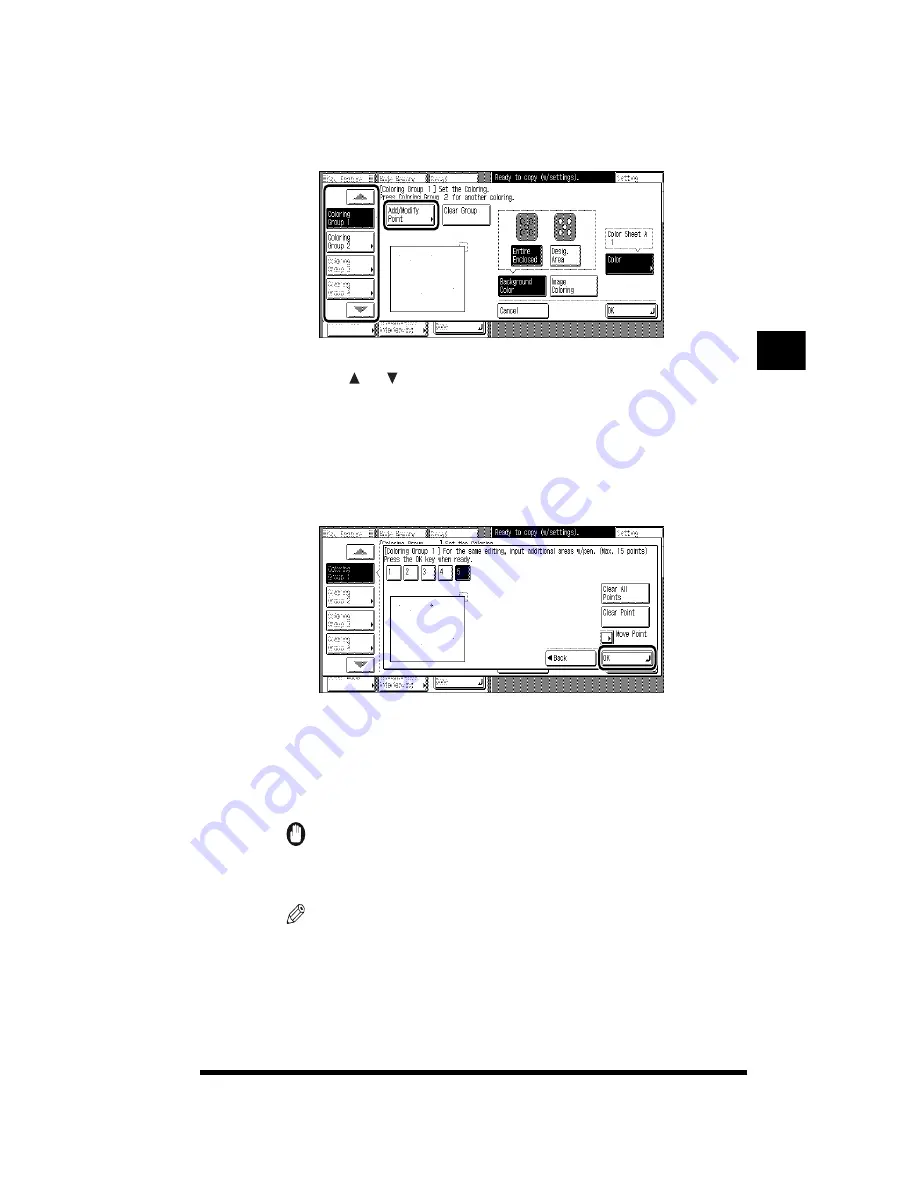
Press the [Coloring Group] key whose settings you want to
change; then press [Add/Modify Point].
If the [Coloring Group] whose settings you want to change is not displayed,
press [ ] or [ ].
3
Change the settings.
●
Adding an area
▼
Designate the area to color using the edit pen; then press [OK].
Make sure you designate an area that is totally enclosed. Designating a point
on the boundary or border of an enclosed area is not acceptable.
If there are multiple areas that you want to apply the same coloring effect to,
designate all of them with the edit pen and press [OK]. A maximum of 15
areas can be designated.
IMPORTANT
.
•
The thickness of the line that encloses an area that you want to designate must be
at least 1 mm.
NOTE
.
•
If there are errors in the designated areas, select the area or point to clear and
press [Clear Point]. If you want to clear all the designated areas or points, press
[Clear All Points].
•
If you press [Back] after designating the area to be colored, a message asking for
your confirmation to clear the area is displayed.
Adjusting Color and Image Quality
3
Summary of Contents for CS120
Page 1: ...Oc CS120 125 Oc CS120 125 Copying Guide...
Page 2: ...COLOR LASER COPIER 1180 1140 Copy Guide Ot i o j...
Page 15: ...xiv...
Page 263: ...Selecting Colors with Each Function 3 76 Adjusting Color and Image Quality 3...
Page 351: ...Inserting Text and Images 5...
Page 363: ...8 2 Appendix 8...


