Designating Areas on an Image for Editing (Area Designation)
4-41
- Changes in size in the horizontal direction will be preceded by a <-> sign for
changes to the right, while changes to the left will be preceded by a <+>
sign.
- Changes in size in the vertical direction will be preceded by a <-> sign for
changes to the top, while changes to the bottom will be preceded by a <+>
sign.
NOTE
.
•
Pressing [Move Area] will display the previous screen.
6
Press [Done]
➔
[OK]
➔
[OK]
➔
[Done].
The display returns to the Basic Features screen.
7
Place the original; then press
(Start).
Copying starts.
.
Copying by Hiding Designated Areas (Framing/Blanking)
The Framing function copies only the content inside a designated area, while the
Blanking function copies the image by hiding the inside of a designated area.
You can designate the area using the edit pen or the number keys on the touch
panel display.
IMPORTANT
.
•
You cannot designate areas using both the edit pen and the number keys on the touch
panel display at the same time.
•
[Framing/Blanking] is not displayed if the IP-ED board (option) is attached. When both
the editor (option) and the IP-ED board are attached, press [Area Designation] to access
the Framing/Blanking functions. (See “Designating Areas on an Image for Editing (Area
Designation),” on p. 4-29.)
•
The settings and workings of the Framing/Blanking functions differ depending on whether
the IP-ED board (option) and the editor (option) are attached.
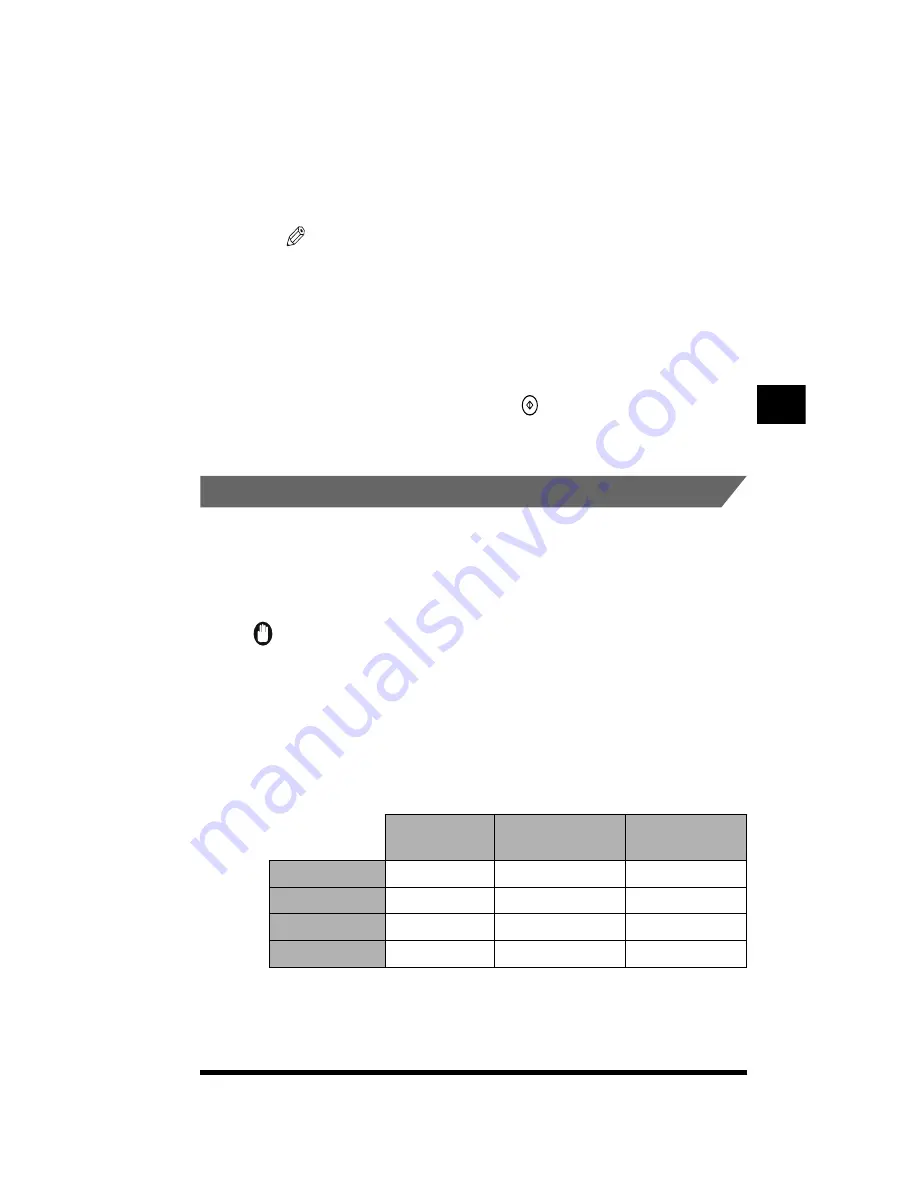
*
If an area other than a rectangle is designated, the maximum number of areas varies with the number of points that
can be specified.
Without IP-ED
board and editor
With editor only
With both IP-ED board
and editor
Touch panel key
[Framing/Blanking]
[Framing/Blanking]
[Area Designation]
Max. points
-
10 points
4,000 points
Max. areas
4 areas
4 areas
200 areas *
Available area type
Rectangle only
Rectangle and polygon
9 types
Making Copies in the Image Creation Mode
4
Summary of Contents for CS120
Page 1: ...Oc CS120 125 Oc CS120 125 Copying Guide...
Page 2: ...COLOR LASER COPIER 1180 1140 Copy Guide Ot i o j...
Page 15: ...xiv...
Page 263: ...Selecting Colors with Each Function 3 76 Adjusting Color and Image Quality 3...
Page 351: ...Inserting Text and Images 5...
Page 363: ...8 2 Appendix 8...


