Inserting Characters from a Black-and-white Text Original into a Color Original
(Character Composition)
5-14
Make sure the designated area does not extend beyond the borders of the black-
and-white text original.
After selecting the number for the area, you can change the size or position of
the area by pressing [Adjust Area]. For instructions, see “Modifying a Designated
Area,” on p. 4-38.
NOTE
.
•
To clear a point that you have just designated, press [Clear Point].
•
To clear the designated area, press [Clear Area] after selecting the number for the
area you want to clear.
•
To cancel all designated areas, press [Cancel All Area Editing].
5
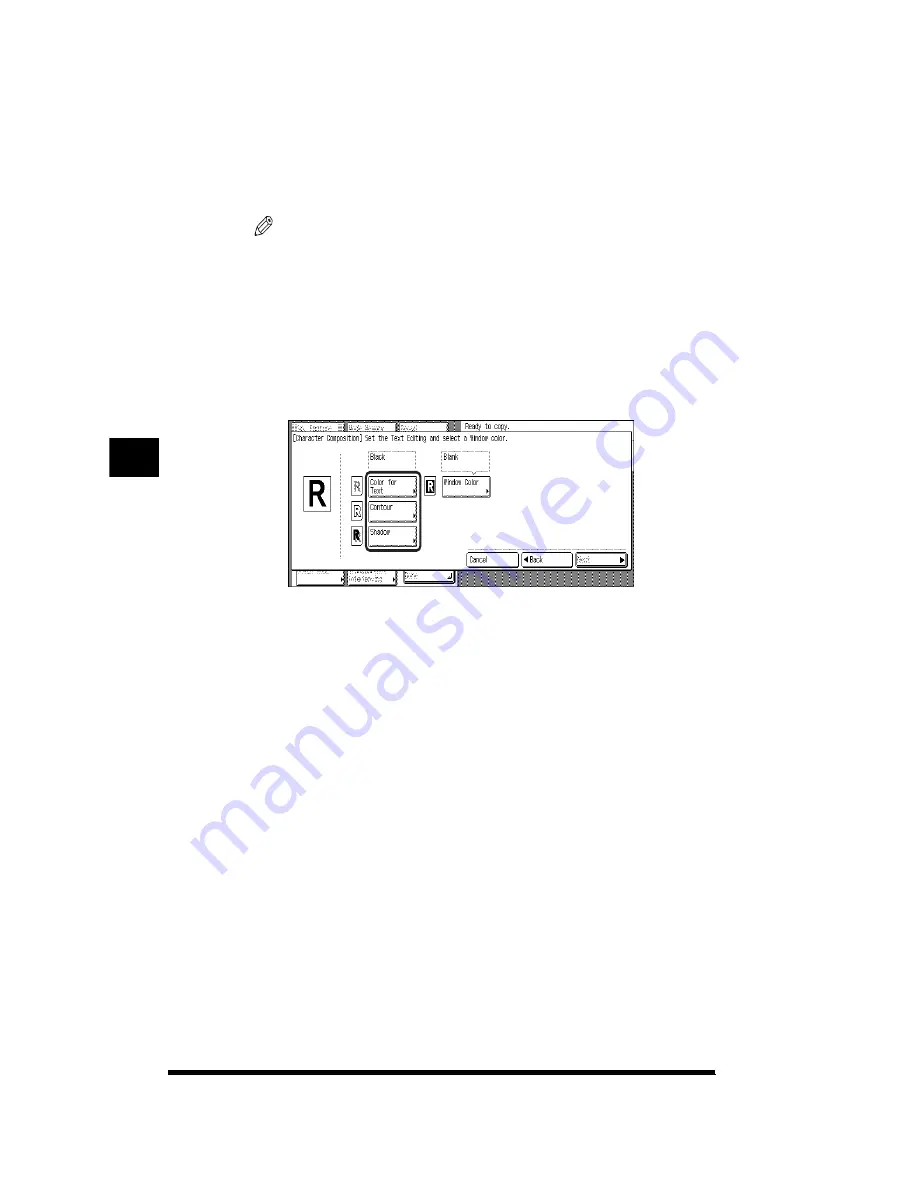
If you selected [Solid] in step 2, specify the settings for the
desired Text Editing function if necessary; then press [OK].
Text Editing functions
- [Color for Text]: Makes copies by adding color to text. (See “Specifying Colors
For Text (Color for Text),” on p. 4-15.)
- [Contour]:
Makes copies of the contours of text only. (See “Specifying
Contours (Contour),” on p. 4-17.)
- [Shadow]:
Makes copies by adding shadows to text and image. (See
“Adding Shadows to the Image (Shadow),” on p. 4-19.)
This procedure is unnecessary if you selected [Transparent] in step 2, or if you
do not need to specify any Text Editing function.
6
Select the color for the designated area; then press [Next].
There are four ways to select color:
- Color Palette Selection (see p. 3-63)
- Designated Color Selection (see p. 3-68)
- Registered Color Selection (see p. 3-70)
- Color Circle Selection (see p. 3-72)
Inser
ting
T
e
xt and Images
5
Summary of Contents for CS120
Page 1: ...Oc CS120 125 Oc CS120 125 Copying Guide...
Page 2: ...COLOR LASER COPIER 1180 1140 Copy Guide Ot i o j...
Page 15: ...xiv...
Page 263: ...Selecting Colors with Each Function 3 76 Adjusting Color and Image Quality 3...
Page 351: ...Inserting Text and Images 5...
Page 363: ...8 2 Appendix 8...


