Scanner operation
31
Paper ready
The Paper Ready Indicator lights up as soon as the drawing is inserted into the
original insertion slot and correctly positioned. Then the original can be moved
into the start-of-scan position either by pressing the Paper Forward Key or
through automatic loading.
■
The Paper Ready Indicator lights green when ready to scan normal thin
media and yellow when ready for thick media.
■
The Paper Ready Indicator blinks yellow when the scanner is in ATAC mode
but not yet ready, i.e., the guide plate is not yet positioned.
■
The Paper Ready indicator stays ON, signifying that the scanner is ready to
be controlled from the computer.
■
During scanning the Ready indicator will blink.
■
At end of scanning the Ready indicator will stop blinking signifying that
scanning can be repeated from the computer, or else terminated by ejecting
the original from the scanner.
■
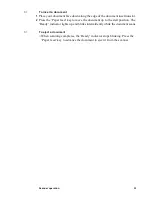
The paper ready indicator will light red if the guide-plate is in thick media
setting (a raised guide plate) but no media is detected in the scanner. This
applies for a guide-plate raised either manually or through Automatic
Thickness Adjustment Control (ATAC).
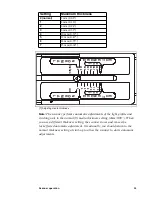
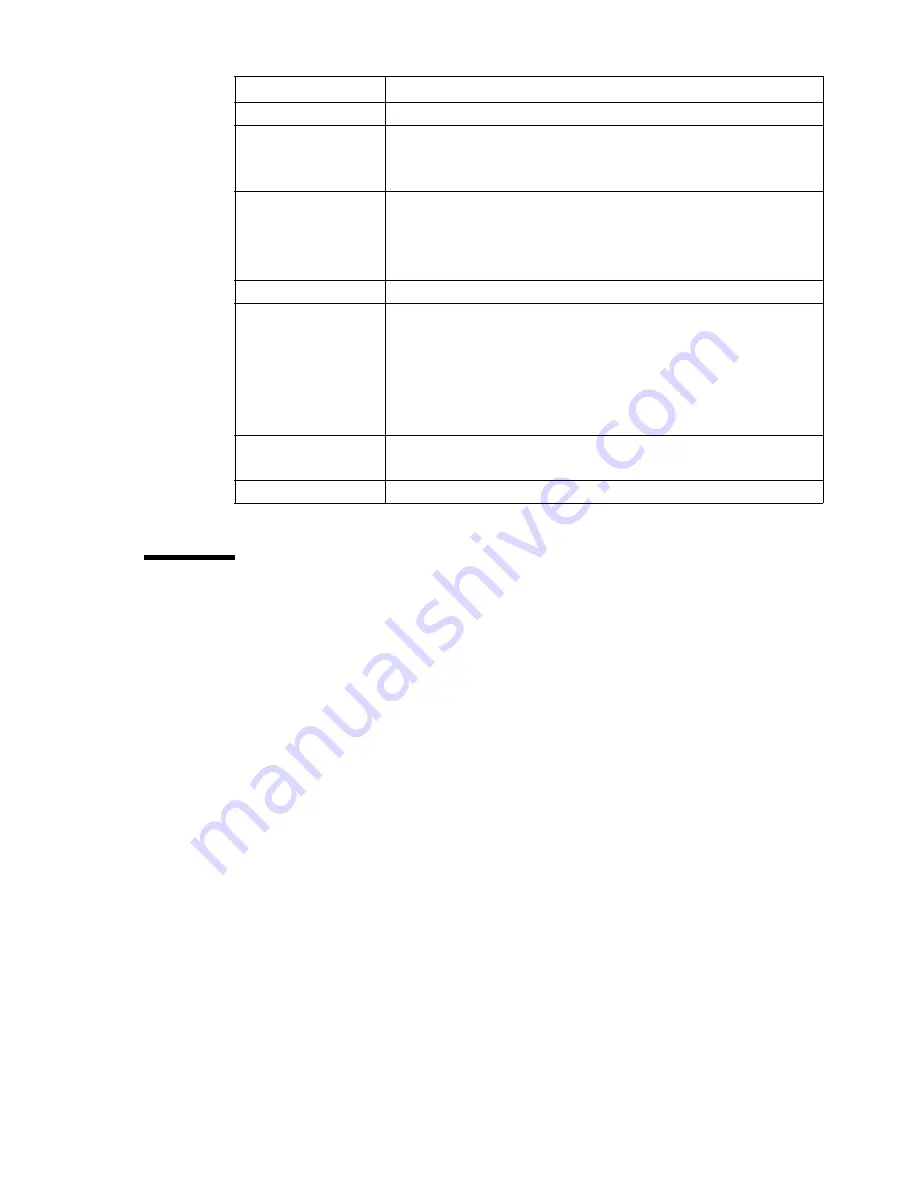
Key/indicator
Function
(1) ‘Power on’
This indicator lights up when you switch on the scanner.
(2) Diagnostic
Blinks when the built-in diagnosis detects an error. When this
indicator blinks at the same time as the “Wait” indicator,
check the camera height alignment.
(3) ‘Wait’ (warm-up)
At start-up, this indicator lights up for at least 3 minutes until
the scanner reaches the optimal temperature for operation.
During this time, the scanner performs internal diagnostic
checks. You cannot activate the scanner during this phase.
(4) ‘Ready’
(see ‘Paper ready’ on page 31).
(5) Paper feed
Paper reverse
To insert a document in manual mode, press this key to move
the document up to the start position. To eject the document,
press and hold down this key. Scanning automatically stops.
The paper reverse key stops the scanning process. To move
the document backward through the scanner, press and hold
down this key.
(6) (7) (8)
One-touch scanning buttons. Depending on the installed soft-
ware, they are used to activate Oce Scan or Oce Colour Copy
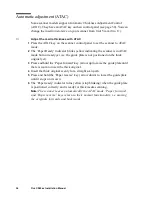
(9) ‘ATAC’
Automatic Thickness Adjustment Control.


