4-4
4. Selecting the Printer Settings
●
Selecting the serial interface settings
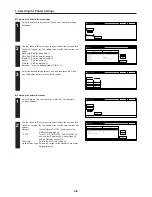
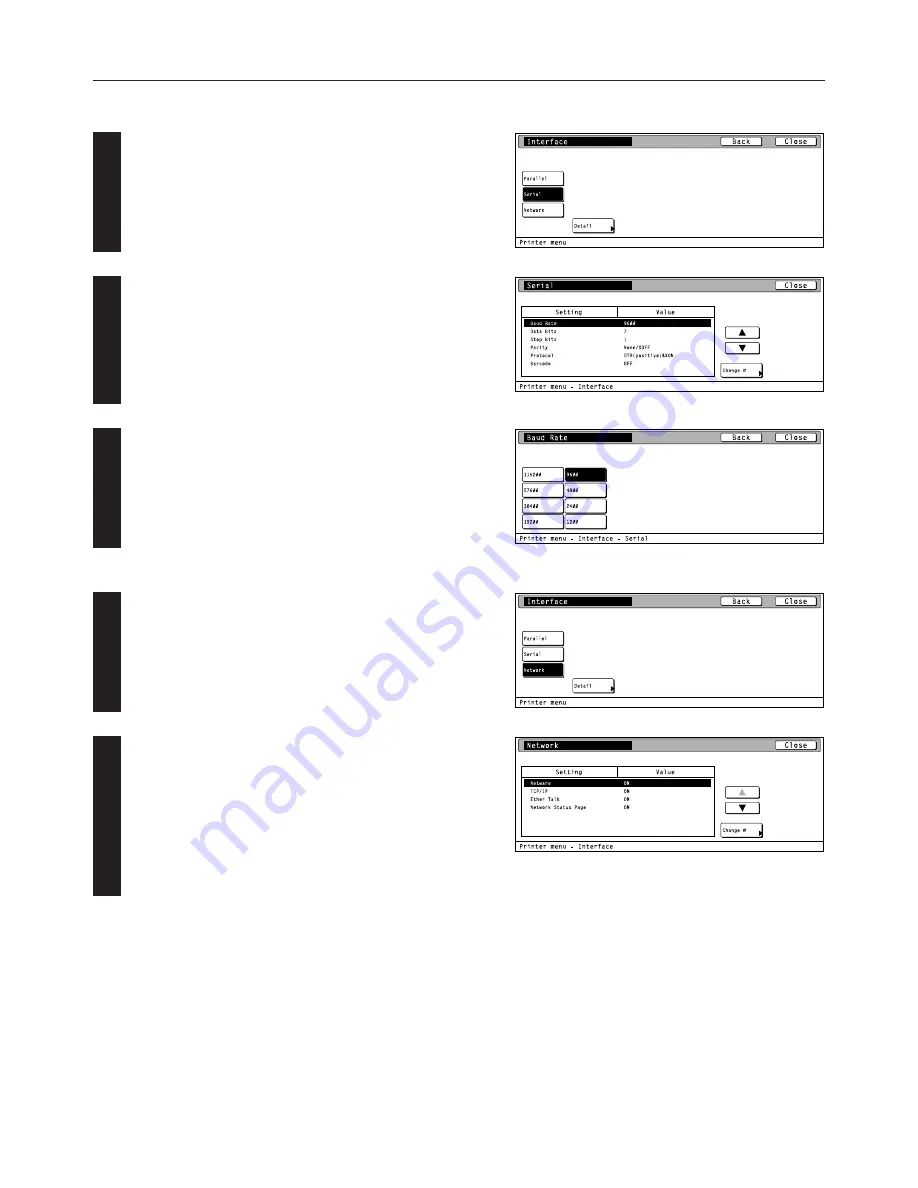
Select “Serial” and then touch the “Detail” key. The [Serial] screen
will appear.
Use the “
▲
” and “
▼
” cursor keys to select the desired item and then
touch the “Change” key. The setting screen for the selected item will
appear.
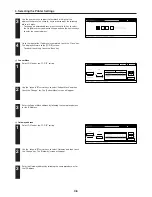
Baud rate: Sets the Baud Rate
3
.
Data Bits: Sets the data bit length
4
.
Stop Bits: Sets the stop bit length
5
.
Parity:
Sets the parity
6
.
Protocol:
Sets the protocol
7
.
Barcode:
Turns the barcode mode ON/OFF
8
.
Select the desired setting for each item and then touch the “Close”
key. The display will return to the [Serial] screen.
3
●
Selecting the network interface
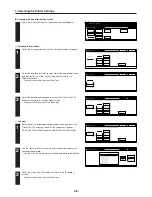
Select “Network” and then touch the “Detail” key. The [Network]
screen will appear.
Use the “
▲
” and “
▼
” cursor keys to select the desired item and then
touch the “Change” key. The setting screen for the selected item will
appear.
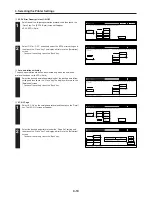
Netware:
Turns NetWare ON/OFF
9
and selects the
NetWare Frame type
0
.
TCP/IP:
Turns TCP/IP ON/OFF
!
, DHCP ON/OFF
@
and sets the IP address
#
, Subnet Mask
$
and the Gateway address
%
.
Ether talk:
Selects the Ether Talk setting
^
.
Option Status Page: Selects the setting for the Network Card Status
Page print out
&
.
1
2
1
2


