250
Chapter 11 Maintain the Océ TCS500
Replace a defective printhead
Attention:
Always store printheads near the printer or allow the printheads to
adjust to the printers environmental conditions before you insert them in to Océ
TCS500 printer.
Attention:
Do not open the top cover when you are not in the wizard. When you
open the top cover outside the wizard, the system produces a long, uninterrupted
audio signal audio signal. When you open the top cover during printing, the
printer stops and the red LEDs on the printer operator panel remain illuminated.
After you close the cover, the print is cut. Then the whole print job is restarted.
How to remove a printhead
1.
Press the on-line / off-line key on the printer operator panel to set the printer off-line.
2.
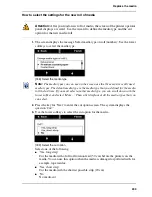
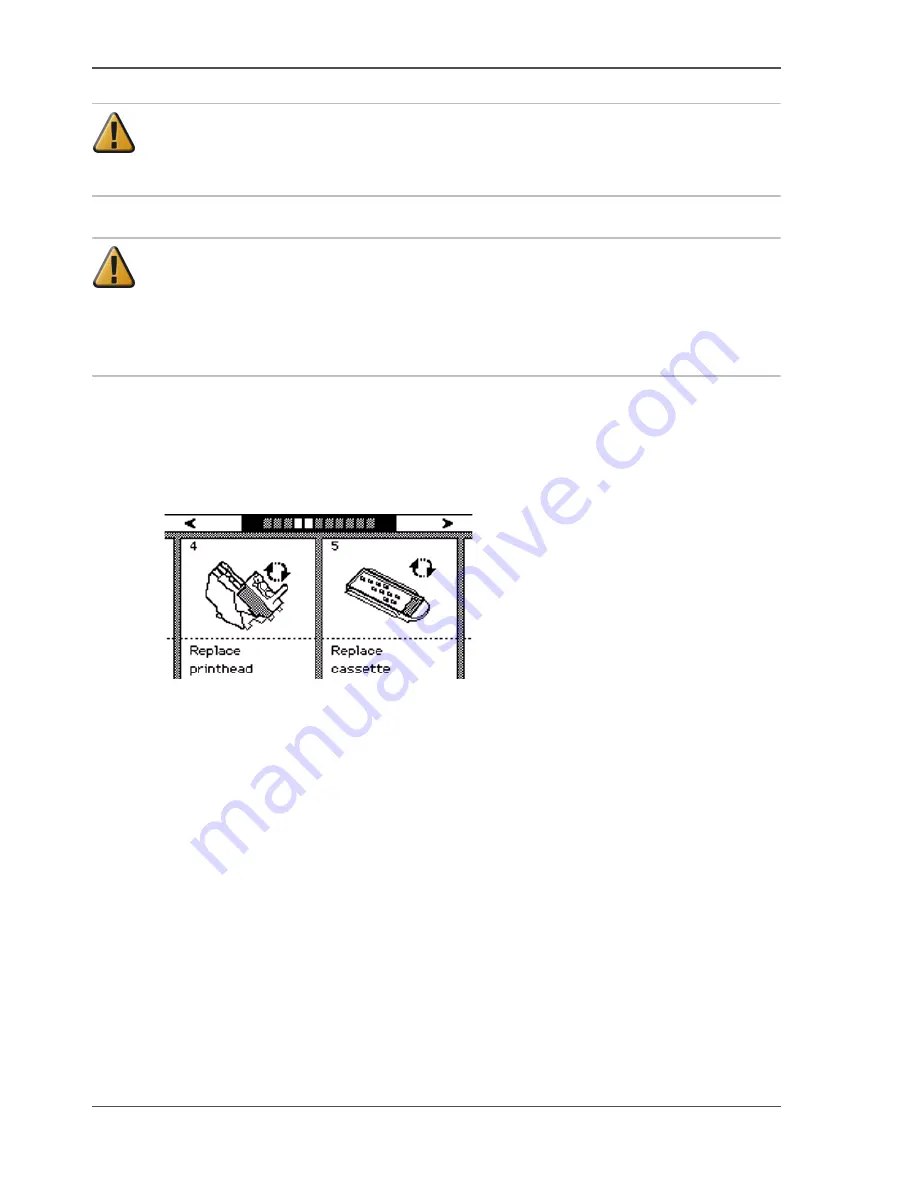
Use the upper softkeys to scroll to the 'Replace printhead' card.
[196]
3.
Press the softkey below the 'Replace printhead' card to enter the wizard.
An introduction screen displays the message 'Use this wizard to replace printheads.
A roll is needed for calibration.'
4.
Press the key for 'Next'.
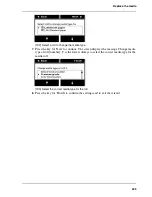
The screen displays the message 'Select roll to use'.
The system does a calibration at the end of the wizard. You can only calibrate on the
defined media types (
see ‘Set up unattended / overnight printing optimisation’ on
page 157
). When calibration is not possible with the media available on the printer,
the system asks you to load the correct media. When calibration is possible with one
of the rolls, the system automatically uses the correct media roll. When calibration
is possible with both rolls, use the lower softkeys to select the roll to use.
5.
Press the key for 'Next'.
The screen displays the message 'Carriage moving to centre position...' while the
carriage moves to the centre.
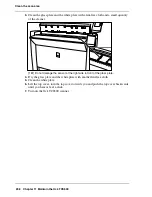
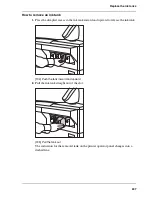
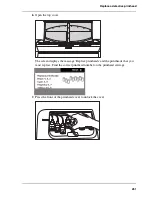
The screen displays 'Open top cover.'
Summary of Contents for TCS500
Page 1: ...Océ TCS500 Océ User manual User manual ...
Page 4: ...4 Trademarks ...
Page 11: ...11 Chapter 1 Introduction ...
Page 21: ...21 Chapter 2 Get to know the Océ TCS500 colour printing system hardware ...
Page 47: ...47 Chapter 3 Prepare the Océ TCS500 for use ...
Page 70: ...70 Chapter 3 Prepare the Océ TCS500 for use Configure the network settings of the Océ TCS500 ...
Page 71: ...71 Chapter 4 Use the PLC applications to control your workflow ...
Page 77: ...77 The user interface of the Océ Settings Editor 51 51 The settings area ...
Page 124: ...124 Chapter 4 Use the PLC applications to control your workflow Change the password ...
Page 125: ...125 Chapter 5 Use the Océ TCS500 for scan to file jobs ...
Page 144: ...144 Chapter 5 Use the Océ TCS500 for scan to file jobs Remove strip ...
Page 145: ...145 Chapter 6 Use the Océ TCS500 for print jobs ...
Page 159: ...159 Chapter 7 Use the Océ TCS500 for copy jobs ...
Page 187: ...187 Chapter 8 Ensure the best output quality ...
Page 217: ...217 Chapter 9 Optional Document Management applications for your Océ TCS500 ...
Page 223: ...223 Chapter 10 License management with Océ License Logic ...
Page 235: ...235 Chapter 11 Maintain the Océ TCS500 ...
Page 258: ...258 Chapter 11 Maintain the Océ TCS500 Replace the maintenance cassette ...
Page 259: ...259 Chapter 12 System messages and solutions ...
Page 271: ...271 Appendix A Specifications of the Océ TCS500 ...
Page 291: ...291 Appendix B Reader s comment sheet ...
Page 294: ...294 Appendix B Reader s comment sheet Reader s comment sheet ...
Page 295: ...295 Appendix C Addresses of local Océ organisations ...
Page 306: ...306 Index ...


