VarioLink 6022/7522
12-22
Authentication Unit (Biometric Type AU-101)
12
8
Specify the desired settings, and then click [Print].
The print job is sent.
9
Position the registered finger on the authentication unit.
–
Make sure that "Begin Printing" is selected.
–
To select the print job to be printed, touch [Screen Operation]. For details, refer to
"Selecting the
print job to be printed from the control panel" on page 12-22
.
The user is authenticated, and the print job is printed.
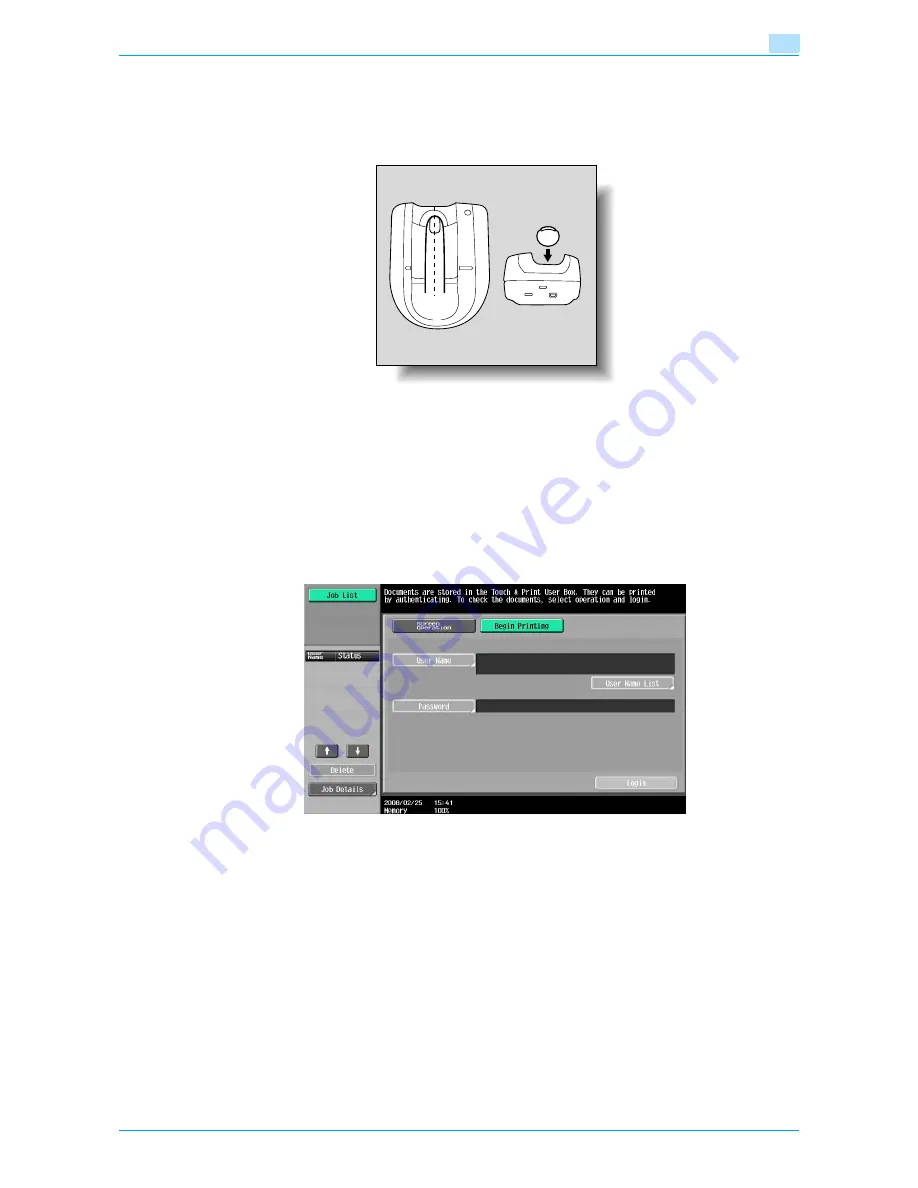
Selecting the print job to be printed from the control panel
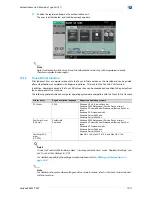
Follow the procedure described below to select the document to be printed from those saved in the Touch
& Print user box.
1
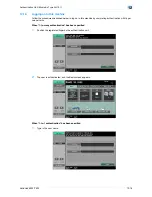
Touch [Screen Operation].
Summary of Contents for VarioLink 6022
Page 1: ...Océ VarioLink 6022 VarioLink 7522 Copy Operations User s Guide Printing for Professionals ...
Page 18: ...VarioLink 6022 7522 x 15 Explanation of manual conventions ...
Page 19: ...VarioLink 6022 7522 x 16 ...
Page 22: ...1 Before Making Copies ...
Page 80: ...2 Basic copy operations ...
Page 151: ...VarioLink 6022 7522 2 72 Basic copy operations 2 4 Touch OK and then touch OK again ...
Page 159: ...3 Additional copy operations ...
Page 189: ...4 Troubleshooting ...
Page 237: ...5 Specifications ...
Page 248: ...6 Copy paper originals ...
Page 278: ...7 Application functions ...
Page 300: ...VarioLink 6022 7522 7 23 Application functions 7 6 Press the Start key ...
Page 318: ...VarioLink 6022 7522 7 41 Application functions 7 7 Press the Start key ...
Page 357: ...8 Replacing toner cartridges and staple cartridges and emptying hole punch scrap box ...
Page 378: ...9 Care of the machine ...
Page 385: ...10 Managing jobs ...
Page 399: ...11 Utility mode ...
Page 478: ...12 Authentication Unit Biometric Type AU 101 ...
Page 503: ...13 Authentication Unit IC Card Type AU 201 ...
Page 529: ...14 Appendix ...
Page 536: ...15 Index ...
Page 540: ...Printing for Professionals Beyond the Ordinary ...

