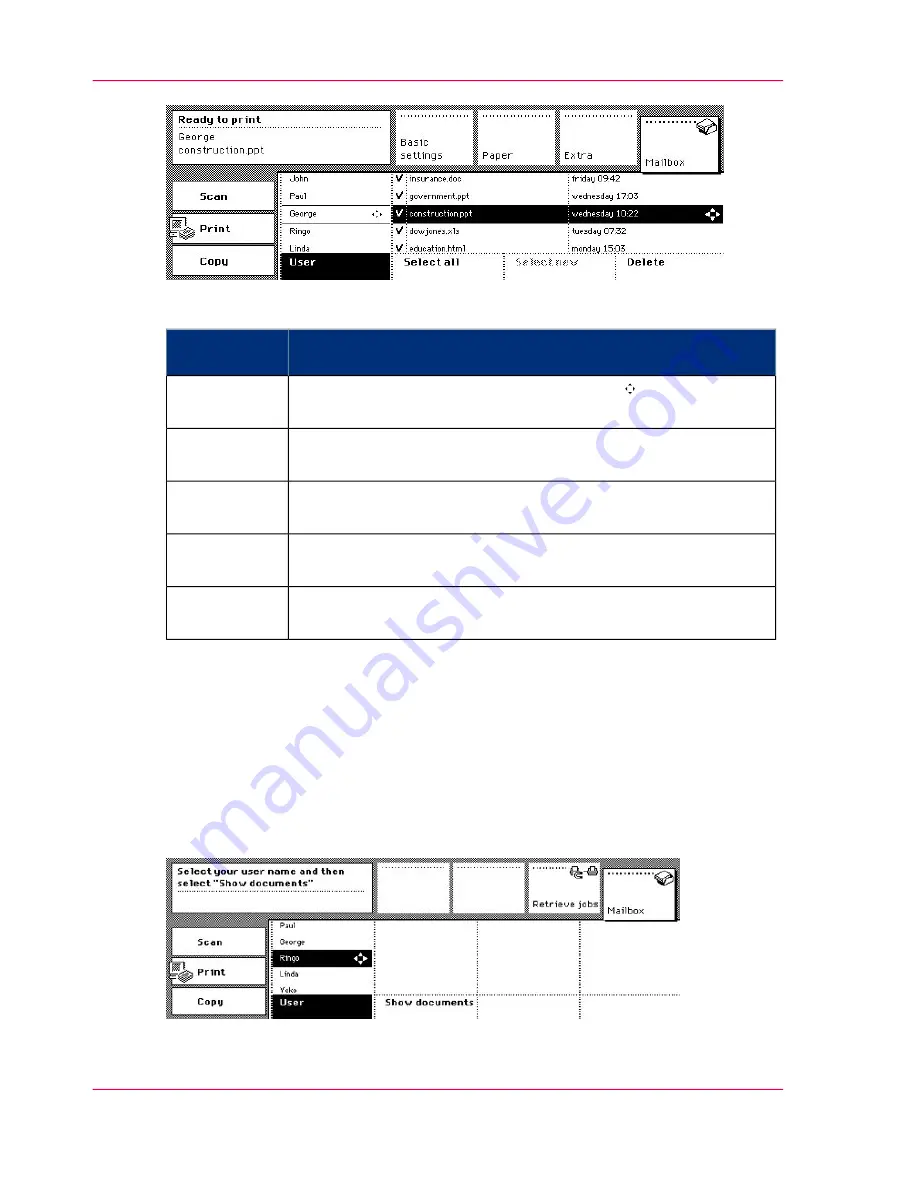
[21] Selecting the Document
'Mailbox' Section
#
Description of the
‘Controlling the Mailbox Jobs’
on page 63
function
Function
Press the function key and use the Arrow keys to select your
mailbox.
'User'
Press the function key to view the content of the selected mailbox.
'Show docu-
ments'
Press the function key to select all available documents in the mail-
box.
'Select all'
Press the function key to select the documents that have not yet
been printed.
'Select new'
Press the function key to delete the selected documents from the
mailbox.
'Delete'
'Retrieve jobs' key
When you press the 'Retrieve jobs' key, all jobs that you had sent to any printer belonging
to the Smart mailbox group are fetched
‘Fetching Print Jobs from Other Printers (Smart
mailbox)’
on page 61
. You must enter an identification code to enable the Océ VarioPrint
2070 Prémia Class to access to the mailboxes of other printers. When the identification
succeeds, the settings available for the local mailbox jobs are also applicable to the mailbox
jobs coming from other printers
‘Controlling the Mailbox Jobs’
on page 63
.
[22] Pressing the Fetch Jobs Key
Chapter 2 - The Print Function
46
Types of print job settings
Summary of Contents for VarioPrint 2070
Page 1: ...Océ VarioPrint 2070 Prémia Class Print copy and scan jobs Océ User manual ...
Page 8: ...8 Contents ...
Page 9: ...Chapter 1 Introduction ...
Page 37: ...Chapter 2 The Print Function ...
Page 102: ...Chapter 2 The Print Function 102 Assign a print job to a user ...
Page 103: ...Chapter 3 The Copy Function ...
Page 147: ...Chapter 4 The Scan Function ...
Page 176: ...Chapter 4 The Scan Function 176 Stop or correct a scan job ...
Page 177: ...Chapter 5 Maintenance ...
Page 185: ...Chapter 6 Errors ...
Page 189: ...Appendix A Overview and Tables ...
Page 197: ...Appendix B Safety Information ...
Page 206: ...Appendix B Safety Information 206 Safety Data Sheets ...
Page 207: ...Appendix C Miscellaneous ...


