4
EN
FUSE REPLACEMENT
FUSE REPLACEMENT
For UK Plug
If the mains lead of this appliance is fitted with a BS 1363A 13 amp
fused plug, to change a fuse in this type of plug use an A.S.T.A.
approved fuse to BS 1362 type and proceed as follows:
1. Remove the fuse cover and fuse.
2. Fit replacement 13A fuse into fuse cover.
3. Refit both into plug.
Important: The fuse cover must be refitted when changing a fuse
and if the fuse cover is lost the plug must not be used until a
correct replacement is fitted. Correct replacement is identified by
the colour insert or the colour embossed in words on the base of
the plug. Replacement fuse covers are available from your local
electrical store.
Connection to a rewireable plug
If the fitted plug is not suitable for your socket outlet, it must be
replaced by an authorized service agent or similarly qualified
persons in order to avoid a hazard. The plug should be cut off and
disposed of in order to avoid a possible shock hazard should it be
inserted into a 13A socket elsewhere. A suitable alternative plug
should then be fitted to the cable. The wires in this mains lead are
coloured in accordance with the following code;
BLUE
- neutral (“N”)
BROWN
- live (“L”)
GREEN AND YELLOW
- earth (“E”)
1. The GREEN AND YELLOW wire must be connected to the
terminal in the plug which is marked with the letter “E” or by the
Earth symbol or coloured green or green and yellow.
2. The BLUE wire must be connected to the terminal which is
marked with the letter “N” or coloured black.
3. The BROWN wire must be connected to the terminal which is
marked with the letter “L” or coloured BROWN or RED which is
connected to the fuse.
THE APPLIANCE
THE APPLIANCE
A Temperature adjustment knob
By turning the knob from setting Min (1) to setting Max (4/5) allows
adjusts the temperature inside the freezer.
For dual temperature appliances, the button can be set to cooler or
freezer function, turning it b5°C and -25°C.
A1 The fast freezing position *
The position Super, allows the compressor to function continuously
in order to reach the necessary temperatures for the rapid freezing
of fresh food. When the push button is not pressed, the freezer is
functioning according to the thermostat regulation.
For optimal appliance performance, set the appliance to super
freeze position 12 to 24 hours before you put the fresh food into the
freezer. ”Super Freeze” mode should be deactivated after 24-48
hours in order to save energy.
B Warning Indicator
* (red light)
When this red warning light comes on for a prolonged period of time, it means
that the freezer is not functioning properly and the temperature is too high.
This warning light may come on for a brief period when the lid is left open for
an extended period of time (when the freezer is being loaded or unloaded).
C Power supply indicator
(green light)
The green light will come on and stay on while the appliance is
connected and is operating normally.
D Fast Freeze Indicator / Running Compressor Indicator
*
(Orange Light)
This yellow indicator light will come on when the temperature adjustment
knob is turned to the Super position
A1
(if present). Models without
"Super" function this light (if present) comes on while compressor is
running.
INSTALLATION
INSTALLATION
To ensure that the appliance operates properly and to reduce
energy consumption, it is important that the appliance is
installed correctly.
Ventilation
The compressor and condenser generate heat and, therefore, need
to be ventilated properly. Rooms with no ventilation are not suited
for installation of the appliance. Therefore, it should be installed in a
room with an opening (window or French window) that provide the
appropriate amount of air re-circulation. It is also important to install
it in a free humidity room.
During installation, make sure not to cover or obstruct the grates
that allow for proper ventilation of the appliance. For proper ventila-
tion of the appliance, leave a space of at least 10 cm, between the
sides of the appliance and any adjacent cabinets/walls.
Away from heat
Avoid positioning the appliance in a place where it is directly
exposed to sunlight or near an oven, cook top or the like.
Electrical and earth connection
The appliance should not be turned on right after transportation.
Two hours is the advised time so that the oil from the motor-com-
pressor gets back to its original position.
Before proceeding with the electrical connection, make sure that the
voltage indicated on the rating plate, corresponds to the mains
voltage in your home and that the socket is fitted with a standard
earth wire, in accordance with safety standards. If the socket is not
fitted with an earth wire, the manufacturer will not be held liability for
any damages and or injuries arising out of the use of the appliance.
Do not use multiple sockets or adapters. Position the appliance in
such a way that you can access the socket where it is plugged in.
Electrical power
The electrical socket must be able to handle the maximum power
load of the appliance, which is indicated on the rating plate located
in the back of the appliance.
This refrigeration appliance is not designed to be used as an
integrated appliance. It must be installed respecting the
conditions indicated in the instruction manual.
To avoid a risk due to the instability of the appliance, you
must follow up to all the instructions.
This appliance must be installed in a place compatible with its
climatic class declared on the data label located on the back
side of the appliance:
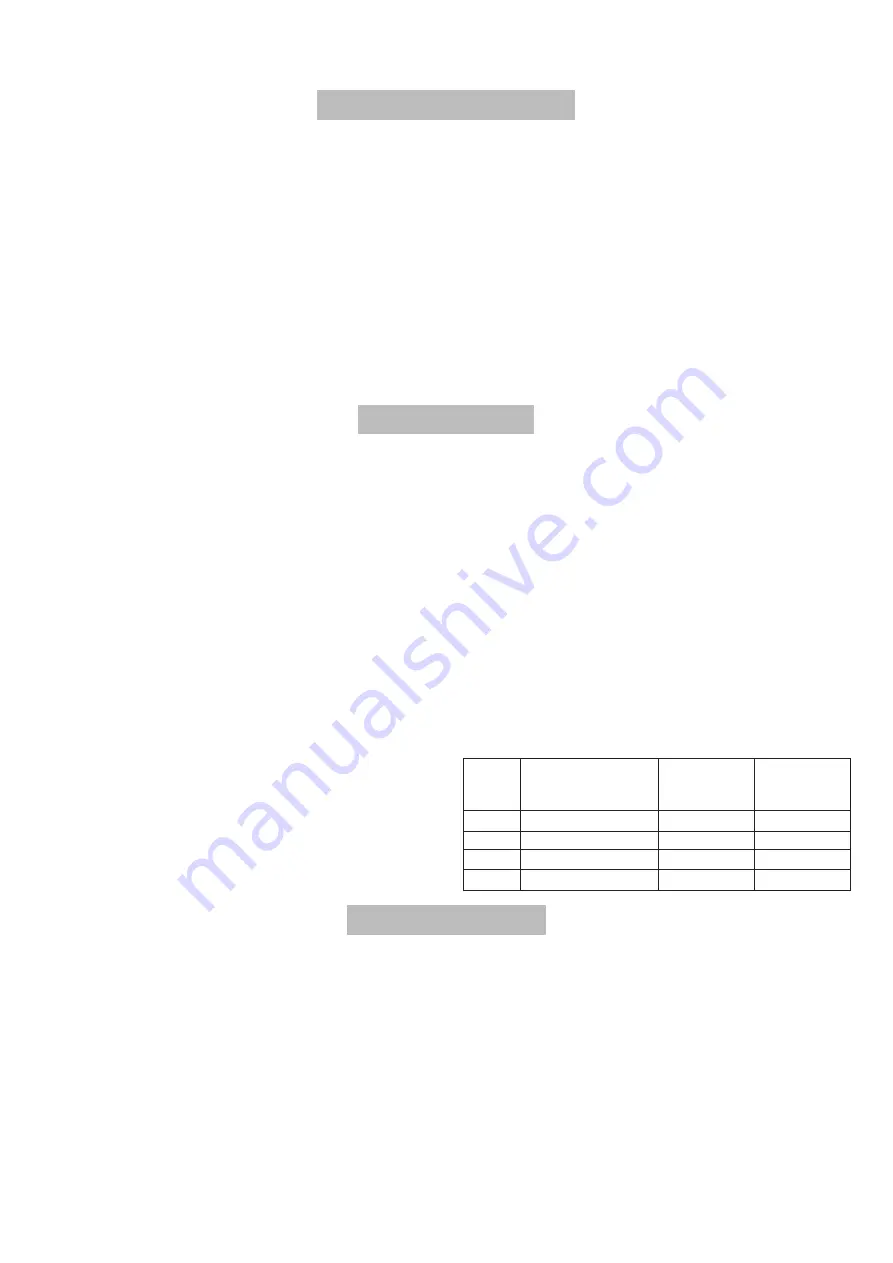
Symbol
Climatic
Class
Minimum
ambient
temperature
Maximum
ambient
temperature
SN
N
ST
T
Extended temperate
Temperate
Subtropical
Tropical
+10
+16
+16
+16
+32ºC
+32ºC
+38ºC
+43ºC
F Internal light
**
G Defrost water drain system
*
H Basket
*
I Ventilating grille
*
J Wheels or feet
*
* Not present in all models.
**This product contains a light source of energy efficiency class G (if
present).
Summary of Contents for EU Series
Page 27: ...26 AR...
Page 28: ...27 AR...
Page 29: ...28 AR...
Page 30: ...29 AR...
Page 31: ...30 AR...


