TIP:
It is critical to cover the entire body and circle the mounting screw hole
so that there is a continuous and unbroken bead of sealant.
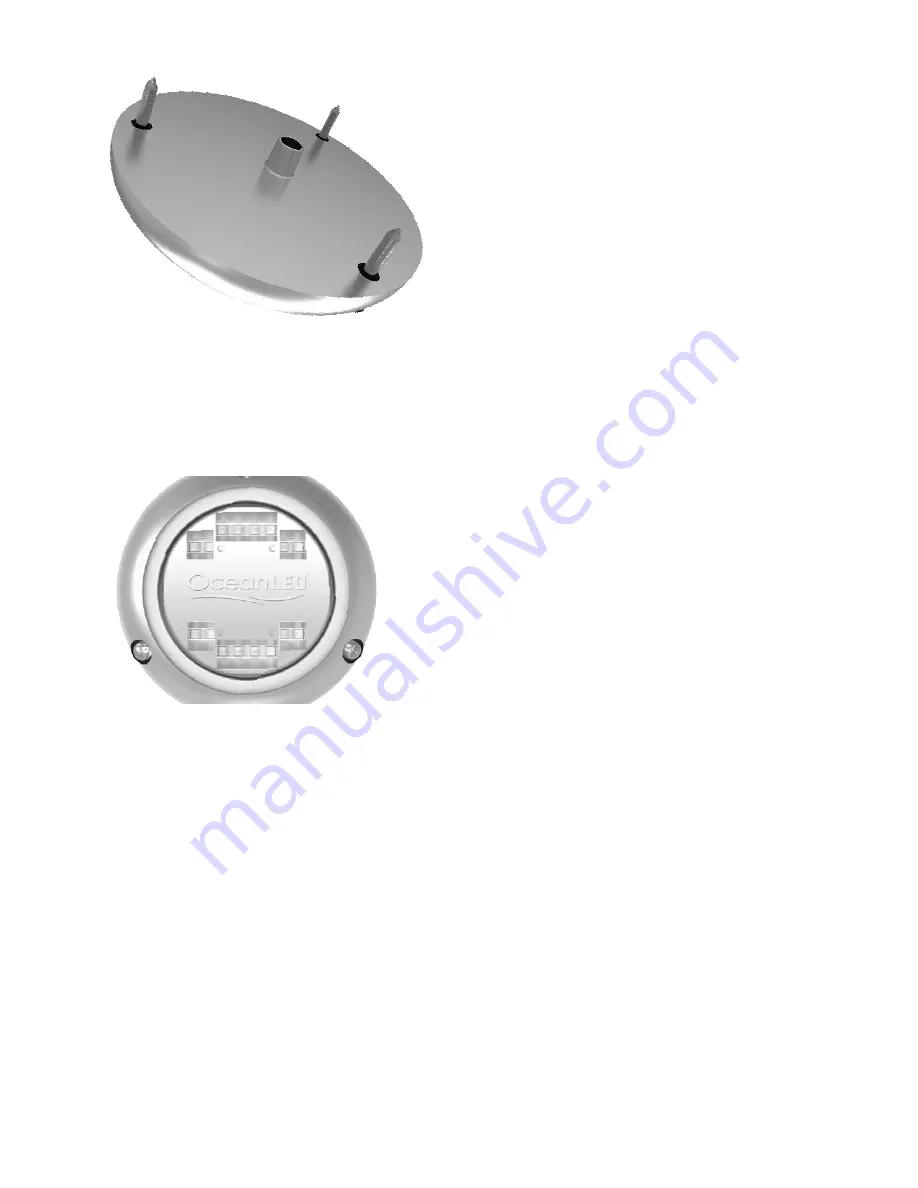
Insert the light on to the hull, feeding the cable through first and seat into
place. Press the light hard into the hull and ensure good adhesion.
2.
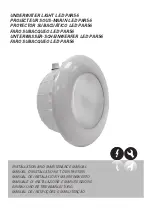
To ensure correct dispersion of light underwater, ensure all Sport Lights are
mounted with the correct orientation with text facing upwards. Tip: During/
after fitting process, ensure cable is not under any undue stress.
3.
We recommend you only use the mounting screws provided. If alternative
screws are used, do not use counter sunk or non-flat shoulder screws. Cover
the threads with the sealant and screw into the pre-drilled pilot holes.
WARNING:
Tighten the screws with a hand tool ONLY!
4.
Once you are satisfied that the unit is fully embedded onto the hull, you will
notice that sealant has squeezed out from around the perimeter of the light.
Using a cloth wipe off excess sealant to leave a clean seal. If you do not see
sealant squeeze out from the body, you have not used enough sealant or
tightened the unit enough to the hull. Carefully examine the installation to
make sure the seal you have installed on the unit is fully water-tight. If in
doubt, remove light, re-apply sealant and re-install.


