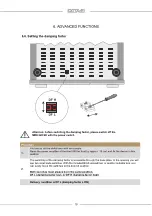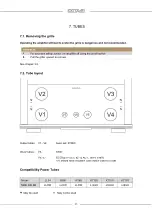
12
3. GETTING STARTED
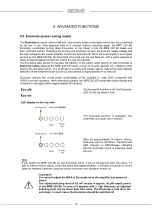
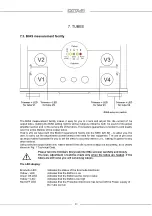
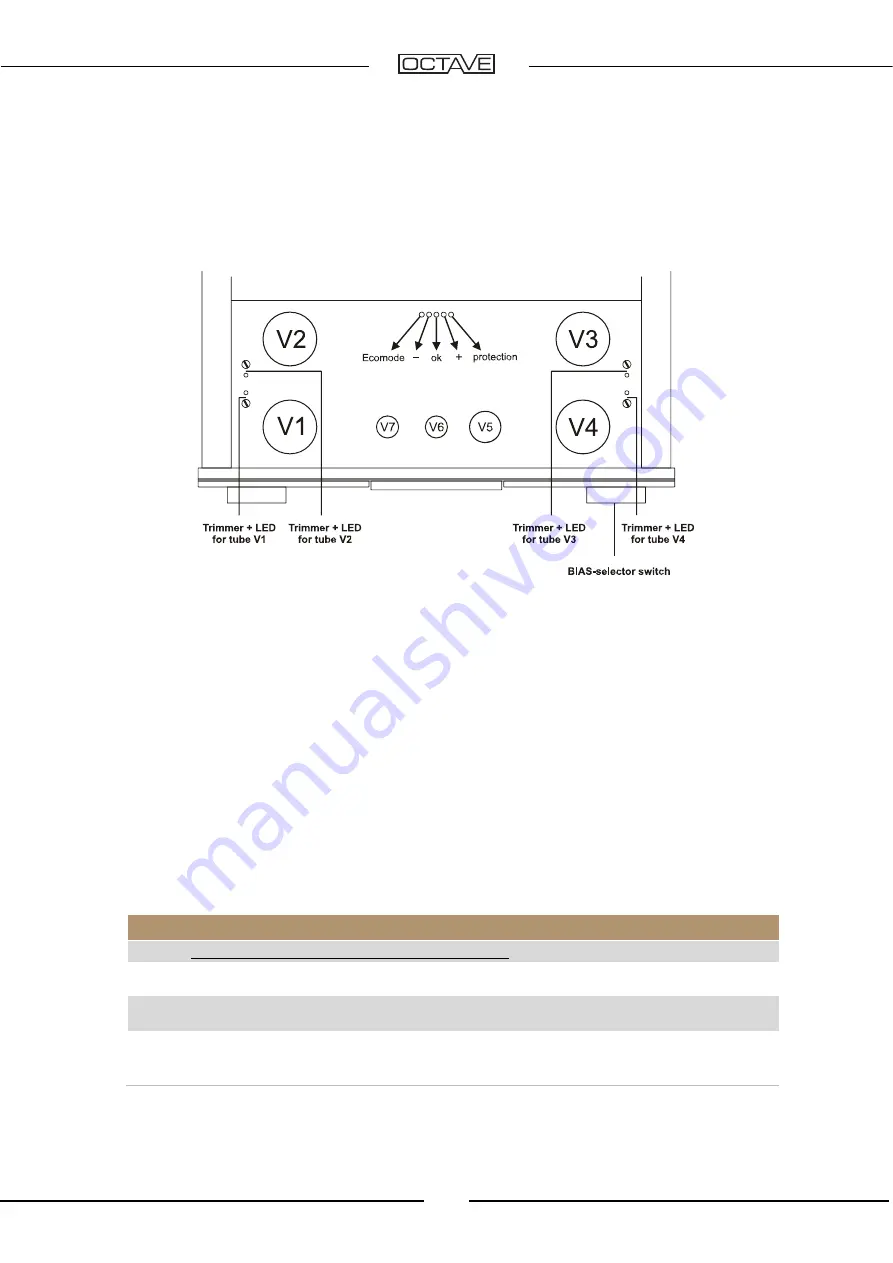
Turn the BIAS-selector switch clockwise to position V1 = BIAS setting for the tube V1. The LED next
to the tube will illuminate, and one of the three BIAS LEDs will illuminate, normally first the Minus
LED, than the OK-LED.
The LED display:
Ecomode LED
Indicating the status of the Ecomode (see chapter 6.4)
Yellow "-" LED
BIAS setting of the selected output tube is too low
Green “OK” LED
BIAS setting of the selected output tube is correct
Yellow "+" LED
BIAS setting of the selected output tube is too high
Red "off" LED
Indicates that the electronic protection has switched off the
amplifier (see chapter 6.2)
After an additional 5 to 10 minutes, respectively the warm up period, the BIAS control LEDs will
change from yellow to green in case the BIAS Measurement Electronic is switched to tube 1 for
example. This indicates the correct BIAS. Check all four tubes and switch OFF the BIAS electronic
during listening. This is the ECO Off position.
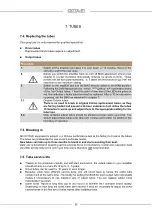
If you notice any irregularity (“+” = High BIAS) in the display please refer to chapter 7.3.
3.6. Connecting other components to the MRE 220 SE
Procedure
1.
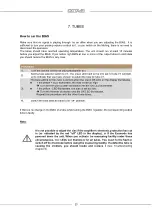
Make sure that the MRE 220 SE is switched off!
2.
Connect the other components in your system to the appropriate sockets on the rear of
the MRE 220 SE. (See chapter 5 "Rear panel connections").
3.
Check that the switch positions on the front and rear of the amplifier are in their
recommended settings
4.
Switch on the MRE 220 SE using the on/off switch
and wait a few minutes until the
unit is powered.
Now you can listen to music
.
Summary of Contents for MRE 220 SE
Page 1: ...MRE 220 SE Owner s Manual English...
Page 3: ...4...


