Online Upgrade Instructions 2-25
101–1477–001
Edition 2
Reset the Boot Area, and Boot the New Software
Although the upgrade is complete, you must reboot the server to enable the new software to
operate. Reset the boot area, and reboot the server, as follows:
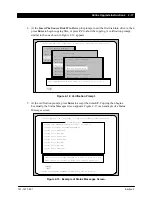
1. Access the status log (menu 13.2) and make sure that all errors have been corrected.
2. From the SMT Main Menu, enter 20 to select Menu 20 – Service Operations.
3. Enter the number for the Miscellaneous Utilities option.
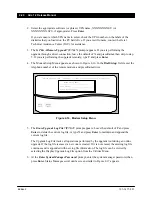
4. Enter the number for the Set System Boot Area option.
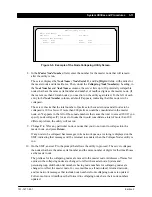
The System Boot Area: and Drive Next Boot Area: fields appear.
5. At the Enter area (A or B): prompt, enter the letter for the area not currently used as the
system boot area.
6. At the Set Boot Area Complete message, press any key to continue, then press Ctrl–C twice
to return to the SMT Main Menu.
7. From the SMT Main Menu, enter 13 to access Menu 13 – System Maintenance.
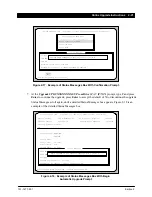
8. From menu 13, enter 1 to select Shut Down with Dump.
9. At the Enter “1” – allow lines to clear, “2” immediate shutdown, “Break” – Cancel:
prompt, enter 1 to allow the lines to clear before shutdown.
For an Octel Overture 250, if the upgrade loaded onto the system drive included new
firmware for the “flash” EPROMs on the CCF card, the EPROMs will be automatically
updated immediately after the PIPL. The upgrade of the flash EPROMs can take several
minutes and it causes a message to be presented on the SMT informing you of the CCF card
upgrade. It does not require any action on your part. The server then reboots using the new
firmware and continues with the software upgrade.
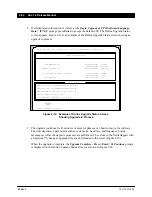
10. When the ENTER BOOT COMMAND: prompt appears, enter A. The server reboots, using
the new software.
Have the Engineering Option Disabled
Call the Octel Technical Assistance Center (TAC) to have the engineering option turned off.
Reactivate screen-saver software on the PC, if necessary.


