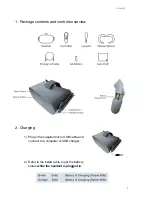
Version 2
3. Before use
1) Ensure the headset is charged
2) Install the eyeglasses spacer if needed. You can try the headset on without the
spacer first if your vision is close to perfect.
2.1) The following link provides a step-by-step guide on installing the
eyeglasses spaser:
3) Wipe the lenses with provided lens cloth.
4) Ensure the controller contains the AA battery and the lanyard is attached.
4. Operation
1) Put the headset on adjusting the straps as necessary – it should fit comfortably
and shouldn’t apply too much pressure on your face and head.
2) Press the power button until the Oculus appear on the screen.
3) If prompted, long-press the oculus/menu button on the controller to recenter the
screen. (The system can give a warning of low controller battery charge in
which case the AA battery should be replaced).
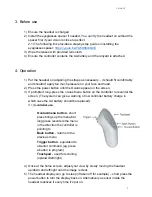
3.1)
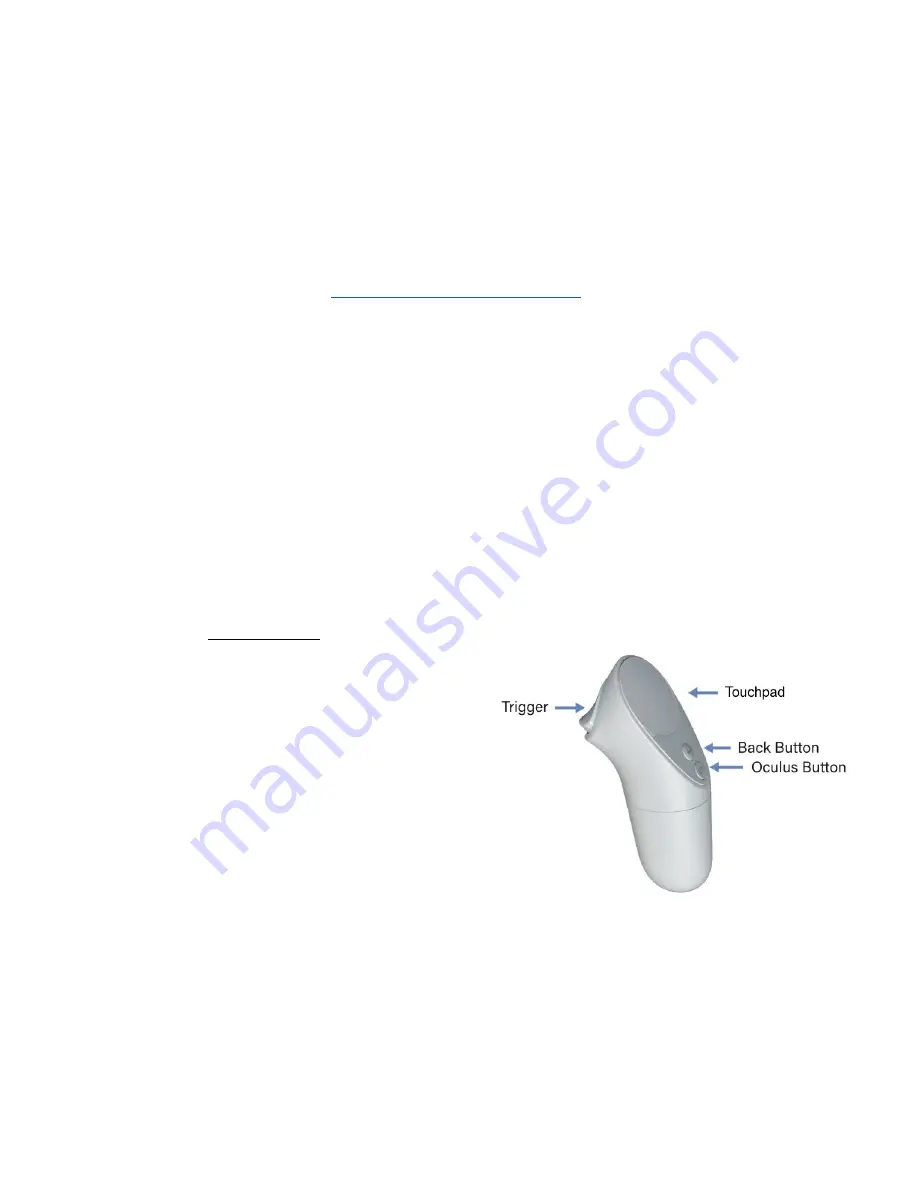
Controller use
:
Oculus/menu button
- short
press brings up the menu bar,
long press recenters the menu
in the direction the controller is
pointing to
Back button
- returns to the
previous menu
Trigger button
- equivalent to
ok/enter command (eg. press
a button in program)
Touchpad
- used for scrolling
(up/down/left/right)
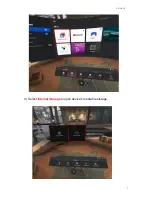
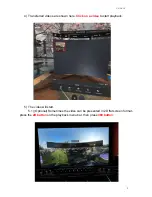
4) Once at the home screen, adjust your view by slowly moving the headset
up/down and left/right until the image is clear.
5) The headset display can go to sleep (if taken off for example) – short press the
power button to turn the display back on. Alternatively a sensor inside the
headset reactives it every time it's put on.
3


