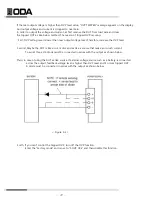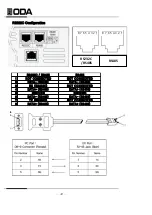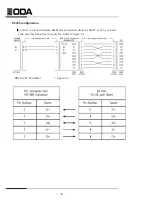
TCP/IP Setting(Option)
TCP/IP communication module is optional and it is not external installation product
So when you need TCP/IP module, inform us to attach it in the power supply .
Module speed is 10/100Mbps and intra network PC is standard. Also if you connect the instrument
to the fixed IP address, it will automatically obtain an IP address from the network.
And you can control the instrument anywhere in the world.
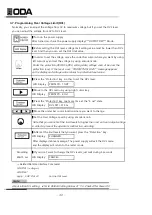
*Fixed IP setting method
▌
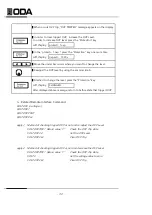
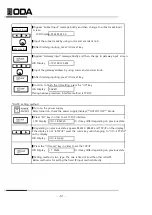
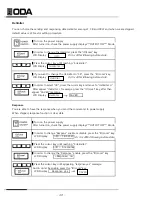
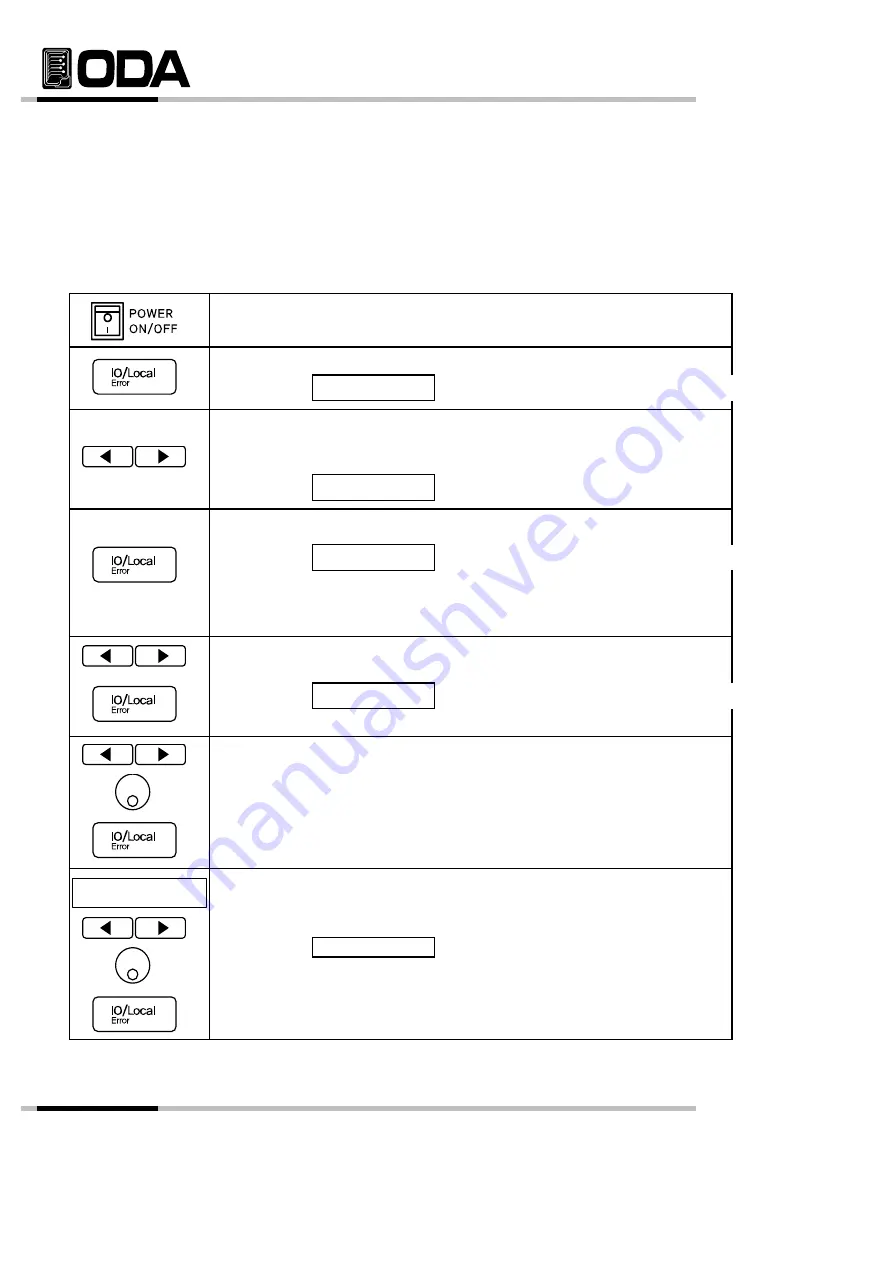
Turn on the power supply
After turned on, check the power supply displays"**OUTPUT OFF**" Mode.
▌
Press "I/O" key in other to set TCP/IP interface.
LCD Display
I/O> 1.RS232C
Or it may differ depending on previous state.
display. If the display is not "4.TCP/IP" press the cursor key until changing
to "I/O> 4.TCP/IP" on the display
LCD Display
I/O> 4.tcp/ip
▌
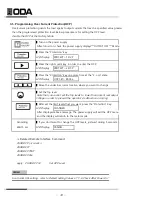
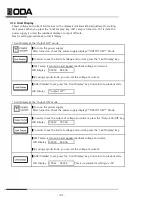
Press the "I/O Local" key in order to set the TCP/IP.
LCD Display
>1. Static
Or it may differ depending on previous state.
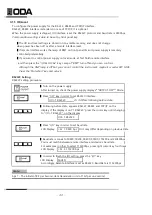
▌
Setting method is two type. The one is fixed IP and the other is DHPC.
Below method is for setting the fixed IP input method directly.
▌
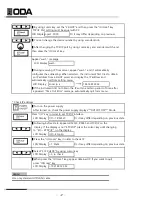
By using cursor key, set the "1.static" and then press the "IO/Local" key.
TCP/IP Port setting must be equal with PC.
LCD Display
>port 5000
Or it may differ depending on previous state.
▌
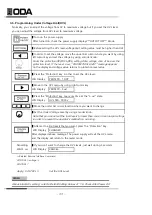
You can change the device number by using encoder knob.
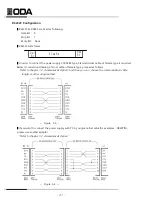
▌
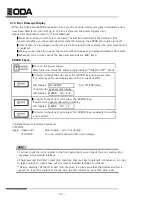
After changed the TCP/IP port by using cursor key and encoder switch, and
then press the "IO/Local" key.
▌
After appeared "Local IP Input" message for a while, display is changed to
IP input screen automatically.
LCD Display >192.168.123.100
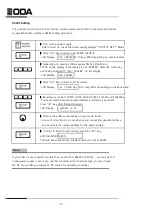
▌
Input the fixed IP by using cursor key and encoder knob.
▌
After finishing inputting, press the "IO/Local" key.
- 45 -
▌
Depending on previous state, appears RS232C, RS485 and TCP/IP on the
> LOCAL IP INPUT
Summary of Contents for EX 100-12
Page 1: ...Programmable DC Power Supply User Manual www odacore com EX Series Manual Part NO 019EX 03...
Page 4: ...Safety Symbol...
Page 91: ...92...
Page 92: ...93...

