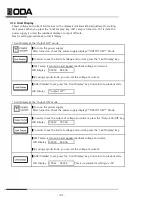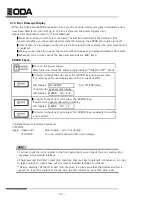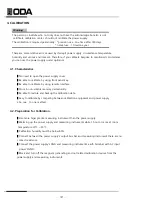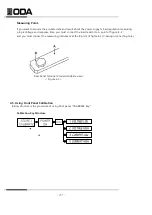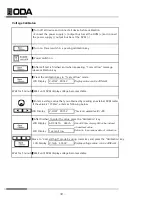
Voltage Calibraton
▌
Turn off all device and connect all device before calibration
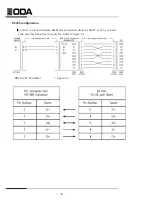
>Connect the power supply (+) output bus bar at the DVM (+) and connect
the power supply (-) output bus bar at the DVM (-)
▌
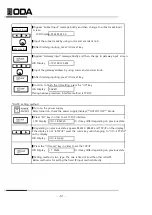
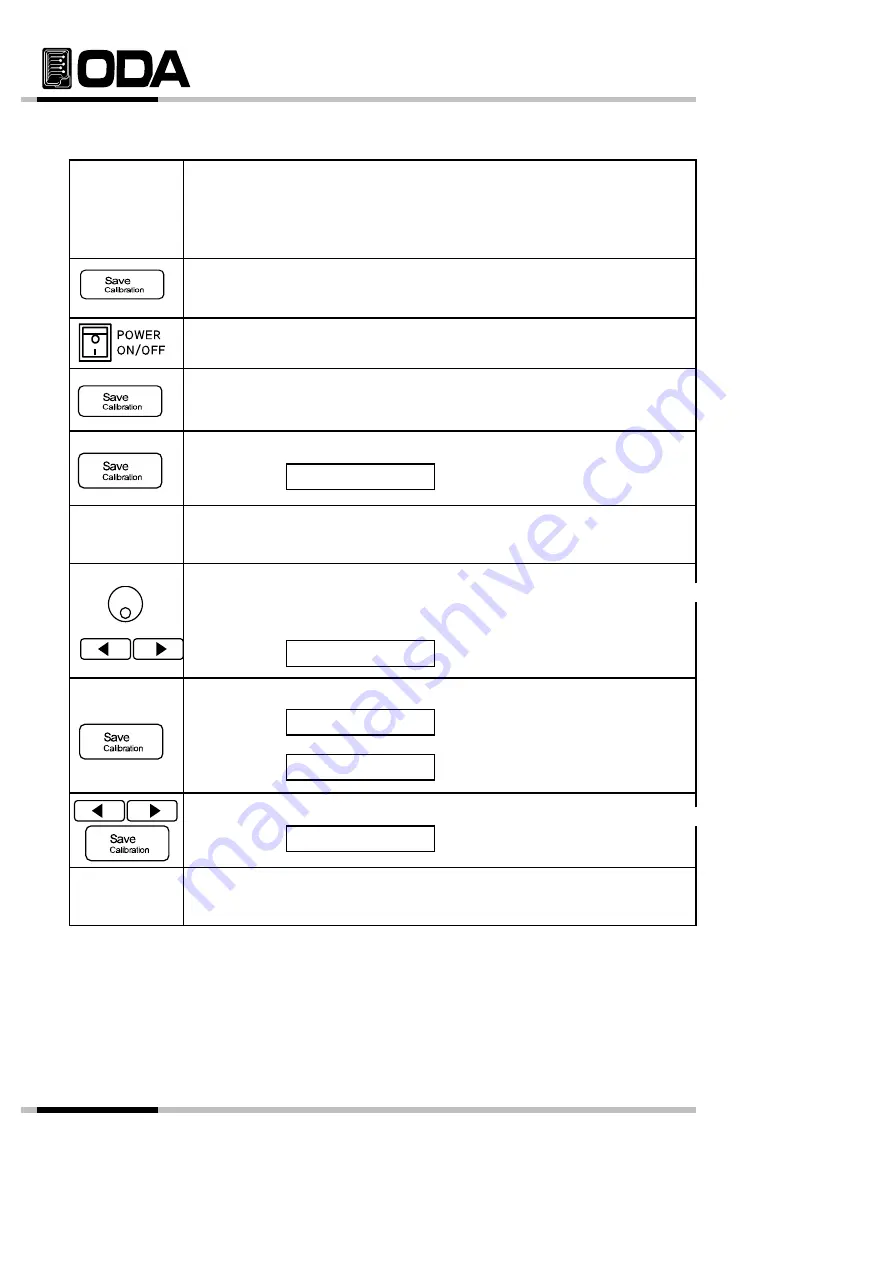
Turn on Power switch in a pessing calibration key .
▌
Power switch on.
▌
After self test is finished, and when appearing "1.cal-volt low" message,
release calibration key.
▌
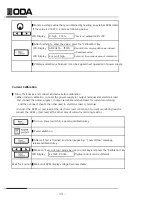
Press the calibration key in "1.cal-volt low" mode.
LCD Display
V-LOW 00.14V
Display value can be different
Wait for 5 minute
▌
Wait until DVM display voltage becomes stable
▌
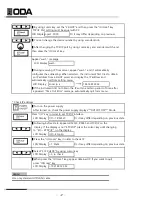
Enters a voltage value that you obtained by reading an external DVM meter.
If the value is 151.9mV, enters as following below.
LCD Display
V-LOW 00.15V
This is an examples for 30V.
▌
After finished to enter the value, press the "Calibration" key.
LCD Display
ADC datA 026ch
About 500ms, display HEX value instead
of readback value.
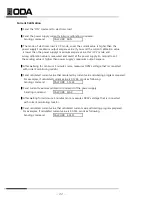
LCD Display
1.cal-volt low
Return to the previous state of calibration
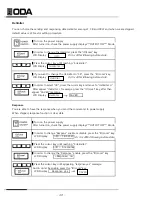
Move to "2.cal-volt high" mode by using cursor key and press the "Calibration" key.
LCD Display V-high 31.60V
Display voltage value can be different
Wait for 5 minute
▌
Wait until DVM display voltage becomes stable
- 58 -
Summary of Contents for EX 100-12
Page 1: ...Programmable DC Power Supply User Manual www odacore com EX Series Manual Part NO 019EX 03...
Page 4: ...Safety Symbol...
Page 91: ...92...
Page 92: ...93...

