www.odencontrol.se 7
4 MECHANICAL
INSTALLATION
The examples in this chapter should be regarded as guidance only. Actual installations may vary depending on the
type of valve used. Some adapter consoles and screws may differ from those described below.
NOTE:
The manufacturer’s warranty will be void if the cover is dismantled.
WARNING:
If the 24 V DC is connected during assembling or inspection, the valve may move.
DANGER:
The cable must be clamped (fixed installation) between the actuator and the connection board.
4.1.
Confirmation of delivered items
Please check that the delivery is complete according to the delivery specification:
−
P30 Basic Unit
−
10 m cable with connector
−
Analogue connection board
−
Product certificate
−
User’s guide
−
CD including software OVP
−
Radial seal
−
Turning or linear unit
(optional)
−
Adapter kit
(optional)
−
Computer cable RS232
(optional)
4.2. Tools
For the mechanical installation, the following tools are necessary:
−
M8, M6, M5 Hexagon keys (for socket head cap screws)
−
Spanner for M8-nuts
−
Screwdriver (width 2,5 mm)
−
Loctite blue 243
4.3. Installation
P30R1 Turning actuator
1.
Fit the valve flange adapter to the valve. A common valve
flange adapter design is a bent steel plate or, as here shown,
an aluminium profile with its outer surface provided with
four treaded holes for the M8 screws and with interface
holes to the valve flange in accordance to ISO standard F05
and F07.
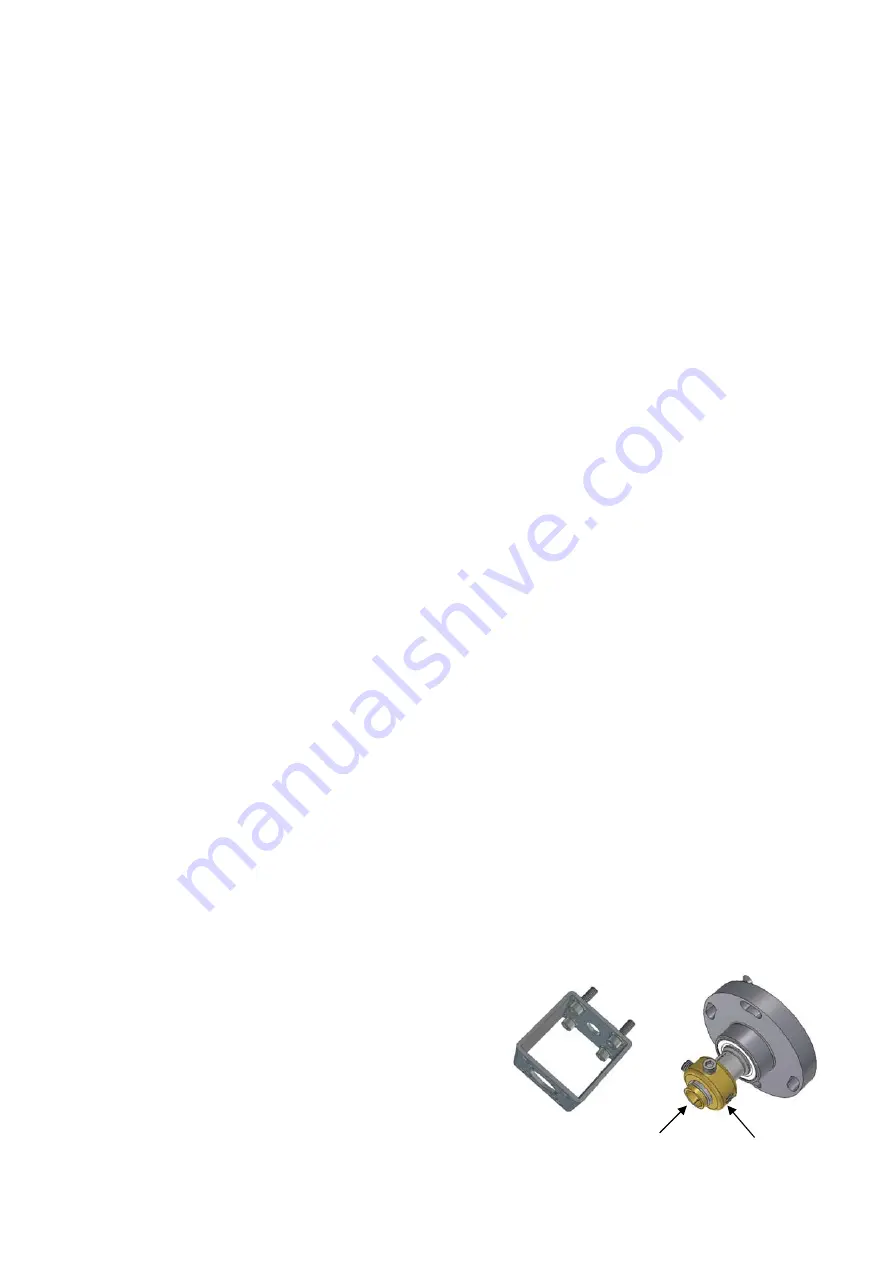
2.
The slotted bushing should be machined to actual valve
spindle diameter. The clamp collar has two stop screws
which create clamping forces to the valve spindle.
Slotted bushing
Clamp collar
Summary of Contents for P220L
Page 1: ...User s guide installation and maintenance manual oden p30 Oden Control www odencontrol se ...
Page 21: ......
Page 22: ......
Page 23: ......
Page 24: ......


