
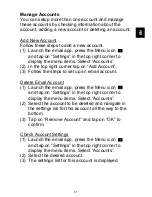

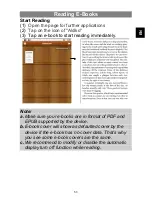
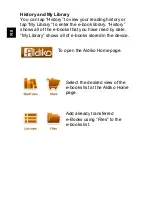
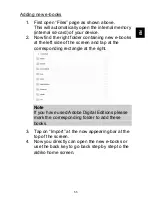
E
N
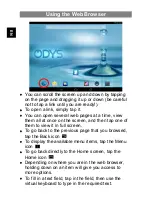
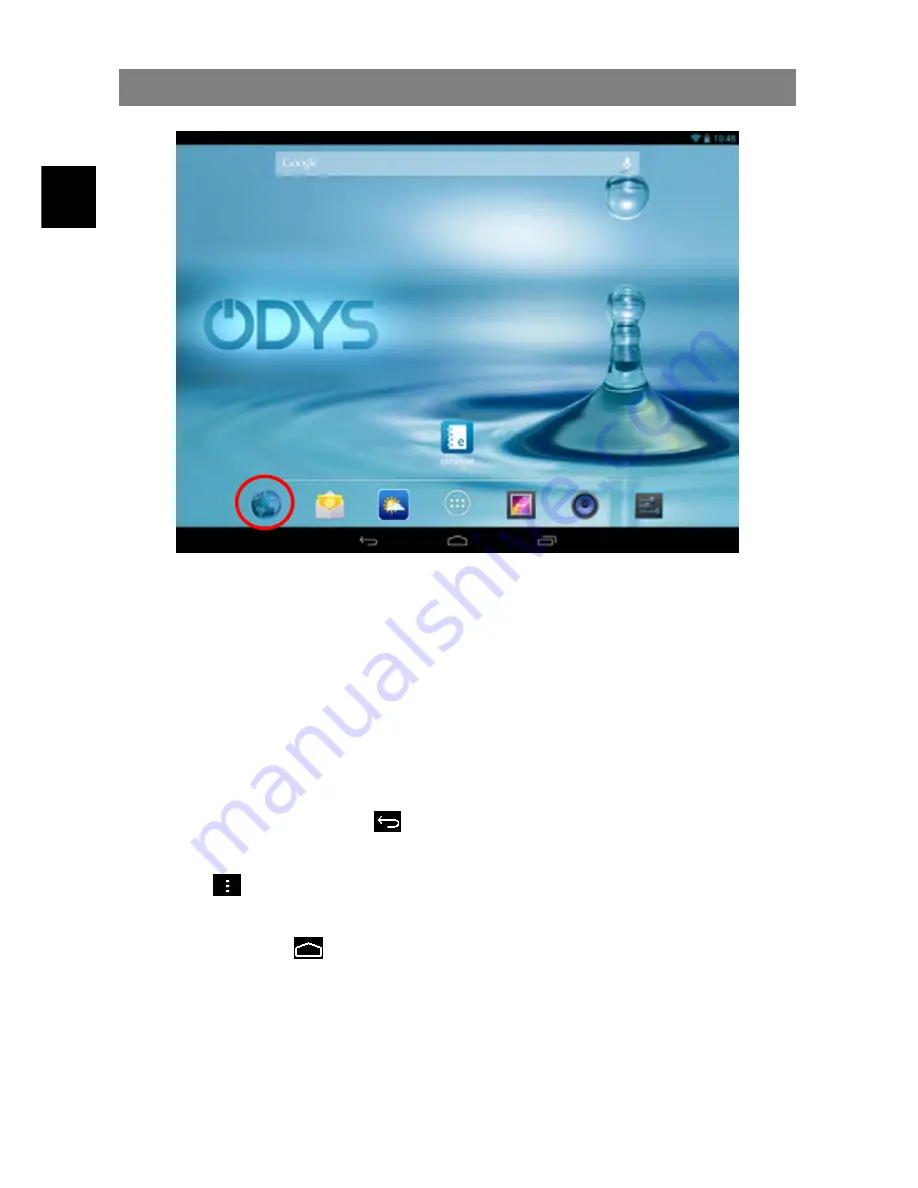
Using the Web Browser
You can scroll the screen up and down by tapping
on the page and dragging it up or down (be careful
not to tap a link until you are ready!).
To open a link, simply tap it.
You can open several web pages at a time, view
them all at once on the screen, and then tap one of
them to view it in full screen.
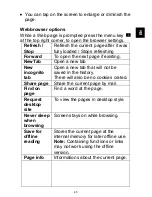
To go back to the previous page that you browsed,
tap the Back icon
To display the available menu items, tap the Menu
icon
To go back directly to the Home screen, tap the
Home icon
Depending on where you are in the web browser,
holding down on an item will give you access to
more options.
To fill in a text field, tap in the field, then use the
virtual keyboard to type in the required text.


