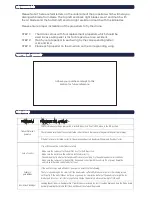
TRIM ADJUSTMENT ON THE RADIO CONTROL TRANSMITTER
CARE & MAINTENANCE
TECHNICAL SPECFICATIONS & PARAMETERS
CAUTIONS & WARNINGS
NOTICES
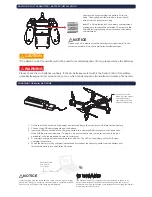
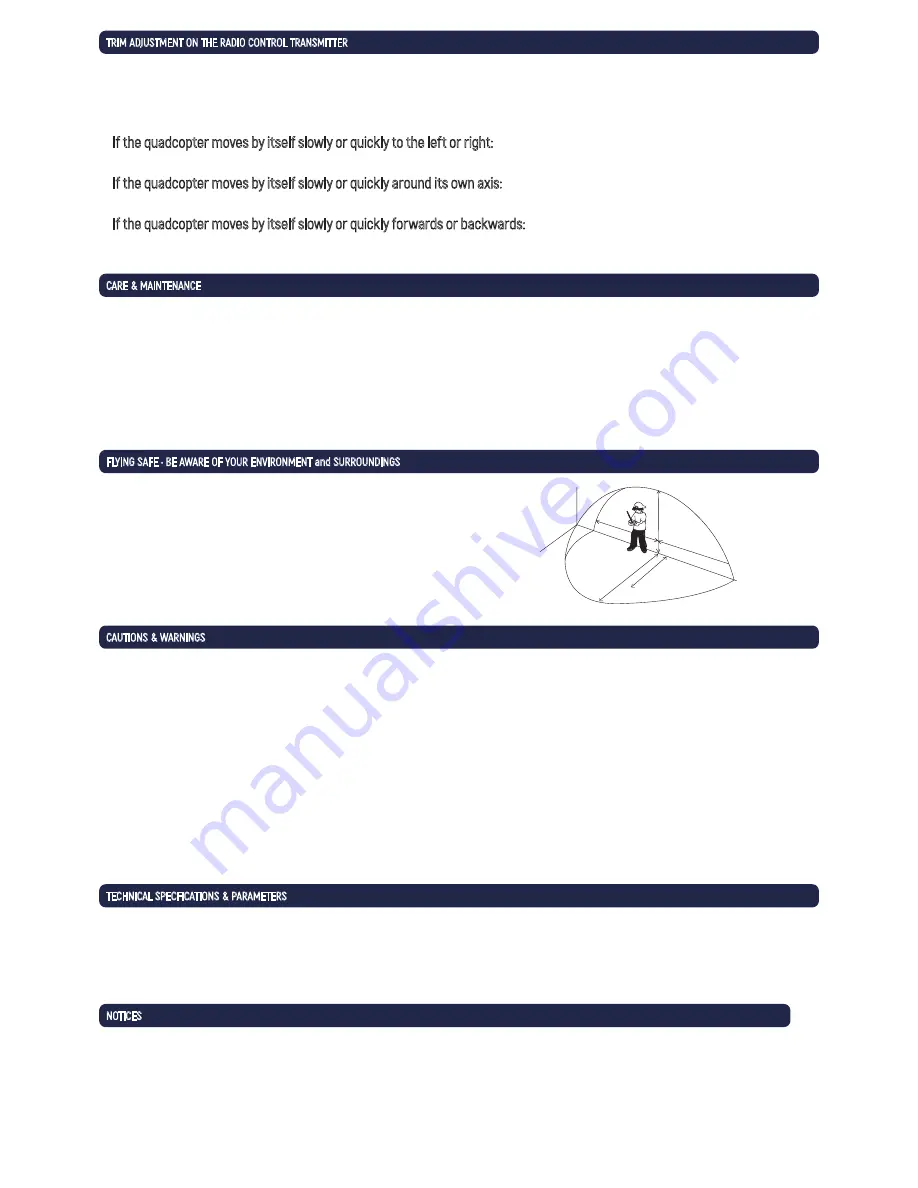
FLYING SAFE • BE AWARE OF YOUR ENVIRONMENT and SURROUNDINGS
Always fly on a sunny, bright day with as little wind as
possible. Flying in extreme heat or cold can adversely
affect your flying control and response of the vehicle.
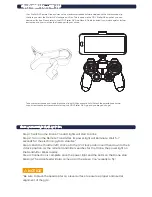
Charging Time: Approximately 60 minutes (dependent on usage)
Flying Time: Approximately 13-15 minutes (dependent on flying conditions)
Radio Control monitor viewing distance limit: Approximately 30 meters (~98 feet)
• Suitable for ages 14 and up. Adult supervision is always recommended.
• This product contains small parts which are a choking hazard. Keep away from small children.
• Keep drone at least 10 feet away during use.
• Accurately assemble the quadcopter and fly it under the guidelines of this manual. Small parts should be installed by an
adult.
• Manufacturers and dealers disclaim all responsibility for damage caused by misuse.
• Keep hands, hair and loose clothing away from rotors when powered on to prevent damage to the vehicle or serious
injury to oneself or others.
• The quadcopter should never be flown in high winds in excess of 5 MPH or near a pool.
• Never leave the device unattended when being charged.
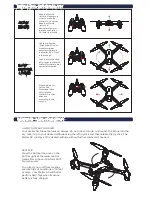
Correct trim adjustment is required for error and erratic-free flying of the quadcopter. The adjustment is simple to do
on the radio control transmitter, but it requires some patience. Please follow the instructions precisely. For best results,
move the throttle up and raise the quadcopter approximately 2-3 feet (0.5-1 meter) in altitude.
If the quadcopter moves by itself slowly or quickly to the left or right:
Press the trim control for banking incrementally in the opposite direction of movement.
If the quadcopter moves by itself slowly or quickly around its own axis:
Press the trim control for rotation incrementally in the opposite direction of movement.
If the quadcopter moves by itself slowly or quickly forwards or backwards:
Press the trim control for forwards and backwards flight incrementally in the opposite direction of movement.
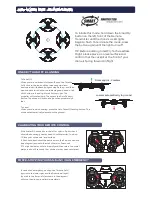
• Do not submerge the unit in any liquids.
• Keep the unit dry.
• Disconnect the unit and monitor from USB
power sources when not in use.
• Do not place the unit near powerful, unshielded magnets.
• Do not expose the unit to extreme hot or cold temperatures.
• Do not hit, drop, or smash the unit.
• Do not disassemble the unit for any reason.
NOT FOLLOWING THESE PRECAUTIONS WILL VOID YOUR WARRANTY.
This device complies with part 15 of the FCC Rules. Operation is subject to the following two conditions: (1) This
device may not cause harmful interference, and (2) this device must accept any interference received, including
interference that may cause undesired operation.
This drone does not require FAA registration.


