30 - 97
Instruction Manual
AC 02/2019-rev.1.1
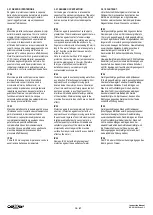
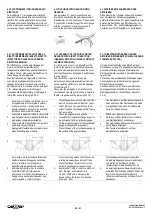
6
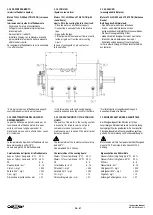
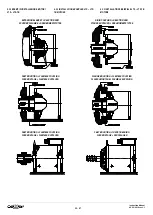
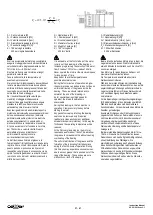
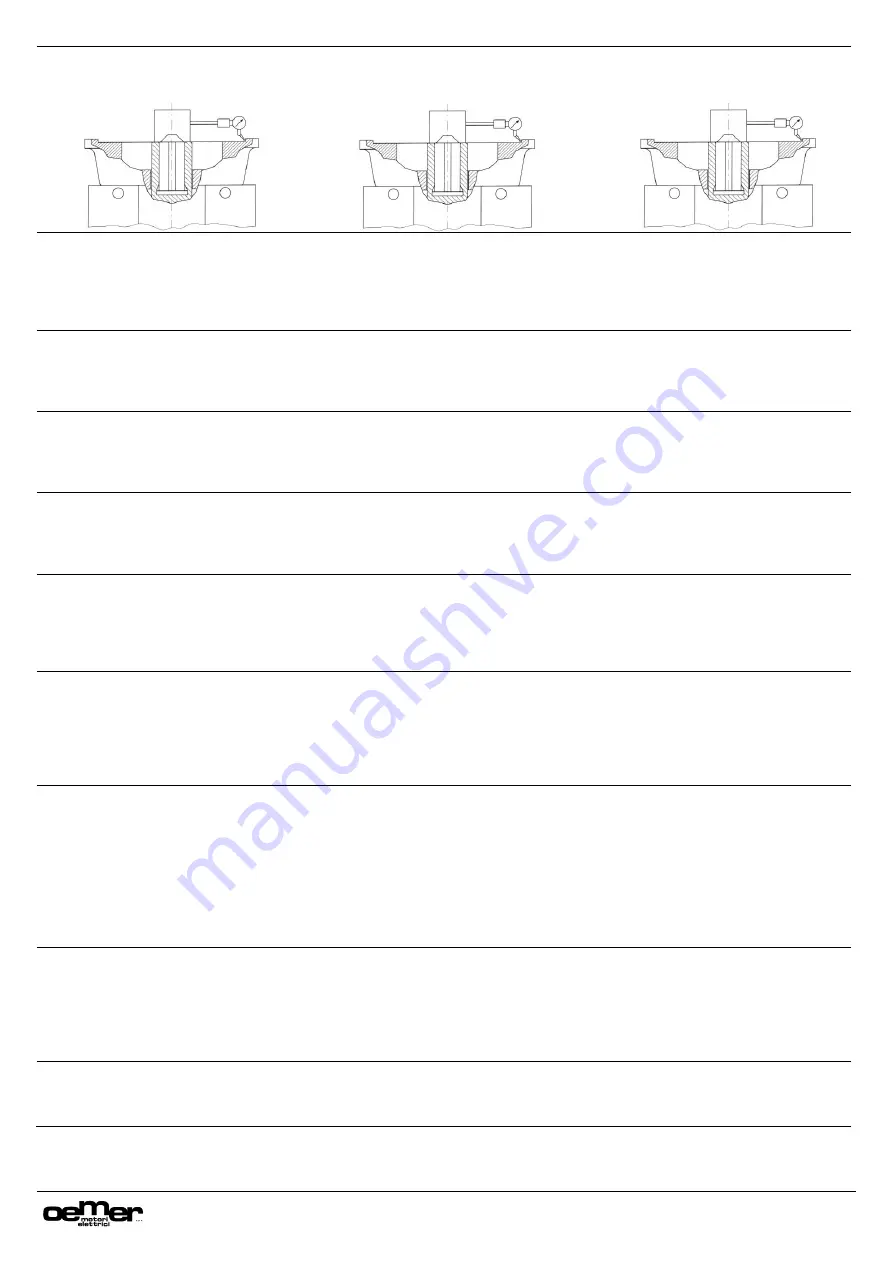
Appoggiare il tastatore del comparatore
sulla battuta interna della flangia del
riduttore.
6
Place the head of the mechanical gauge on
the internal diameter of the centering ring of
the gearbox flange.
6
Den Tastkopf der Messuhr auf den
Aussen-durchmesser des Zentrierings
auflegen
7
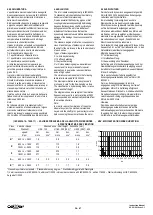
Fare ruotare molto lentamente l’albero del
riduttore (se possibile ag
endo sull’albero
lento) e verificare che la flangia sia
perfettamente concentrica r
ispetto all’albero
del riduttore. Con la rotazione completa di
360° l’errore massimo ammesso è di 0.05mm.
7
Turn slowly the gearbox shaft (if possible
rotating manually the output shaft) and
check that flange must be perfectly
concentricity respect to the gearbox shaft.
With a complete rotation of 360° the max.
admissible error is 0.05mm.
7
Die Getriebewelle langsam drehen (falls
möglich die Abgangswelle per Hand drehen)
und prüfen, ob der Flansch einen perfekten
Rundlauf zur Getriebewelle aufweist. Die
maximal zugelassene Abweichung für eine
komplette 360° Drehung beträgt 0.05mm.
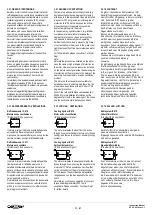
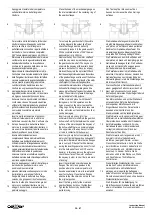
8
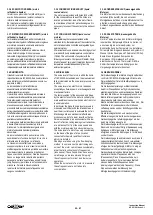
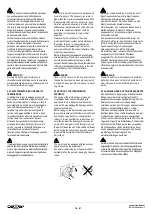
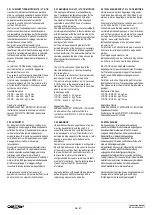
Rimuovere la chiavetta dall’albero del motore e
verificare che scorra agevolmente nella sede
dell’albero del riduttore. La chiavetta deve
scorrere con la pressione della mano ma non
deve assolutamente avere gioco.
8
Remove the key from the motor shaft and
verify the can muve inside the keyway of
the gearbox hollow shaft. The key has to
slide into the keyway with a certain hand
pressure but has not to muve (no airgap).
8
Die Passfeder aus dem Sitz entfernen und
überprüfen, ob diese sich leichtgängig in der
Getriebewelle bewegen lässt. Die Passfeder
muss sich mit Handkraft bewegen lassen,
darf dabei aber kein Spiel aufweisen.
9
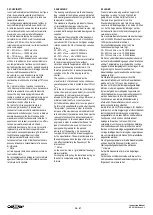
Riposizionare la chiavetta nell’albero motore.
Controllare che la distanza esistente tra il piano
della flangia del riduttore ed il fondo dell’albero
cavo sia superiore alla lunghezza dell’albero
motore rispetto al piano flangia del motore.
9
Re-insert the key into the motor shaft. Check
that the existing distance between the surface
of the gearbox flange and the end of the hollow
shaft is higher than the total length of the motor
shaft respect to the motor flange surface.
9
Die Passfeder wieder in die Getriebewelle
einsetzte. Überprüfen, dass der Abstand des
Getriebeflansches zum hinteren Ende der
Hohlwelle grösser ist als die Wellenlänge des
Motors zum Motorflansch.
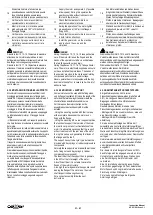
10
Lubrificare l’interno delll’albero cavo del
riduttore con un grasso specifico per questo
montaggio (deve evitare la formazione di
rug
gine e di ossido da contatto). L’olio normale
e/o il grasso dei cuscinetti non sono idonei.
10
Lubricate the internal surface of the gearbox
hollow shaft with a appropriate grease (the
grease protect the shaft agains the rust and the
oxide). The normal oil or grease for bearings
are not indicated for this purpose.
10
Die Innenfläche der Getriebehohlwelle mit
einem geeigneten Fett schmieren (das Fett
dient als Korrosionsschutz und gegen
Kontaktrost). Normales Öl oder Lagerfett sind
dafür nicht geeignet.
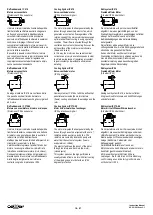
11
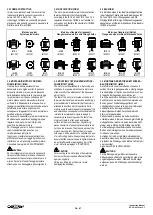
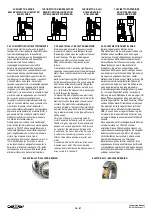
Sollevare il motore e posizionarlo con l’albero
rivolto verso il basso. Per questa operazione
utilizzare i fori dei piedi posteriori e gli appositi
golfari di sollevamento facendo attenzione a
non rovinare il ventilatore e la statola
morsettiera.
11
Lift the motor and place it with the shaft
facing down. For this operation use the
holes present on the motor feet and the
lifting rings. During this operation take care
to the motor fan unit and terminal box that
can be damaged.
11
Den Motor anheben und mit der Welle nach
unten abstellen. Dafür die Befestigungs-
bohrungen der Motorfüsse und die
Ringschrauben benutzen. Darauf achten,
dass dabei der Ventilator und der
Klemmenkasten nicht beschädigt werden.
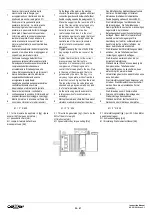
12
Inserire molto lentamente e di soli pochi
millim
etri l’albero del motore all’interno
dell’albero cavo del riduttore. Verifi
care che
tra la parte superiore della chiavetta del
motore e la cava dell’albero del riduttore ci
sia una minima distanza (la parte superiore
della chiavetta non deve forzare).
12
Insert very slowly ond only for few
millimeters the motor shaft into the gearbox
hollow shaft. Verify that between the upper
surface of the motor keyand the keyway of
the hollow shaft there is a minimum airgap
(the upper side of the key has not to force
or to be in contact with the keyway).
12
Die Motorwelle nur langsam und für ein paar
Millimeter in die Getriebehohlwelle einführen.
Überprüfen, dass zwischen der Oberkante
der Motorpassfeder und dem Sitz in der
Getriebewelle einen minimalen Abstand
vorliegt (kein Kontakt oder Druck der
Passfeder auf den Sitz)
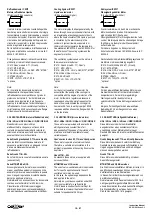
13
Inserire molto lentamente ma non
completamente l’albero del motore all’interno
dell’albero cavo del riduttore (ferm
arsi pochi
millimetri prima che le flange vadano a contatto).
Se l’albero si bloc
ca
durante l’inserimento non
cercare assolutamente di inserirlo forzatamente e
NON utilizzare il martello. In questo caso
rimuovere il motore e controllare la superfice
dell’a
lbero motore e della chiavetta per verificare
se ci sono segni di forzatura.
13
Insert very slowly but not completely the
motor shaft inside the gearbox hollow shaft
(stop few millimeters before the two flanges
are in contact). If the shaft will be blocked
during the inserting operation do not force it
into the hollow shaft and do NOT use the
hammer. In this case remuve the motor and
check the surface of the motor shaft and
the keyway in order to see if there are mark
of locking.
13
Die Motorwelle sehr langsam aber nicht
komplett in die Getriebehohlwelle
einführen (wenige Millimeter vor dem
Flanschkontakt anhalten. Falls die Welle
beim Einführen blockiert, keinesfalls mit
Kraft nachhelfen und KEINEN Hammer
benutzen. In diesem Fall die Welle
abziehen und die Oberfläche von Welle
und Passfeder auf Schleifspuren
kontrollieren.
14
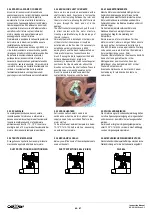
Inserire degli spessori calibrati tra la flangia
del riduttore e quella del motore nella
posizione di quota minima
precedentemente contrassegnata in modo
da ripristinare un piano perfetto tra le
flange. Mandare in battuta le due flange
curando che gli spessori non fuoriescano.
14
Insert the calibrated shims between the
flange of the motor and gearbox in the
position where the minimum point mark
bave been detected in order to re-establish
a perfect surface. Close the two flanges
and check that the shims do not muve form
the original position.
14
Die kalibrierten Distanzhalter in der zuvor
markierten Position der Minimalmasse
zwischen Motor und Getriebeflansch
einlegen, um eine perfekte Auflage der
beiden Flansch zu ermöglichen. Die beiden
Flansche zusammenschieben, ohne dass die
Distanzhalter herausfallen.
15
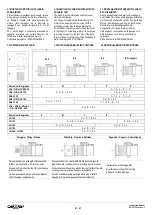
Inserire i bulloni che fissano la flangia del
motore con quella del riduttore ma non
stringerli. Avvitarli solo manualmente fino al
parziale serraggio.
15
Insert the fixing bolts for the motor and
gearbox flanges but do not tighten them.
Tighten the bolts only by hands till the
partial closing.
15
Die Schrauben für die Befestigung für
Motorflansches am Getriebeflansch einführen
aber nicht anziehen. Nur von Hand leicht
anziehen.

