background image

EN

13

8 - Selecting the Oven Mode

Bake Temperature Control

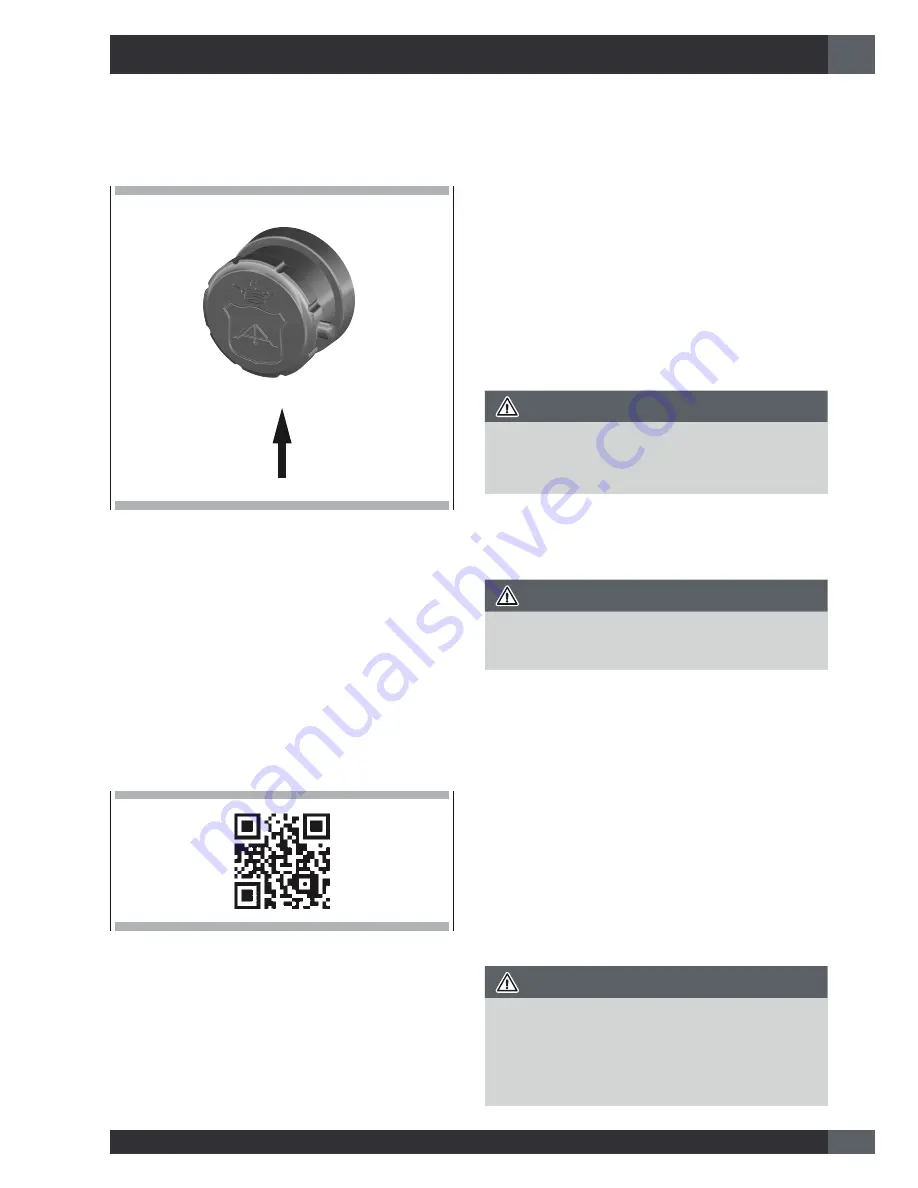
While  still  in  the  home  (off)  position,  press  the  temperature 
setting knob all the way in for about one second (you should 
hear the spark module begin to make a snapping sound).

Release  and  then  rotate  the  knob  counter-clockwise  to  the 
desired  temperature  setting  (at  least  past  the  minimum 
temperature  marking  on  the  knob).  Once  the  spark  module 
starts  it  will  continue  sparking  automatically  for  about  9 
seconds to ensure the gas is lit. You may hear a whoosh sound 
as the 

fl

ame ignites around the burner. (Refer to the preheating 

table earlier in this manual for preheat times).

In case the burner is not lit return the knob to the 

µ2

FF

 position 

and repeat the above gas burner ignition procedure.

Ignition of the Broiler burner is the same procedure as above 
with the exception that the knob is to be turned clockwise to the 
Broil position once sparking is initiated.

Scan the QR Code below to be taken to the YouTube video 
showing oven burner ignition.

NOTE:  A gas smell may be detected in cases where the burner 

did  not  ignite  -  this  is  normal  and  not  indicative  of 
continued gas 

fl

ow, a small amount would have been 

released during the lighting sequence.  The ovens are 
equipped with safety thermocouples which close the 
valve  and  shut  off  the 

fl

ow  of  gas  if  a 

fl

ame  is  not 

detected. This is why the knob needs to be returned to 
the 

µ2

FF

 position to reset the thermocouple in cases 

of failed ignition so it can be retried.

Bake Temperature Control

The temperature control knob serves to set the desired oven 
temperature and is equipped with a safety valve. When the 
oven is in operation or if the function selector knob (fan / light) 
is turned to either option, the ON light is illuminated.

The minimum position corresponds to an oven temperature of:

30”

 = 295

Ĉ

F (145

Ĉ&

)

36”

 = 275

Ĉ

F (135

Ĉ&

)

The control knob has a stop at the minimum position.

The maximum position corresponds to an oven temperature of

30”

 = 570

Ĉ

F (300

Ĉ&

)

36”

 = 550

Ĉ

F (290

Ĉ&

)

and is obtained when the knob is turned fully counterclockwise.

WARNING

If  your  ignition  experience  does  not  relate  the  description 
above or will not ignite after several attempts turn off the gas 
supply to the oven and contact service.

Broil

To turn on the broiler, press and turn the knob clockwise to the 
broil position.

WARNING

When using the broiler accessible parts may get hot, keep 
children at a safe distance.

Convection Mode Benefits

The convection fan function turned on together with the strong 
heat coming from the bottom burner makes it possible to cook 
foods more evenly and delicately than with the bottom burner 
alone.
Cooking  is  faster  than  in  a  traditional  oven.  The  system  is 
suitable for cooking foods of different types (

fi

sh, meat, etc.) 

on multiple levels.
Pre-heating is not necessary when using convection modes but 
is still recommended for baking.

With  this  convection  cooking  method,  you  can  operate  the 
oven in the normal way and follow the instructions in recipe 
books.
The food to be cooked should preferably be placed centrally 
within the oven.

WARNING

Prolonged use of gas appliances produces heat and humidity 
in the kitchen. This may make additional ventilation such as 
opening a window or more ef

fi

cient ventilation necessary, 

for example by increasing the level of mechanical ventilation 
where present (suction hood).

Summary of Contents for OGS 304FU

Page 1: ...OGG OGS 304FU OGG OGS 366FU 2OGG 2OGS 304FU RANGE WITH GAS OVEN FOR RESIDENTIAL USE INSTRUCTIONS for installation and use...

Page 2: ......

Page 3: ...supplier s instructions If you cannot reach your gas supplier call the fire department Installation and service must be performed by a qualified installer service agency or the gas supplier IMPORTANT...

Page 4: ...aking Problems 15 11 Do It Yourself Maintenance Oven Door Removal 16 To Remove Door 16 To Replace Door 16 12 Replacing an Oven Light 17 To Replace a Light Bulb 17 13 Features of your Cooktop 18 TABLE...

Page 5: ...ng lid cookie sheet or other metal tray then turn off the gas burner BE CAREFUL TO PREVENT BURNS If the flames do not go out immediately EVACUATE AND CALL THE FIRE DEPARTMENT Do not use water includin...

Page 6: ...ates Do not allow pans to boil dry CAUTION Do not store items of interest to children above the appliance If children should climb onto the appliance to reach these items they could be seriously injur...

Page 7: ...nd ventilation air Do not use aluminium foil to line any part of the cooktop If the range cookers is near a window be certain blow over or near the burners they could catch on fire Warnings for Gas an...

Page 8: ...ed Halogen Light Halogen Light 6 4 5 3 2 1 P C W 0 1 s a G e n a p o r P P L P C W 5 s a G l a r u t a N G N 0 3 L E D O M BROIL W 0 0 8 3 h u t B 0 0 0 3 1 W 0 0 1 4 h u t B 0 0 0 4 1 OVEN W 0 0 7 4...

Page 9: ...OPIC CHROMED RACK CONTENTS OF YOUR RANGE PACK QTY DESCRIPTION QTY DESCRIPTION 1 RANGE COOKER CAST IRON GRATES 2 Pcs FOR 30 RANGE 3 Pcs FOR 36 48 RANGE 1 3 BACKSPLASH THREE FIXING SCREWS 1 GRIDDLE FOR...

Page 10: ...position 1 Counterclockwise Oven burner temperature regulation 2 Clockwise Broil Burner Signal lamps Left Fan Failure Right ON oven indicator light The user interface has the following features displ...

Page 11: ...e convection fan operates during any convection mode When the oven is operating in the convection mode the fan will turn off automatically when the door is opened Oven Light The oven light is normally...

Page 12: ...k rough or dull pans will absorb heat resulting in a browner crisper crust Use this type for pies For brown crisp crusts use dark non stick anodized or dark dull metal utensils or glass bake ware Insu...

Page 13: ...held or carried by grasping the sides NOTE Always remove the extendable rack before self cleaning the oven CAUTION To avoid burns pull rack all the way out and lift pan above handle when transferring...

Page 14: ...e counter does not control the oven when it finishes counting the oven will continue to work To set press the central button for 3 seconds until appears Press and to set the required time To set the m...

Page 15: ...ed oven temperature and is equipped with a safety valve When the oven is in operation or if the function selector knob fan light is turned to either option the ON light is illuminated The minimum posi...

Page 16: ...s Leavened Dough Strudel 355 180 40 50 Yes Puff Pastry Tartlets 375 190 20 30 Yes Souffl 355 180 35 40 Yes Sachertorte 355 180 55 60 Yes Fruit Pie 320 160 160 180 Yes Choux Pastry 390 200 35 40 Yes Ro...

Page 17: ...ching each other or oven walls Food is dry or has shrunk excessively Oven temperature too high Baking time too long Oven door opened frequently Pan size too large Food is baking or roasting too slowly...

Page 18: ...d back to their normal operating position ie the clips hit the frame then the door is not correctly seated Bring the security clips back out and try to reseat the door you will feel it clip in drop sl...

Page 19: ...the light bulb from its socket by pulling it 5 Replace the bulb with a new one Avoid touching the bulb with fingers as oils from hands can damage the bulb when it becomes hot 6 The bulb is halogen use...

Page 20: ...Natural Gas 5 W C P LP Propane Gas 10 W C P 1 DOUBLE CROWNS burner knob 750 to 18000 Btu h 220 to 5300W 750 to 20000 Btu h 220 to 5850W 750 to 15000 Btu h 220 to 4400W 2 DOUBLE CROWNS burner knob 750...

Page 21: ...EN 19 13 Features of your Cooktop BURNER B C B Burner Cap C Burner Gas Spreader...

Page 22: ...cookware on the grate Do not touch the burner when the igniters are clicking sparking shock hazard Do not let the burner flame extend beyond the edge of the pan burn hazard on handles and potential c...

Page 23: ...remove and clean according to the General Cleaning section Burner base and injector Gas must flow freely throughout the injector orifice to light properly Keep this area free of soil and do not allow...

Page 24: ...wly and evenly Good for browning and frying Maintains heat for slow cooking Ceramic or Ceramic glass Follow manufacturer s instructions Heats slowly but unevenly Ideal results on low to medium heat se...

Page 25: ...10 Mesh Gasket 5 4 6 7 8 10 11 16 14 12 1 15 13 2 9 3 19 17 18 The entire oven can be safely cleaned with a soapy sponge rinsed and dried If stubborn soil remains follow the recommended cleaning metho...

Page 26: ...ective varnishes have been used to obtain the special burnishing effect on the burnished brass details in order to avoid spoiling the beauty of the brass with an artificial patina The antique finish o...

Page 27: ...ium Detergent and hot water rinse and dry Stiff nylon bristle toothbrush to clean port openings Abrasive cleansers Revere ware metal polish Following package direction Use Brillo or S O S pads Rinse a...

Page 28: ...s appearance Hard water spots Household white vinegar Mild Abrasive Cleaners Kleen King stainless steel liquid cleaner Cameo aluminum stainless steel cleaner Bon Ami Heat discoloration Bar Keepers Fri...

Page 29: ...ven racks are removed and replaced always tilt racks upward and do not force them to avoid chipping the porcelain Ignition will not operate Is the power supply cord unplugged Plug into a grounded 3 pr...

Page 30: ...ookware the proper size Use cookware about the same size as the surface cooking area element or surface burner Cookware should not extend more than 1 in 2 5 cm outside the cooking area Cooktop cooking...

Page 31: ......
Page 32: ...us V 2 5 7 18 Via Della Torricella 29 Antella Bagno a Ripoli 50012 Florence Italy Tel 39 055 65 60 3324 39 055 62 18 07 Fax 39 055 62 06 70 officinegullo com info officinegullo com...

Reviews: