background image

Page 7 of 7

Riff Tables by OFS   |   Assembly Instructions

Work Table Assembly Instructions

STEP 5

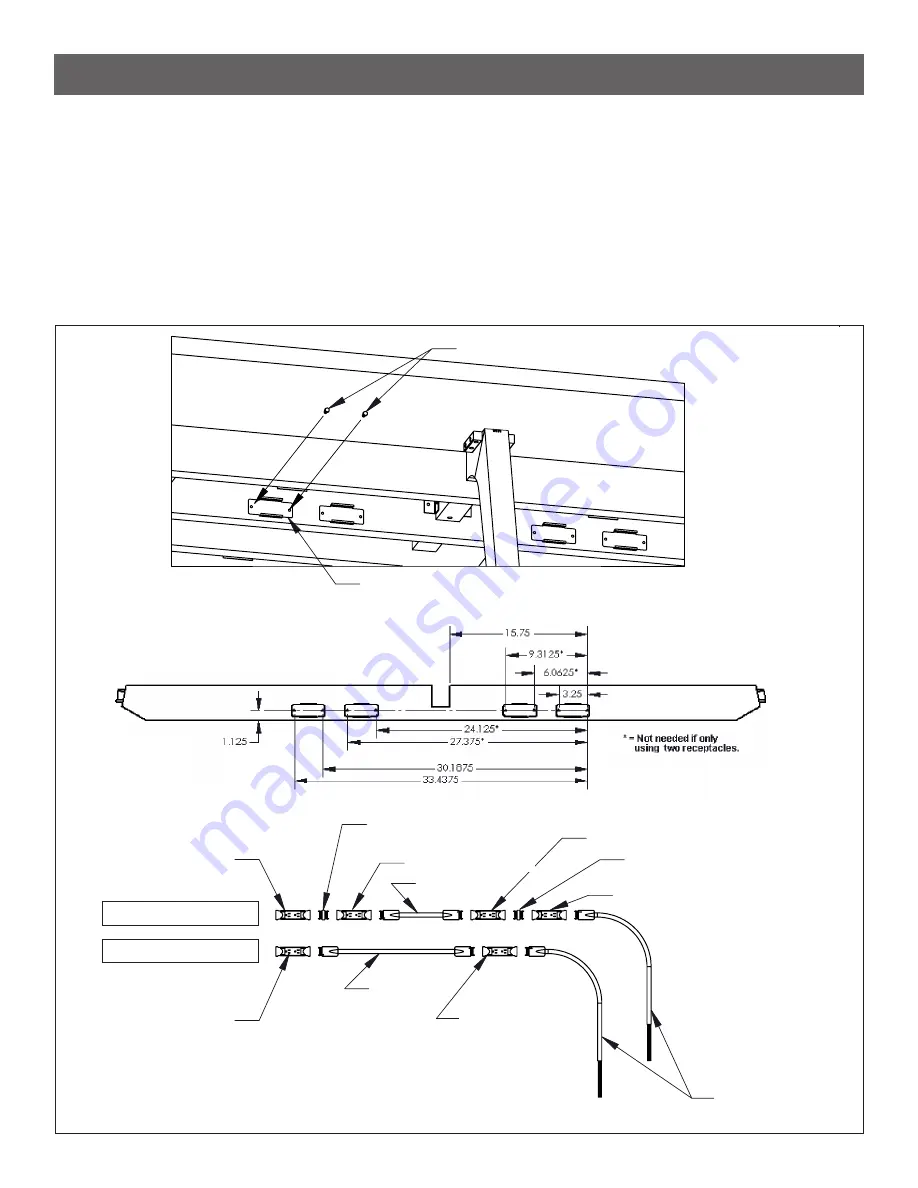
1.  Attach Receptacle Clips to inside face of Under Top Assembly (refer to hole 

location diagram below). 

2.   5/16" Hex Head Bolts are packaged with Receptacle Clips. 

3.  Snap assembled Whip (see diagram on page bottom) into Receptacle Clips.

Receptacle clip

5/16" Hex-head bolt

Attach receptacle clips to inside face of under top assembly,

 (refer to hole location diagram below)

5/16" hex head bolts are packaged with receptacle clips.

Snap assembled whip (see diagram on page bottom) into receptacle clips

Duplex receptacle

circuit 1

Receptacle connector

Duplex receptacle

circuit 1

Duplex receptacle

circuit 1

24" jumper

Duplex receptacle

circuit 2

Power in-feed

(hard-wired)

4 Receptacle whip

2 Receptacle whip

Duplex receptacle

circuit 2

12" jumper

Receptacle connector

Duplex receptacle

circuit 2

If Plug and play in-feed is used, all duplex receptacles will be circuit 1.

Series:

Part #:

Verve X1


Receptacle Clip

Power in-feed 

(hard-wired)

Duplex receptacle 

circuit 2

Duplex receptacle 

circuit 2

Duplex receptacle 

circuit 2

Receptacle connector

12" jumper

24" jumper

Receptacle connector

Duplex receptacle 

circuit 1

Duplex receptacle 

circuit 1

24" jumper

Duplex receptacle 

circuit 1

4 Receptacle Whip

2 Receptacle Whip

If Plug and Play in-feed is used, all duplex receptacles will be circuit 1.

5/16" Hex-head bolt

Summary of Contents for Riff

Page 1: ...WORK TABLE ASSEMBLY INSTRUCTIONS Riff Tables...

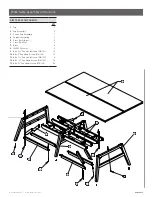
Page 2: ...OVER 2 BRACE 4 LEVELER 6 SCREW 16 SCREW 12 SCREW 8 SCREW 16 SCREW 56 1 2 3 8 5 7 10 6 11 4 9 12 13 RIFF TABLE COMPONENTS 1 Top QTY 2 2 Leg Assembly 2 3 Center Leg Assembly 1 4 Support Assembly 2 5 Cr...

Page 3: ...5 Mortise Tennon Notches End base Center base 96 tops Under top assemblies IMPORTANT Mortises must be toward table center 96 long tops only Place work surfaces bottom side up on a non marring surface...

Page 4: ...ecure Angled Tennons with 8 x 1 Pan Head Screws HK 103 4 Secure Straight Tennons with 2 8 x 2 Pan Head Screws HK 102 Straight tennon Align holes with holes in base rail Angled tennon Mortise 96 long t...

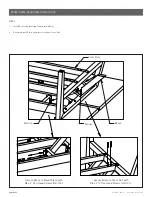
Page 5: ...Tennon Cross rail Brace Insall Braces by inserting tennon into mortise Bottom edge of Brace should rest flush on Cross rail Secure Brace to Mount plate with 8 x 2 pan head screws HK 102 Secure Brace t...

Page 6: ...elers Place work surface on base and position so it is centered both directions with 1 1 2 gap between tops Secure Work surface to base by screwing 8 x 5 8 pan head screws HK 105 through the L Bracket...

Page 7: ...ceptacle circuit 1 Receptacle connector Duplex receptacle circuit 1 Duplex receptacle circuit 1 24 jumper Duplex receptacle circuit 2 Power in feed hard wired 4 Receptacle whip 2 Receptacle whip Duple...

Page 8: ...10 15 an OFS Brands company 1204 East Sixth Street Huntingburg IN 47542 800 521 5381 ofs com PART 1572705 INSTRUCTION SHEET 2546INS WORK TABLE ASSEMBLY INSTRUCTIONS Riff Tables...

Reviews: