32
Chapter 5 Calibration
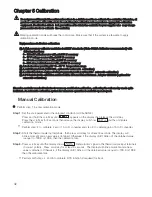
Do not proceed through this section unless there is a definite need to re-calibrate the controller. Otherwise, all
previous calibration data will be lost. Do not attempt recalibration unless you have appropriate calibration
equipment. If calibration data is lost, you will need to return the controller to your supplier who may charge
you a service fee to re-calibrate the controller.
Entering calibration mode will break the control loop. Make sure that if the system is allowable to apply
calibration mode.
Equipment needed before calibration:
(1) A high accuracy calibrator maintained at NIST standards ( Fluke 5520A Calibrator recommended ) with
following functions:
0 - 100 mV millivolt source with ±0.005 % accuracy
0 - 10 V voltage source with ±0.005 % accuracy
0 - 20 mA current source with ±0.005 % accuracy
0 - 300 ohm resistant source with ±0.005 % accuracy
(2) A test chamber providing 25 °C - 50 °C temperature range
(3) A switching network ( SWU16K, optional for automatic calibration )
(4) A calibration fixture equipped with programming units ( optional for automatic calibration )
(5) A PC installed with calibration software ETR -Net and Smart Network Adaptor SNA10B ( optional for
automatic calibration )
Since the controller needs 30 minutes to warm up aunit before calibration, calibrating the unit one by one is quite
inefficient. An automatic calibration system for numerous quantities is available upon request.
Since the controller needs 30 minutes to warm up aunit before calibration, calibrating the unit one by one is quite
inefficient. An automatic calibration system for numerous quantities is available upon request.
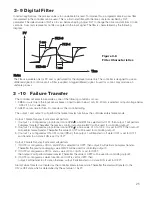
Press scroll key until the display shows . Send a 60mV signal to the thermocouple input terminals
in correct polarity . Press scroll key for at least 3 seconds . The display will blink a moment and a new
value is obtained . Otherwise , if the display didn't blink or if the obtained value is equal to -199.9 or 199.9,
then the calibration fails.
Step 1.
Step 3.
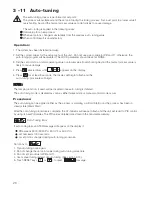
Short the thermocouple inpt terminals , then press scroll key for at least 3 seconds. The display will
blink a moment and a new value is obtained. Otherwise, if the display didn't blink or if the obtained value
is equal to -199.9 or 199.9, then the calibration fails.
Step 2.
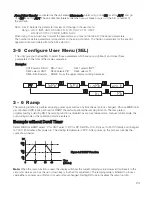
Press and hold the scroll key until appears on the display, then release the scroll key.
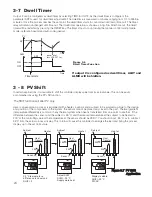
Press the scroll key for 2 seconds then release, the display will show and the unit enters
calibration mode .
Manual Calibration
Set the Lock parameter to the unlocked condition (LOCK=NONE).
Perform step 1 to enter calibration mode.
*
*
Perform step 2 to calibrate Zero of A to D converter and step 3 to calibrate gain of A to D converter.
Perform both steps 4 and 5 to calibrate RTD function (if required) for input.
*

