Adventurer Pro
EN-10
2.5 Connecting Power
2.5.1 AC Adapter
Connect the AC Adapter to the wall outlet. Connect the plug into the receptacle on the rear of the
balance.
2.5.2 Battery Installation
Some Adventurer Pro models operate with batteries. To install batteries, remove the pan and its
components and install the cone cover to protect the load cell.
CAUTION:
CAUTION:
CAUTION:
CAUTION:
CAUTION:
To protect the balance from damage while installing
batteries, make sure the cone cover is in place.
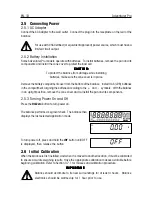
Remove the battery comparment cover from the bottom of the balance. Install 4 AA (LR6) batteries
in the compartment, aligning the batteries according to the + and - symbols. With the balance
in an upright position, remove the cone cover and re-install the pan and its components.
Press the
On/Zero
button to turn power on.
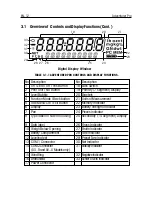
The balance performs a segment check. The balance then
displays the last selected application mode.
To turn power off, press and hold the
Off
button until OFF
is displayed, then release the button.
For use with CSA Certified (or equivalent approved) power source, which must have a
limited circuit output.
2.5.3 Turning Power On and Off
2.6 Initial Calibration
When the balance is first installed, and when it is moved to another location, it must be calibrated
to ensure accurate weighing results. Have the appropriate calibration masses available before
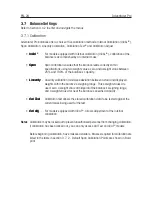
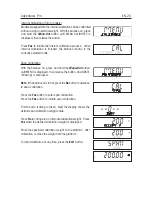
beginning calibration. Refer to Section 3.7.1 for masses and calibration procedure.
IMPORTANT:
IMPORTANT:
IMPORTANT:
IMPORTANT:
IMPORTANT:
Balance should acclimate to its new surroundings for at least 4 hours. Balance
electronics should be warmed up for 1 hour prior to use.

