background image

Defender 2200 Bench Scale 

EN-26


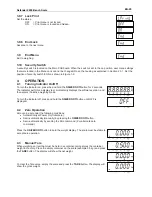
4.4   Changing Units of Measure 

Press and hold the 

PRINT Units 

button until the desired measuring unit appears. Only measuring units enabled  

in the Unit Menu will be displayed (refer to Section 3.7). 
 

4.5   Printing Data 

Printing the displayed data to a printer or sending the data to a computer requires that the communication 
parameters in the Print Menu are set (refer to Section 3.8). 
 
Press the 

PRINT Units 

button to send the displayed data to the communication port (the Auto-Print Mode in 

Section 3.8 function must be Off).


4.6   Application Modes 

Only modes enabled in the mode menu will be displayed (refer to Section 3.6).


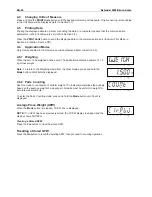
4.6.1   Weighing 

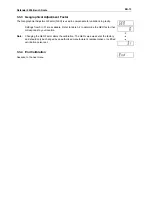
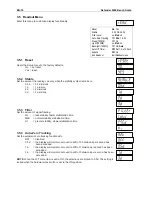
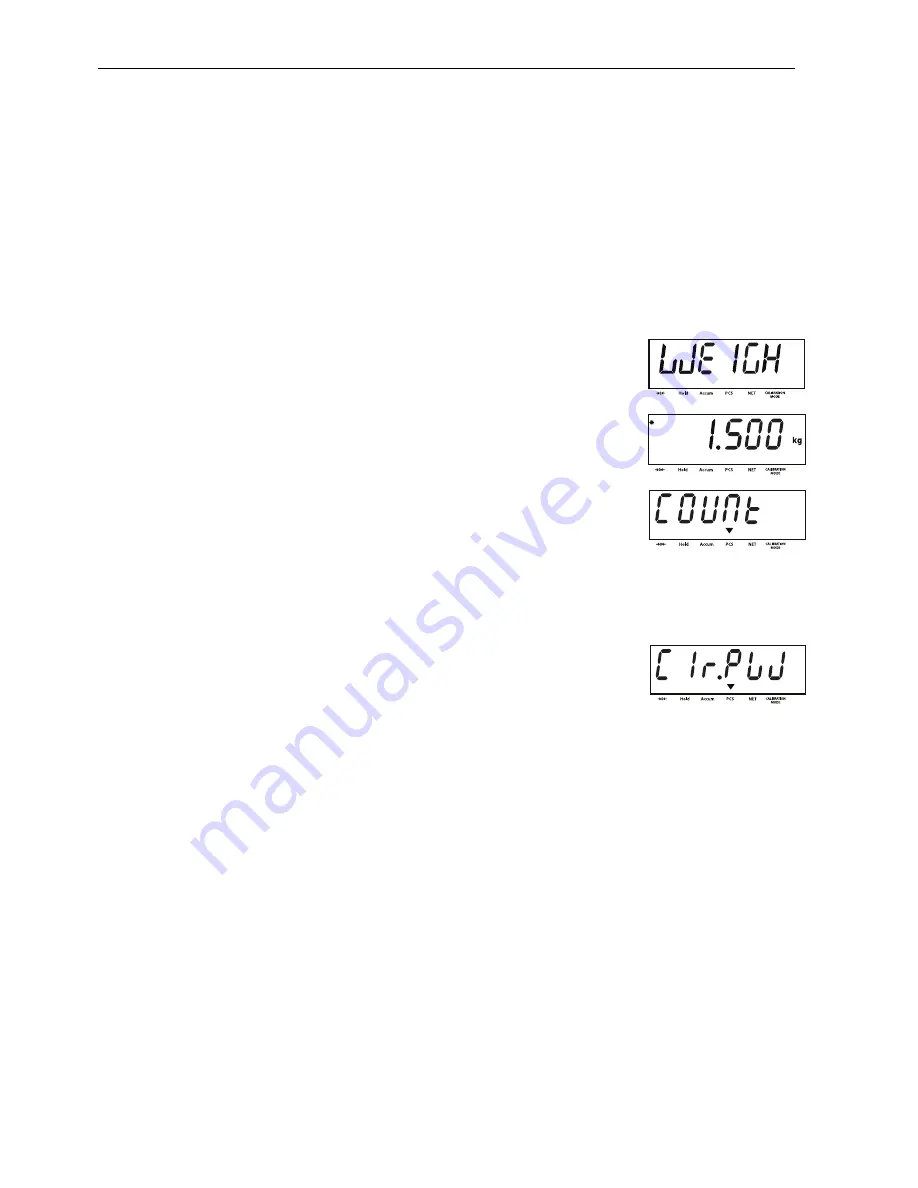
Place the item to be weighed on the scale. The illustration indicates a sample of 1.5 
kg, Gross weight. 


Note: 

To return to the Weighing mode from the other modes, press and hold the 

Mode 

button until WEIGH is displayed. 


4.6.2   Parts Counting 

Use this mode to count parts of uniform weight. The Indicator determines the quantity 
based on the average weight of a single part. All parts must be uniform in weight for 
accurate measurements. 
 
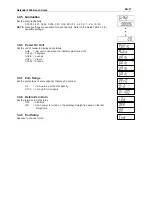
To enter the Parts Counting mode, press and hold the 

Mode 

button until Count is 

displayed.


Average Piece Weight (APW) 

When the 

Mode 

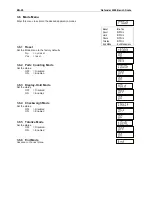
button is released, Clr.PW Pcs is displayed. 

 
NOTE

: If no APW has been previously stored, the Clr.PW display is skipped and the 

display shows PUt10Pcs. 

 
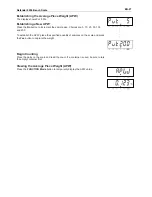
Clearing a Stored APW 

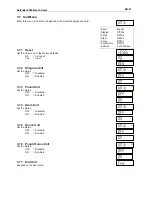
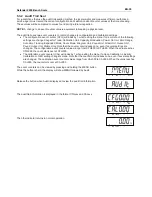
Press the 

Yes 

button to clear the stored APW.


Recalling a Stored APW 

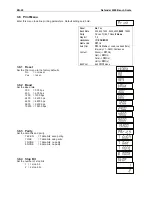
Press the 

No 

button to recall the existing APW, then proceed to counting operation.


Summary of Contents for Defender 2200

Page 1: ...Defender 2200 Bench Scale Instruction Manual...

Page 2: ......

Page 3: ...libration 12 3 3 3 Geographical Adjustment Factor 13 3 3 4 End Calibration 13 3 4 Setup Menu 14 3 4 1 Reset 14 3 4 2 Legal for Trade 14 3 4 3 Calibration Unit 14 3 4 4 Capacity 14 3 4 5 Graduation 15...

Page 4: ...Operation 25 4 3 Manual Tare 25 4 4 Changing Units of Measure 26 4 5 Printing Data 26 4 6 Application Modes 26 4 6 1 Weighing 26 4 6 2 Parts Counting 26 4 6 3 Display Hold 28 4 6 4 Check Weighing 28 4...

Page 5: ...cal AC power Make sure that the power cord does not pose a potential obstacle or tripping hazard Use only approved accessories and peripherals Disconnect the equipment from the power supply before cle...

Page 6: ...1 1 INDICATOR PARTS 1 Data Label 2 Front Housing 3 Adjusting Knob 2 4 Control Panel 5 Mounting Bracket 6 Screw 4 7 Rear Housing 8 Data Label 9 Power receptacle 10 Strain Relief for Load Cell Cable 11...

Page 7: ...2 Overview of Parts and Controls Cont Figure 1 2 Main PC Board TABLE 1 2 MAIN PC BOARD Item Description 1 Line Power Input J1 2 LFT On Off Switch 3 RS232 Connector J3 4 Sense Jumper W2 5 Load Cell Ter...

Page 8: ...1 Capacity Label Window 2 Pound indicator 3 Ounce 4 Kilogram gram indicator 5 TARE Menu button 6 CALIBRATION MODE indicator 7 FUNCTION Mode button 8 NET indicator 9 PCS indicator 10 PRINT Units button...

Page 9: ...s Off Turns the Indicator off Units Changes the weighing unit Mode Allows changing the application mode Press and hold allows scrolling through modes Menu Enter the User menu Extended press View the A...

Page 10: ...e power receptacle Figure 1 1 item 9 then plug the AC Adapter into an electrical outlet 2 2 3 Mounting Bracket to the Indicator Align the mounting bracket over the threaded holes in the side of the in...

Page 11: ...d For a 6 wire load cell that includes sense wires see Figure 2 2 Jumpers W1 and W2 must be opened For load cells with an extra ground shield wire Connect the shield to the center position GND of J7 F...

Page 12: ...READOUT AZT OFF 0 5d 1d 3d LINEARITY END END SPAN Y N Y UNIT MODE END END N N Y Y RESET YES NO CAPACITY 5 20000 GRADUATION 0 0005 20 CAL UNIT kg lb ZERO RANGE 2 100 RESET YES NO RESET YES NO KILOGRAM...

Page 13: ...The first digit is displayed flashing Press the No button to increment the digit or press the Yes button to accept the digit and move to the next digit Repeat this process for all digits Press the Yes...

Page 14: ...e exits to the active weighing mode and displays the actual weight value 3 3 2 Linearity Calibration Linearity calibration uses 3 calibration points The first calibration point is established with no...

Page 15: ...tings from 0 to 31 are available Refer to table 3 2 to determine the GEO factor that corresponds to your location Note Changing the GEO Factor alters the calibration The GEO value was set at the facto...

Page 16: ...17 18 18 19 19 20 20 21 21 22 22 23 23 24 24 25 25 26 26 27 27 28 28 29 29 30 30 04 04 05 05 06 06 07 07 08 08 09 09 10 10 11 11 12 12 13 13 14 14 15 15 16 16 17 17 18 18 19 19 20 20 21 21 22 22 23 23...

Page 17: ...he Setup menu to the factory defaults No not reset Yes reset 3 4 2 Legal for Trade Set the legal for trade status OFF off ON on Turning on the LFT menu setting has the following effects Zero range is...

Page 18: ...5 30 40 50 60 75 100 120 150 200 250 300 400 500 600 750 300 750 1000 0 05 0 1 0 2 0 5 1 0 2 0 5 1 5 10 15 20 25 30 40 50 60 75 100 120 150 200 250 300 400 500 600 750 1000 500 1000 1200 0 1 0 2 0 5 1...

Page 19: ...f measure displayed at startup Auto last unit in use when the indicator was turned off Unit kg kilograms Unit lb pounds Unit g grams Unit oz ounces 3 4 7 Zero Range Set the percentage of scale capacit...

Page 20: ...ision 2 d 2 divisions 3 d 3 divisions 3 5 3 Filter Set the amount of signal filtering LO less stability faster stabilization time MEd normal stability stabilization time HI greater stability slower st...

Page 21: ...MEd Medium Intensity HI High Intensity 3 5 7 Auto Off Timer Set the automatic shut off functionality OFF disabled SEt 1 powers off after 1 minute of no activity SEt 2 powers off after 2 minutes of no...

Page 22: ...Exit Mode menu 3 6 1 Reset Set the Mode menu to the factory defaults No not reset Yes reset 3 6 2 Parts Counting Mode Set the status OFF Disabled ON Enabled 3 6 3 Display Hold Mode Set the status OFF...

Page 23: ...t Unit menu 3 7 1 Reset Set the Unit menu to the factory defaults No not reset Yes reset 3 7 2 Kilogram Unit Set the status OFF Disabled ON Enabled 3 7 3 Pound Unit Set the status OFF Disabled ON Enab...

Page 24: ...o Interval 1 3600 Continuous Gross Off On Net Off On Tare Off On Unit Off On Exit PRINT menu 3 8 1 Reset Set the Print menu to the factory defaults No not reset Yes reset 3 8 2 Baud Set the Baud rate...

Page 25: ...tAb printing occurs each time the stability criteria are met INtEr printing occurs at the defined interval CONt printing occurs continuosly When INtEr is selected set the Print Interval 1 to 3600 seco...

Page 26: ...menu to the factory defaults No not reset Yes reset 3 9 2 Lock Calibration Set the status OFF Calibration menu is not locked ON Calibration menu is locked and hidden 3 9 3 Lock Setup Set the status O...

Page 27: ...momentarily displays the software version and then enters the active weighing mode To turn the Indicator off press and hold the ON ZERO Off button until OFF is displayed 4 2 Zero Operation Zero can be...

Page 28: ...he item to be weighed on the scale The illustration indicates a sample of 1 5 kg Gross weight Note To return to the Weighing mode from the other modes press and hold the Mode button until WEIGH is dis...

Page 29: ...are 5 10 20 50 100 and 200 To establish the APW place the specified quantity of samples on the scale and press the Yes button to capture the weight Begin Counting Place the parts on the scale and rea...

Page 30: ...4 6 4 Check Weighing Use this mode to determine if the weight of a sample is within Pre set limits Checkweighing Limits When the FUNCTION Mode button is released Clr rEF is displayed Using or Recalli...

Page 31: ...to enter settings Begin Check Weighing The appropriate Under Accept or Over LED lights to indicate Check Weigh status Place a sample on the scale and read the weight For loads less than the Under Lim...

Page 32: ...ess Mode button The Accum indicator will blink to show the value is added to the memory Remove the item scale must return to zero before the next item placed on the scale can be accumulated To display...

Page 33: ...nt stable displayed weight according to stability setting CP Continuous Print SP Print when stable xP xP Interval Print x Print Interval 1 3600 sec Z Same as pressing Zero button T Same as pressing Ta...

Page 34: ...Unit Stability Legend CR LF Length 1 1 7 1 5 1 3 1 1 Definitions Polarity sign if negative blank if positive Weight up to 6 numbers and 1 decimal right justified leading zero blanking Units up to 5 ch...

Page 35: ...ing 8 Reconnect power and turn the indicator on NOTE For installations that employ the audit trail sealing method steps 5 to 8 are not required However the security switch may be set to ON to safeguar...

Page 36: ...ictions that use the physical sealing method the local weights and measures official or authorized service agent must apply a security seal to prevent tampering with the settings Refer to the illustra...

Page 37: ...Mode Kilogram Unit Pound Unit Gram Unit Ounce Unit Pound Ounce Unit Stable Only Note that the counter only indexes once even if several settings are changed The configuration event counter values rang...

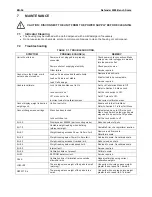
Page 38: ...esired weighing unit Unit not set to On Enable unit in the Units Menu Refer to Section 3 7 in the Unit Menu Cannot change menu settings Menu has been locked Lock switch set on Set selected menu to Off...

Page 39: ...ct an authorized OHAUS Service Agent For Service assistance in the United States call toll free 1 800 526 0659 between 8 00 AM and 5 00 PM Eastern Standard Time An OHAUS Product Service Specialist wil...

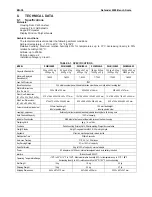
Page 40: ...71 mm 10 x 166 x 500 x 143 x 90 x 440 mm 10 x 166 x 500 x 143 x 90 x 440 mm Side View Dimensions S1 x S2 x S3 x S4 x S5 572 x 472 x 355 x 306 x 52 mm 920 x 668 x 550 x 500 x 52 mm 920 x 740 x 650 x 59...

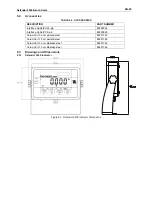
Page 41: ...pin 80500524 Interface Cable PC 9 pin 80500525 Column Kit 35 cm painted steel 80251743 Column Kit 70 cm painted steel 80251744 Column Kit 35 cm stainless steel 80251745 Column Kit 70 cm stainless ste...

Page 42: ...t of Pan to Surface of Table Height of Pan Depth Including Level Indicator D30BRZ D60BRZ 355 mm 305 mm 123 mm 75 mm 380 mm D60BLZ D150BLZ 550 mm 420 mm 136 mm 80 mm 575 mm D150BXZ D300BXZ 650 mm 500 m...

Page 43: ...rtified service organization established within the European Community or by the National Notified Body The first stage of the initial verification has been carried out at the manufacturer s work It c...

Page 44: ...ent system is compliant with the ISO 9001 standard s requirements On May 15 2003 OHAUS Corporation USA was re registered to the ISO 9001 2000 standard LIMITED WARRANTY OHAUS products are warranted aga...

Page 45: ......

Page 46: ...oration 7 Campus Drive Suite 310 Parsippany NJ 07054 USA Tel 973 377 9000 Fax 973 944 7177 With offices worldwide www ohaus com 83033841 P N 83033841 2011 Ohaus Corporation all rights reserved Printed...

Reviews: