01/09/2006
Page - 38 -
9.1
"GEO" code modification:
- Remove the fitted plate (7 see drawing 29270001)
- Remove the sealing label (7 in drawing 29270077)
- Insert a straightened paper clip (or a pointed object) into the hole provided for calibration.
- Press the Toggle Switch
once in order to get the top position.
- Install the fitted plate (7 see drawing 29270001)
- Switch on the scales.
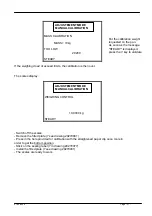
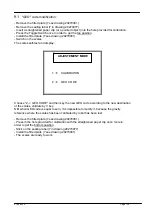
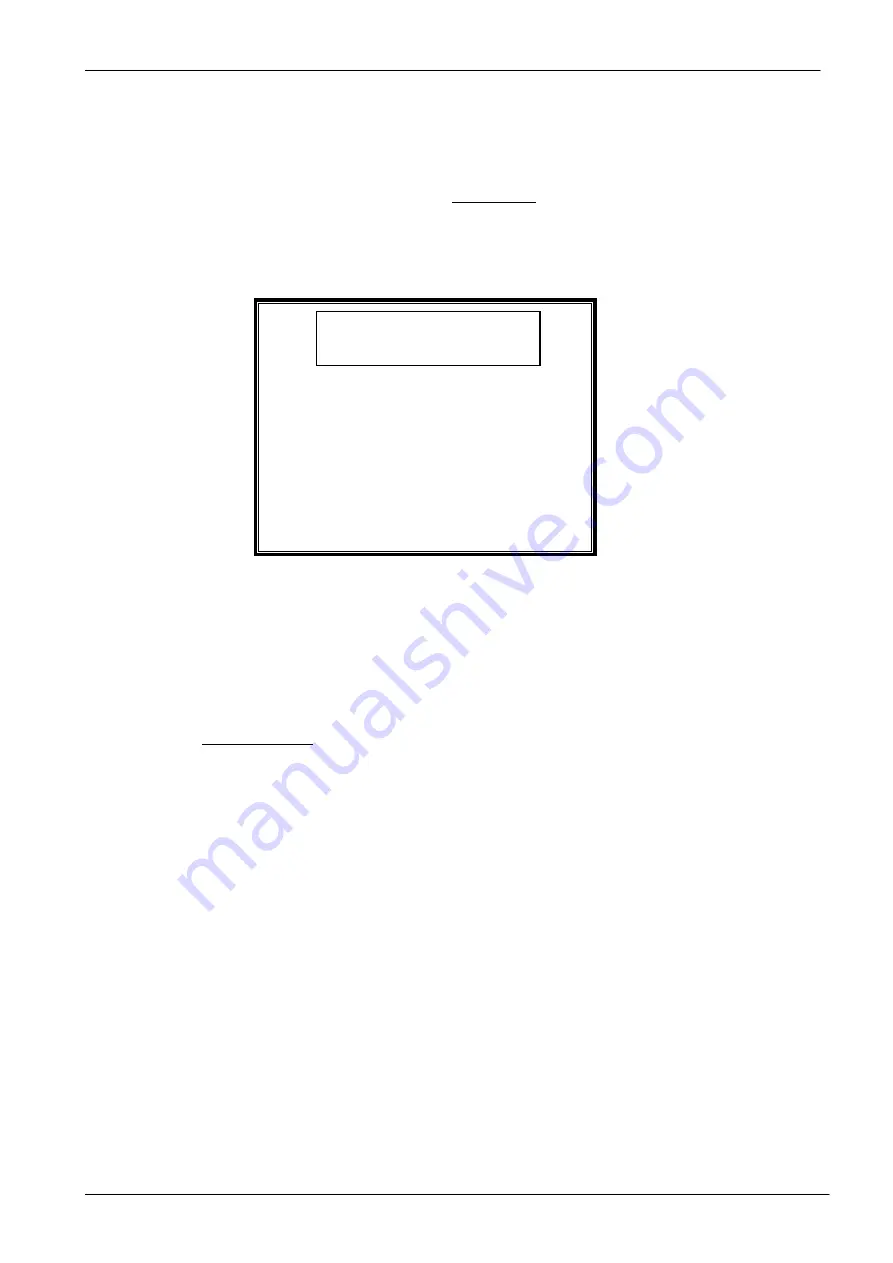
The scales self-test and display:
1
CALIBRATION
2
GEO CODE
Choose "2 -> GEO CODE" and then key the new GEO code according to the new destination
of the scales, validate by V key.
NB: when GEO code is equal to zero, it is impossible to modify it, because the gravity
reference where the scales has been calibrated by robot has been lost.
- Remove the fitted plate (7 see drawing 29270001)
- Press in the hole provided for calibration with the straightened paper clip once more in
order to get the bottom position.
- Stick on the sealing label (7 in drawing 29270077)
- Install the fitted plate (7 see drawing 29270001)
- The scales are ready to work.
ADJUSTEMENT MODE
Summary of Contents for RI Series
Page 1: ...RI Series Maintenance manual Range 15 kg d 5g Range 6 kg d 2g...
Page 21: ...01 09 2006 Page 21 5 Seal...
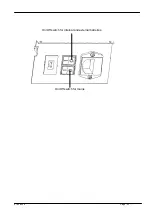
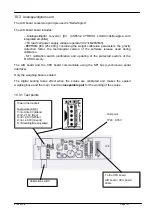
Page 40: ...01 09 2006 Page 40 On Off switch for internal and external batteries On Off switch for mains...
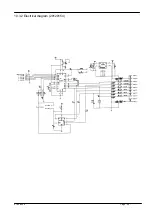
Page 44: ...01 09 2006 Page 44 10 3 2 Electrical diagram 29120154...
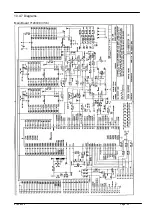
Page 50: ...01 09 2006 Page 50 10 4 7 Diagrams Main Board 71207283 1 6...
Page 51: ...01 09 2006 Page 51 Main Board 71207283 2 6...
Page 52: ...01 09 2006 Page 52 Main Board 71207283 3 6...
Page 53: ...01 09 2006 Page 53 Main Board 71207283 4 6...
Page 54: ...01 09 2006 Page 54 Main Board 71207283 5 6...
Page 55: ...01 09 2006 Page 55 Main Board 71207283 6 6...
Page 74: ...01 09 2006 Page 74...


