CHAPTER 3 MAINTENANCE PROCEDURES
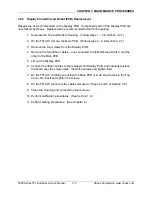
3.2.2 Display Printed Circuit Board (PCB) Replacement
Repairs are not recommended on the Display PCB. Component parts of the Display PCB are
not stocked by Ohaus. Replacement is recommended rather than repairing.
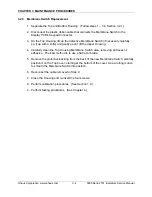
1. Separate the Top and Bottom Housing. (Follow steps 1 – 3 in Section 3.2.1.)
2. On the T51XW, remove the Main PCB. (Follow steps 4 – 8 in Section 3.2.1.)
3. Remove the four screws from the Display PCB.
4. Remove the two ribbon cables – one connected to the Membrane Switch, and the
other to the Main PCB.
5. Lift out the Display PCB.
6. Connect the ribbon cables to the replacement Display PCB, and carefully position
the board over the screw holes. Insert the screws and tighten them.
7. On the T51XW, carefully re-position the Main PCB over its screw holes in the Top
Cover. Re-insert and tighten the screws.
8. On the T51XW, reconnect the cables removed in Steps 4 and 5 of Section 3.2.1.
9. Close the Housing and re-insert the four screws.
10. Perform calibration procedures. (See Section 1.9.)
11.
Perform testing procedures. (See Chapter 4.)
5000 Series T51 Indicators Service Manual
3-3
Ohaus Corporation www.ohaus.com
Summary of Contents for T51P
Page 2: ......
Page 4: ......
Page 41: ......
Page 42: ... 80252587 P N 80252587 SERVICE MANUAL 5000 SERIES T51 INDICATORS ...


