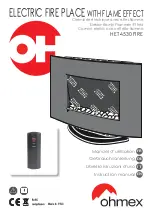


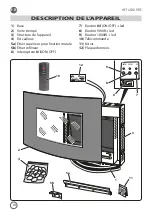
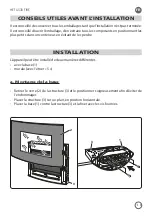

Summary of Contents for HET 4530 FIRE
Page 2: ......
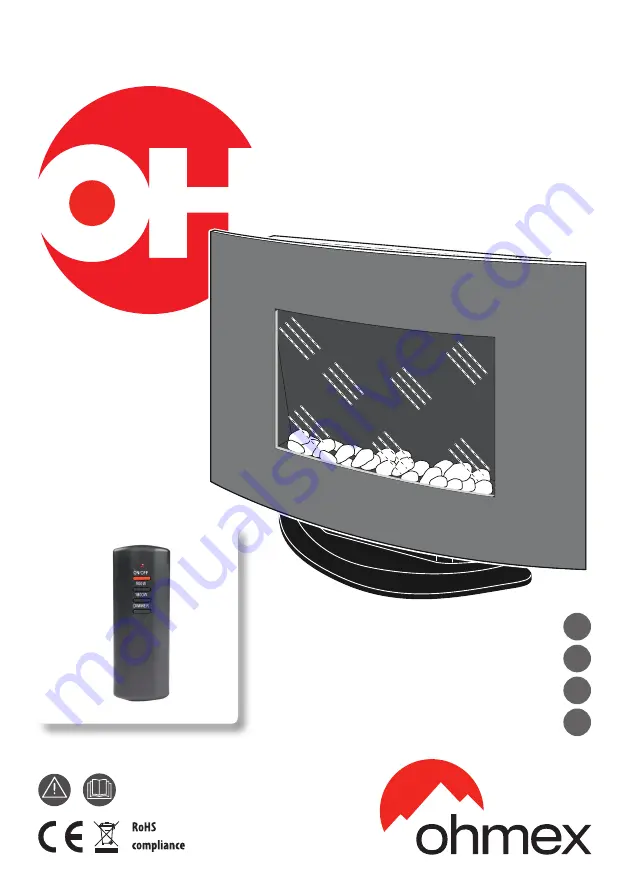
The ohmex HET 4530 FIRE is a cutting-edge fire detection system designed to keep you safe in any environment. Easily set up and maintain with the included Instruction Manual. For a free download of the manual, visit 88.208.23.73:8080 and ensure your system is always operating at its best.
Page 2: ......


