


ROB 4600
50
EN
17.04.23
17
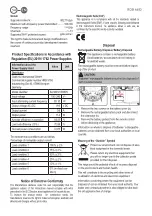
Information About the App
“Smart Life - Smart Living”
The Smart Life - Smart Living app is available for Android
and for iOS. Scan the corresponding QR code to go directly
to the download.
Depending on the provider, costs may be incurred when
downloading the app.
Google Play
App Store
Information on Operating with the App
This appliance allows you to operate the appliance via
your home network. This requires a permanent WLAN
connection with your router and the free “Smart Life - Smart
Living” app.
You can conveniently access all the appliance’s functions
via the app. Since the app is constantly being improved, we
cannot give a more detailed description here.
To prevent the appliance from being switched on uninten-
tionally when you are away from home, we recommend
switching the appliance off and unplugging the mains plug
from the charging station!
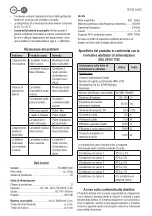
System Requirements for Using the App
• Android 6.0 or higher
• iOs 11.0 or higher
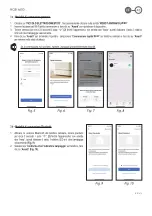
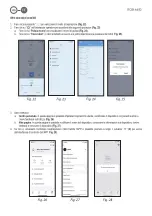
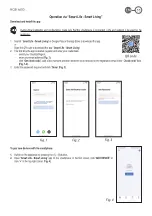
Putting Into Operation with the App
1. Install the “Smart Life - Smart Living” app. Create a user
account.
2. Activate the WLAN function in the settings of your
appliance.
3. Place the Robot Vacuum Cleaner within approx. 5 me-
tres of your router.
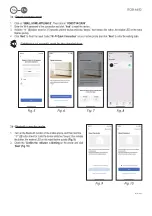
4. If the appliance is in sleep mode, switch on the appliance
by briefly pressing and holding the
button on the
appliance.
5. Press and hold the button on the Robot Vacuum
Cleaner until you hear a beep. The control lamp in the
button on the appliance flashes quickly.
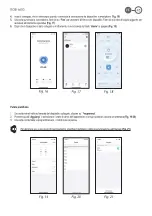
6. Open the app and select “ “.
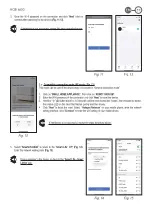
7. Select the “Robot vacuum cleaner” menu and follow the
instructions on the display.
8. After the appliance has been successfully connected,
you can operate it using the app.
Deactivate WLAN in the Appliance and
Disconnect WLAN Connection
If you want to disconnect the existing WLAN connection,
proceed as follows:
1. If the appliance is in sleep mode, switch on the appliance
by briefly pressing and holding the
button on the
appliance.
2. Press and hold the button on the Robot Vacuum
Cleaner until you hear a signal tone. The control lamp in
the button on the appliance flashes quickly. The appli
-
ance is now removed from the app and the WLAN has
been deactivated in the appliance.
If you want to re-establish the WLAN connection, proceed
as described in the section “Putting Into Operation with the
App”.
Operation
Switching the Appliance On / Off
•
Switch on the appliance by briefly pressing the
button
on the appliance. A beep is heard and the control lamps
in the buttons light up briefly. The control lamp in the
button
then flashes.
- Now press the button
briefly and the appliance
starts to work.
-
If you press the button again briefly, the appliance
switches back to standby.
- The appliance automatically switches to sleep mode
after 60 seconds if no cleaning mode was activated
after switching on.
• While the appliance is in standby, press and hold the
button on the appliance for about 4 seconds to put the
appliance into sleep mode. Two beeps are heard. The
control lamps are off.
Buttons on the Remote Control
To operate the appliance with the remote control, the
appliance must be in sight. Point the remote control at the
front of the appliance to ensure optimal transmission of the
remote control signals. There are two infrared receivers
there. The display shows the selected setting. An acknowl-
edgement tone from the appliance is heard.
•
(2)
Press this button repeatedly to select between the follow-
ing modes. The symbol for the selected mode appears in
the display. Then start the selected cleaning mode with
the button.
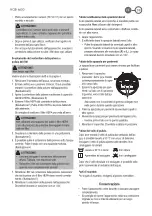
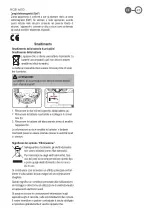
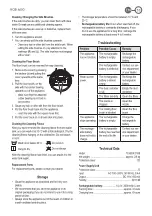
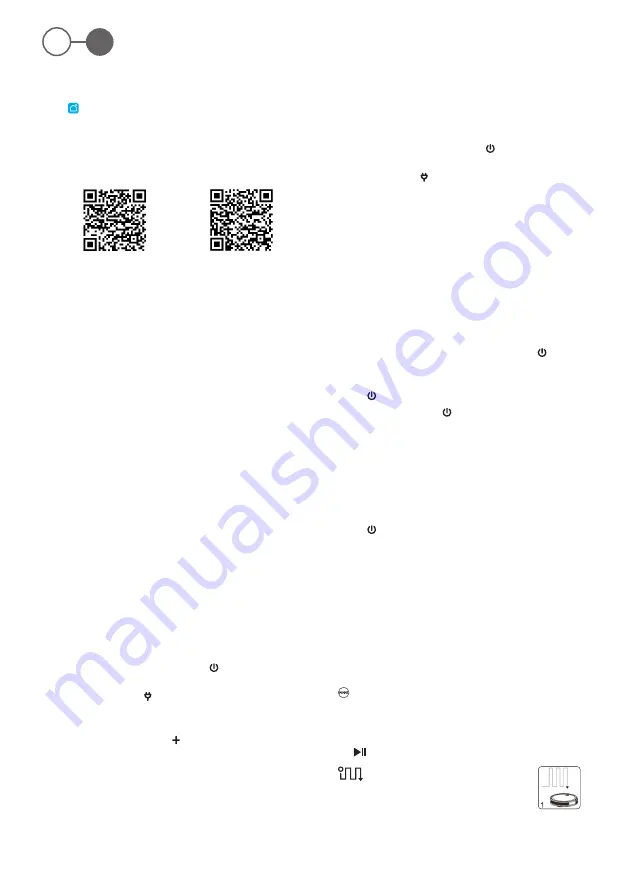
The appliance operates in “System-
atic” mode. For optimal cleaning of the
room, the appliance uses a gyro-
scope-controlled navigation system.
If the conditions of the room allows it, the appli-
ance cleans the room in zigzag mode.


