17
Type WLCT
USER MANUAL
57541 09/04 - (BJ)
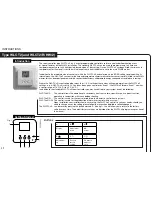
Type: WLCT
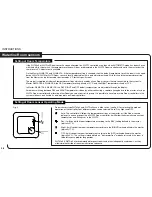
Fig. 1 - Buttons
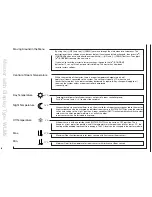
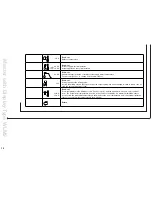
Display symbols
K
I
G
H
J
F:
E:
B:
C:
D:
A:
Pin button
adjust of
clock
Reset to
factory
setting
Adjustment
down
OK -
accept
Adjustment
up
Display
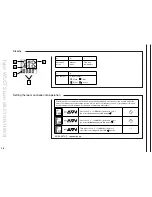
G:
H:
I:
J:
K:
Automatic
mode
Manual
mode
Time and
temperature
Day number
4-event symbol
1. Getting started
Introduction
The clock thermostat type WLCT is part of the underfloor heating system type WLM. The thermostat can be set to control one single room, or it can be set
as a master to control a group of thermostats / rooms/zones.
All the thermostats that are part of that group will follow the times and temperatures programmed into the clock thermostat. For example, if the temperature
programmed in the clock thermostat is 22°C, all the thermostats / rooms belonging to that group will then also be controlled at 22°C. Depending on the
types of thermostats used you can adjust the tempe or -4°C in different rooms, giving a possible room setpoint of +18 to +26°C.
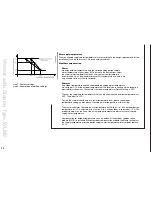
The clock thermostat can be programmed to work at different temperatures during the day allowing lower temperatures during times that the room is
unoccupied. Lower temperatures will lower your energy costs without reducing the comfort. All thermostats that are part of the group will follow any new
time or temperatures programmed in the clock thermostat.
When it leaves the factory, the thermostat has a preset program suitable for most installations.
You only need to set the clock and day, and define the thermostats / rooms that should belong to the group.
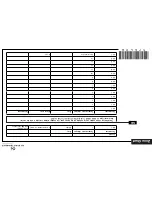
The thermostat has a pin button marked R (see fig. 1), allowing you, at any time, to reset the thermostat to the factory settings. These are listed at the end of
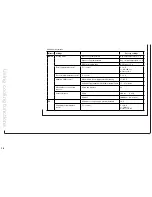
this manual with space for you to record your own weekly schedule.
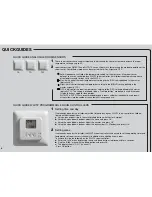
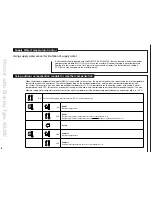
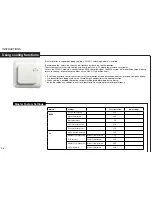
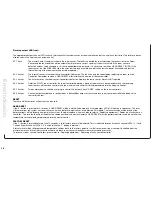
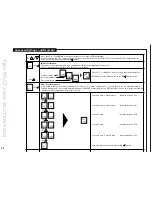
Setting the thermostat into operation
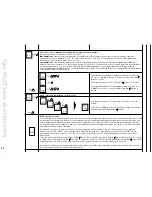
☞
☞
☞
1-7
Press the UP ( ) or DOWN ( ) buttons to select
the correct
hours
and press OK button ( ).
Press the UP ( ) or DOWN ( ) buttons to select
the correct
minutes
and press OK button ( ).
Then press the UP ( ) or DOWN ( ) button to
select the correct
day
and press OK ( ) button.
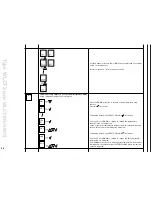
First time power is connected the clock and day will be flashing and must be set. If you need to
adjust the time of the thermostat at a later date, insert a pin into the hole marked
(see fig. 1)
for setting of time and day. Adjustment should be made for change in summer and winter time.
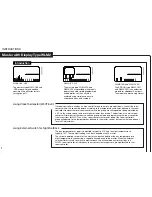
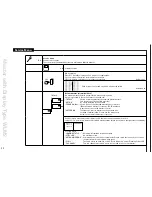
Wake
Night
Out
Home
INSTRUCTIONS
introduction
getting started
buttons
Fig. 1
type WlCt2 (and WlCt2/r/HW/2)
The room controller type WLCT2-x9 is a 4 event programmable controller used to control underfloor heating areas
or special features on the WLM2 installation. The standard WLCT2-x9 can be used to programme up to 4 time and
temperature events over a 24 hour period, based upon a 7 day setting. Once a WLCT2-x9 has been fitted the times and
temperatures for the area(s) it controls will no longer come from the defaults set in the main WLM2 master.
In addition to the immediate area of control set, within the WLCT2-x9, and selected via the ‘AREA’ setting contained within its
internal menu, the WLCT2-x9 can control the time and temperature characteristics of other sensor (up to 14) fitted to the WLM2
master, this has been designed to maximise comfort and efficiency and promote energy saving and associated cost savings.
Where the WLCT2-x9 is controlling other areas the +/- 4°C setting of those areas will now operate from the WLCT2-x9
settings, e.g. A WLCT2-x9 is set to 22°C and has been given control over ‘Area 1’, the WLTA-x9 fitted in ‘Area 1’ now has
a control range of 18°C(-4°C) to 24°C (+4°C).
In addition to the standard WLCT2-x9 room controller, you may have fitted to your system one of the following;
WLCT2-x9/2:
This control allows the operation of a secondary heat source, for a specific area, as a boost function
operating in conjunction with the underfloor heating.
WLCT2-x9/R:
This control is used for the control of radiators in a domestic central heating circuit.
WLCT2-x9/HW: This control is used for the production of hot water control within a system.
Upon installation your installer should have set up the WLCT2-x9 control to suit your needs, should you
need to change any of the setting please follow the instruction detailed in following pages.
The WLCT2-x9: can be reset by pressing the button marked ‘R’ (see fig 1), this will allow you to return to the factory
settings at any time. The default factory settings are detailed after the WLCT2-x9 programming section of
this manual.
A:
b:
C:
Display
Adjustment
down
Ok -
accept
D:
E:
F:
Adjustment
up
Reset to
factory
setting
Pin button
adjust of
clock
Summary of Contents for WLM2-1BA
Page 1: ...www oj dk User Manual WLM2 WLTA WLTD WLTP WLCT2 57640A 11 08 DJU...
Page 29: ...29...
Page 30: ...30...

