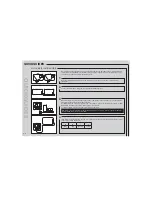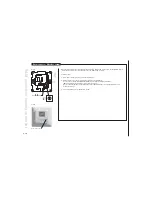
Button learning mode
p. 5
SETTING UP THE SYSTEM
Turn on the power supply.
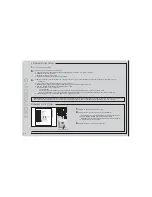
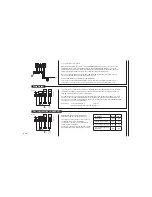
Set the clock on any WLCT room controller:
a. If the hour digit is not flashing, press the small pinhole button with the clock symbol, otherwise..
b. Adjust the hours and press OK.
c. Adjust the minutes and press OK.
d. Adjust the day number (1 = Monday) and press OK.
In addition to its own room, the WLCT room controller can be used to set the operating times and temperatures of other Room sensors
(channels).
To achieve this, do the following on the WLCT room controller:
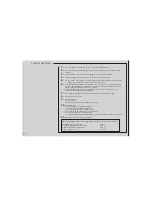
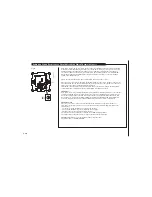
a. Enter the “InFo” menu by pressing the up and down button simultaneously for 4 seconds.
b. Find the “ArEA” menu with the down button and press OK.
c. The display shows “CH 1” (channel 1).
- Press OK button.
- Select “On” if this channel (Room sensor) should be controlled by the WLCT room controller, or “OFF” if not.
- Now press OK button to get to the next channel (CH 2) and repeat this step until all required channels have been selected “On”.
d. After all channels are set up, find the “ESC” menu entry and press OK.
NB: If different times and temperatures are required for other channels (Room sensors) within the system, more than one
WLCT room controller
can
be used. Care must be taken to ensure that the action of selecting a channel “On” is not made on more than one
WLCT room controller
.
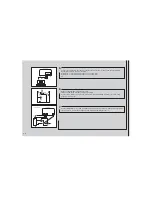
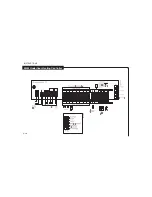
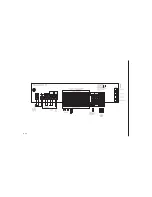
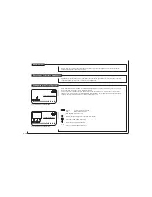
Switch on DIP-3 to activate learn mode:
All wireless Room sensors now have to be initialized:
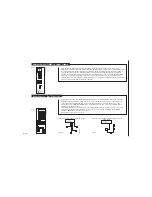
- Analogue Room sensor (TA,TD,TM,TP) by pressing the internal
init button (Button learning mode) until a beep is heard.
- Digital Room sensor (CT) by pressing the pin hole button with the
clock symbol until a beep is heard.
Switch off DIP-3 to de-activate learn mode:
1.
2.
3.
WIRELESS SYSTEM ONLY:
QUICKGUIDES
1.
2.
3.


