Configuration 68
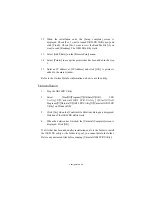
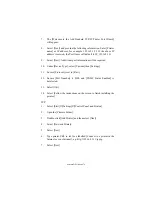
12. When the installation ends, the [Setup complete] screen is
displayed. Check [Yes, I want to launch OKI LPR Utility now] and
click [Finish]. Check [Yes, I want to view the ReadMe File] if you
want to read [Readme]. The OKILPR utility starts.
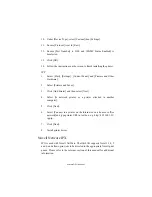
13. Select [Add Printer] on the [Remote Print] menu.
14. Select [Printer] to accept the printer that has been added in the step
1.
15. Enter an IP address at [IP Address] and click [OK]. A printer is
added to the main window.
Refer to the On-line Help for information on how to use the utility.
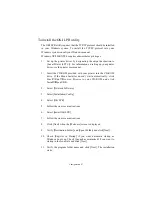
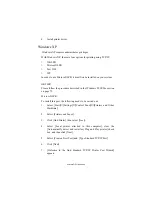
Uninstallation
1.
Stop the OKI LPR Utility.
2.
Select [Start]
→
[Program]
→
[Okidata]
→
[OKI LPR
U t i l i t y ]
→
[ U n i n s t a l l O K I L P R U t i l i t y ] ( [ St a r t ]
→
[ A l l
Programs]
→
[Okidata]
→
[OKI LPR Utility]
→
[Uninstall OKI LPR
Utility] on WindowsXP).
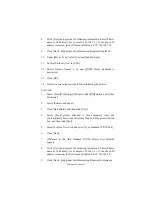
3.
Click [Yes] when the [Confirm File Deletion] dialogue is displayed.
Deletion of the OKI LPR utility starts.
4.
When the deletion has finished, the [Uninstall Complete] screen is
displayed. Click [OK].
If a file that has been added after installation exists in the folder to install
the OKI LPR utility or the folder to spool, you cannot delete the folder.
Delete any unwanted files before running [Uninstall OKI LPR Utility].
Summary of Contents for B4300
Page 1: ......
Page 2: ......
Page 10: ...Configuration 8...
Page 11: ...Configuration 9...
Page 12: ...Configuration 10...
Page 16: ...Configuration 14 4 Select the Admin Mgr Quick Setup 5 Select the language 6 Select Quick Setup...
Page 101: ...UNIX 99 usr sbin lpadmin p PRINTER_lp m PRINTER_model usr sbin lpsched...
Page 110: ...UNIX 108 211 FTP directory status Ready 211 End of status ftp...

