Microsoft Windows 70
Installation of TCP/IP Protocol
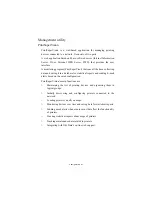
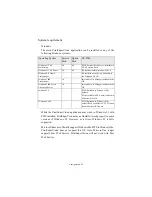
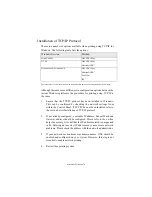
There are a number of options available when printing using TCP/IP for
Windows. The following table lists the options:
1
These functions are built into Windows and are displayed as options when using the Add Printer Wizard.
Although there are some differences in configuration options between the
various Windows platforms, the procedure for printing using TCP/IP is
the same.
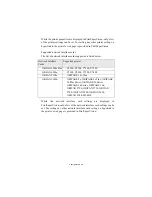
1.
Ensure that the TCP/IP protocol has been installed in Windows.
This can be confirmed by checking the network settings from
within the Control Panel. If TCP/IP has not been installed refer to
the section below Installation of TCP/IP protocol.
2.
If not already configured, a suitable IP address, Subnet Mask and
Gateway address should be configured. Please refer to the on-line
help if necessary. It is vital that the IP address entered is unique and
valid. Entering an incorrect IP address may cause severe network
problems. Please check the address with the network administrator.
3.
If your network environment uses domain names, DNS should be
enabled and configured on your system. However, this step is not
essential to enable network printing.
4.
Restart the operating system.
Windows Version
Method
Win 95/98/Me
OKI LPR Utility
NT 4.0
OKI LPR Utility
Microsoft LPR
1
Windows 2000/ Windows XP
OKI LPR Utility
Microsoft LPR
1
Port 9100
1
IPP
1
Summary of Contents for B4300
Page 1: ......
Page 2: ......
Page 10: ...Configuration 8...
Page 11: ...Configuration 9...
Page 12: ...Configuration 10...
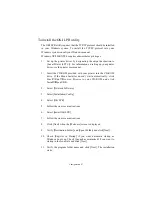
Page 16: ...Configuration 14 4 Select the Admin Mgr Quick Setup 5 Select the language 6 Select Quick Setup...
Page 101: ...UNIX 99 usr sbin lpadmin p PRINTER_lp m PRINTER_model usr sbin lpsched...
Page 110: ...UNIX 108 211 FTP directory status Ready 211 End of status ftp...


