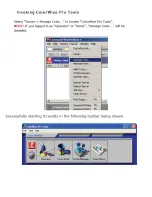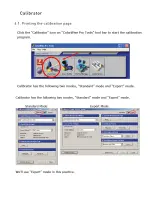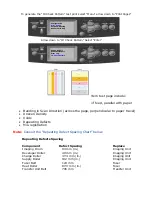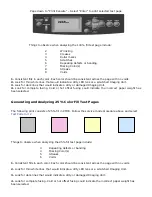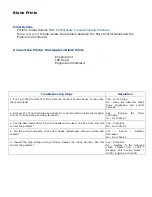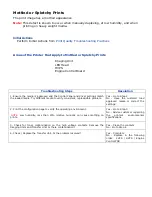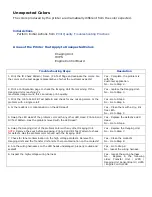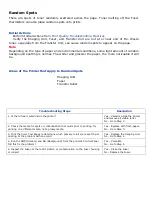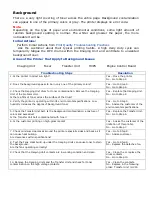
To generate the “ID Check Pattern” test print select “Menu” arrow down to “Print Pages”
Arrow down to “ID Check Pattern” Select “Enter”
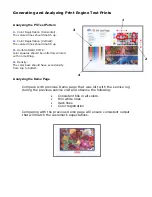
Things to observe when analyzing the ID Check Pattern test page include:
•
Streaks in Process Direction (in the direction of feed, parallel with paper
travel)
•
Banding in Scan Direction (across the page, perpendicular to paper travel)
•
Uneven Density
•
Voids
•
Repeating Defects
•
Mis-registration
Note:
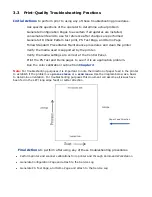
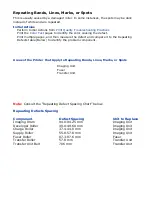
Consult the “Repeating Defect Spacing Chart” below.
Repeating Defects Spacing
Component
Defect
Spacing
Replace
Imaging Drum
94 mm (in.)
Imaging Unit
Developer Roller
49 mm (in.)
Imaging Unit
Charge Roller
37.4 mm (in.)
Imaging Unit
Supply Roller
102 mm (in.)
Imaging Unit
Fuser Belt
124 mm
Fuser
Heat Roller
87.3 mm (in.)
Fuser
Transfer Unit Belt
706 mm
Transfer Unit
Configuration
Print Pages
Suspend Printing
Resume Printing
Usage Report
Statistics Report
Error Log
ID Check Pattern
Summary of Contents for C9800 Series
Page 30: ...Step 3 Setting up the ES 1000 Spectrophotometer...
Page 31: ...Once installation is complete re launch Command Workstation...
Page 32: ......
Page 33: ......
Page 34: ......
Page 35: ......
Page 36: ......
Page 37: ......
Page 38: ......
Page 39: ......
Page 40: ......
Page 41: ......
Page 42: ......
Page 43: ......
Page 44: ......
Page 45: ......
Page 77: ...Close the side cover Carefully remove the jammed paper 4 3...
Page 83: ...Close the top cover and ensure that it is latched 12...
Page 87: ...Raise the front cover of the duplex unit Replace the two top covers 8 7...

